Getting Started with MCU: Your Comprehensive Guide to Microcontroller Mastery
Introduction
In the ever-evolving landscape of technology, the humble Microcontroller Unit (MCU) stands as a foundational pillar powering the modern world. From the smart thermostat regulating your home’s temperature to the sophisticated engine control unit in your car, MCUs are the invisible brains behind countless devices. For engineers, hobbyists, and students, learning to work with MCUs is not just a skill—it’s a gateway to innovation, enabling the creation of interactive projects, smart gadgets, and automated systems. This guide is designed to demystify the process of beginning your journey into embedded systems. We will navigate through the essential concepts, tools, and first steps, transforming initial apprehension into confident creation. By understanding the core principles outlined here, you lay the groundwork for developing complex, real-world applications.
Part 1: Understanding the MCU Ecosystem
Before writing a single line of code, it’s crucial to understand what an MCU is and its surrounding ecosystem. A Microcontroller Unit is a compact integrated circuit designed to govern a specific operation in an embedded system. Unlike general-purpose microprocessors in computers, an MCU is a self-contained system with a processor, memory (RAM and Flash/ROM), and programmable input/output peripherals all on a single chip.
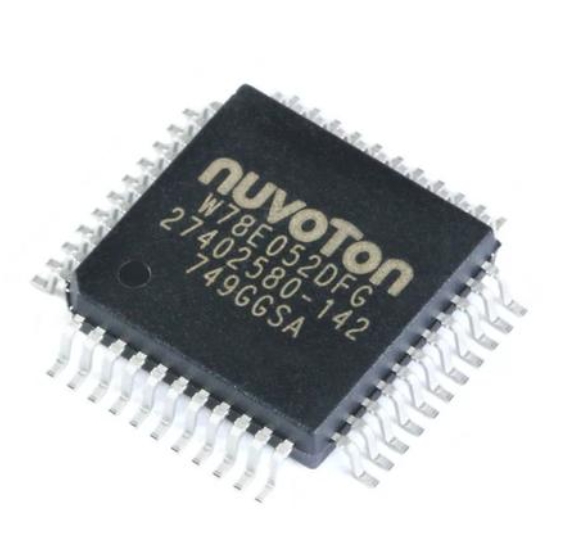
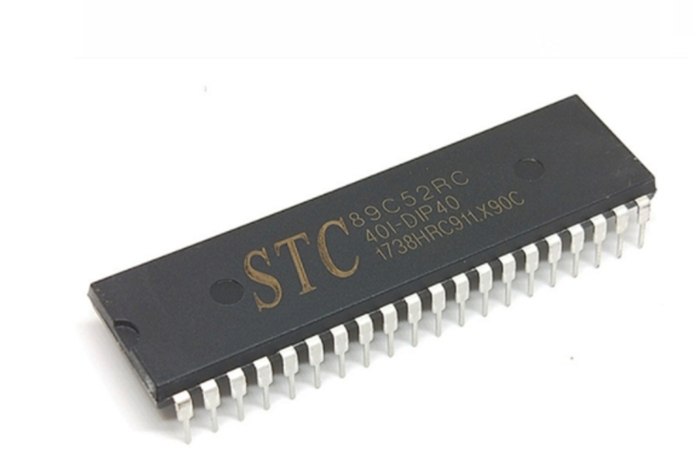
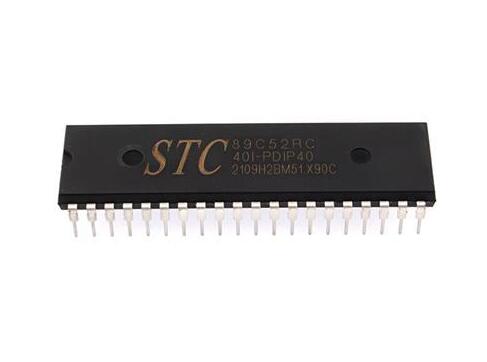
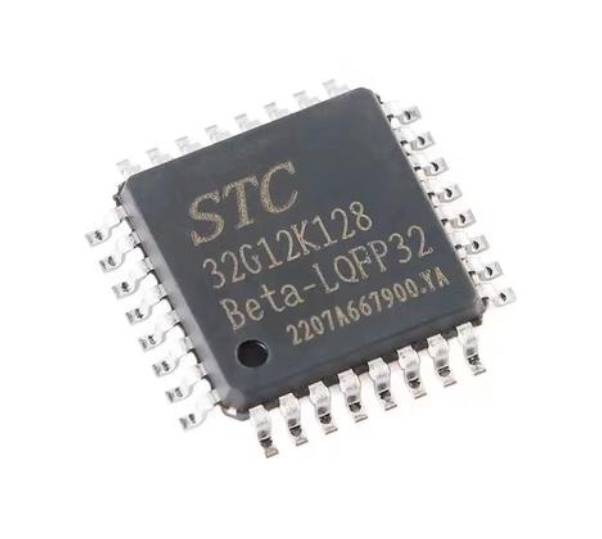
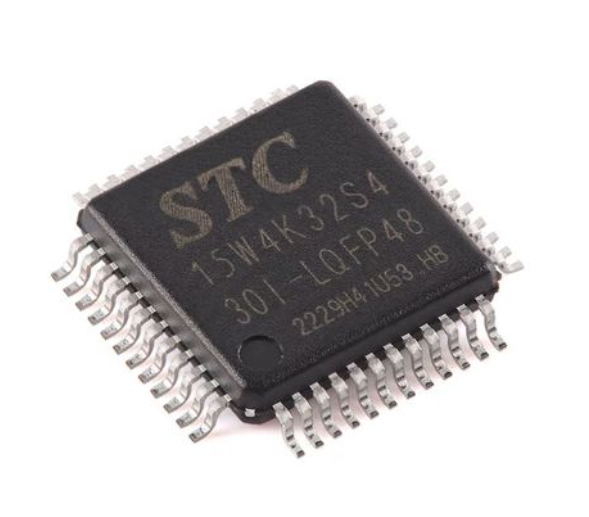
The heart of any MCU is its core architecture. The most common architectures you’ll encounter are: * ARM Cortex-M: The industry leader for 32-bit MCUs, offering a range from the ultra-low-power Cortex-M0+ to the high-performance Cortex-M7. Brands like STMicroelectronics (STM32), NXP (Kinetis, LPC), and Microchip (SAMD) utilize these cores. * AVR: An 8-bit architecture famously used in Arduino boards (e.g., ATmega328P). It’s renowned for its simplicity and ease of use, making it a perfect starting point for beginners. * PIC: Microchip’s proprietary 8-bit, 16-bit, and 32-bit families, known for their robustness and wide use in industrial applications. * ESP32/8266: While containing MCU cores (often Tensilica Xtensa), these are celebrated for their integrated Wi-Fi and Bluetooth capabilities, making them ideal for Internet of Things (IoT) projects.

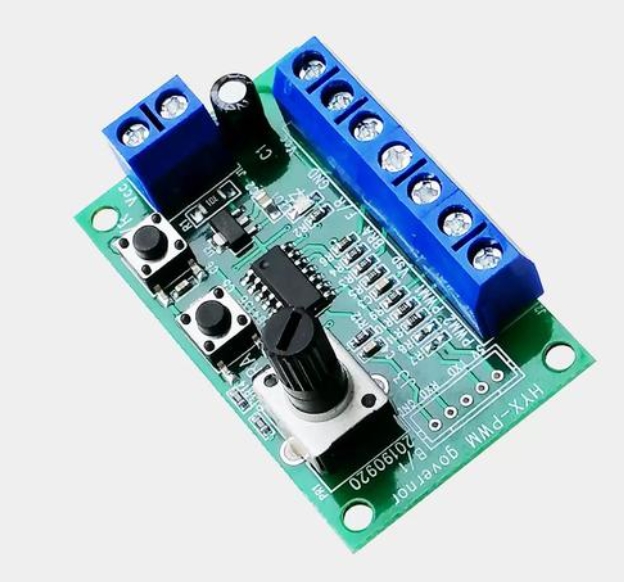
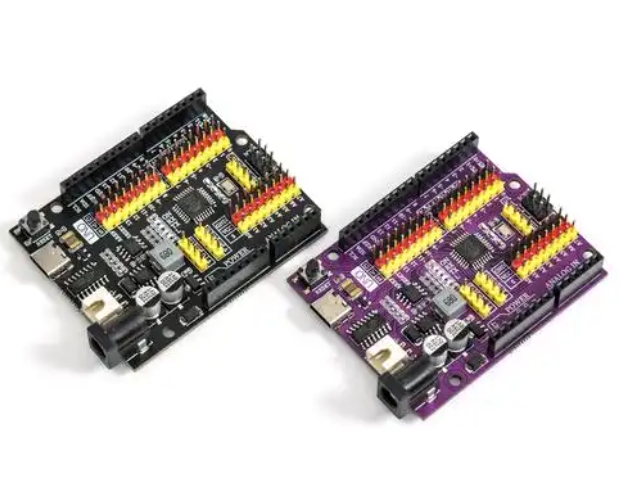
Selecting your first development board is a pivotal decision. For absolute beginners, platforms like Arduino Uno (based on AVR) or STM32 Nucleo boards (based on ARM) are highly recommended. They come with built-in programmers/debuggers and vast community support. For those interested in IoT from day one, an ESP32 development kit is an excellent choice. These boards abstract much of the hardware complexity, allowing you to focus on learning programming logic and basic electronics.
Finally, familiarize yourself with key components of the workflow: the Integrated Development Environment (IDE) (e.g., Arduino IDE, STM32CubeIDE, PlatformIO), compiler toolchains, and debugging tools. Setting up this toolchain correctly is your first practical step toward successful MCU programming.
Part 2: The First Project - From Theory to Practice
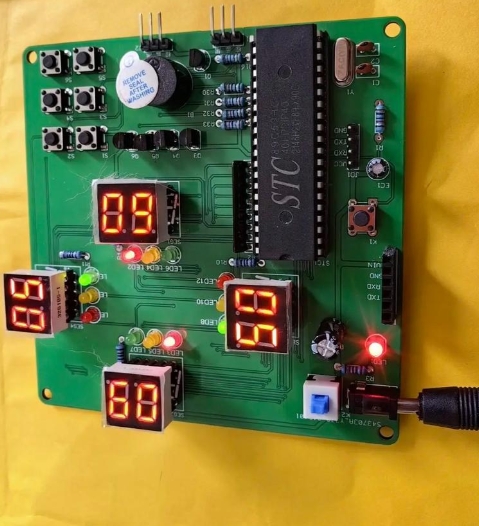
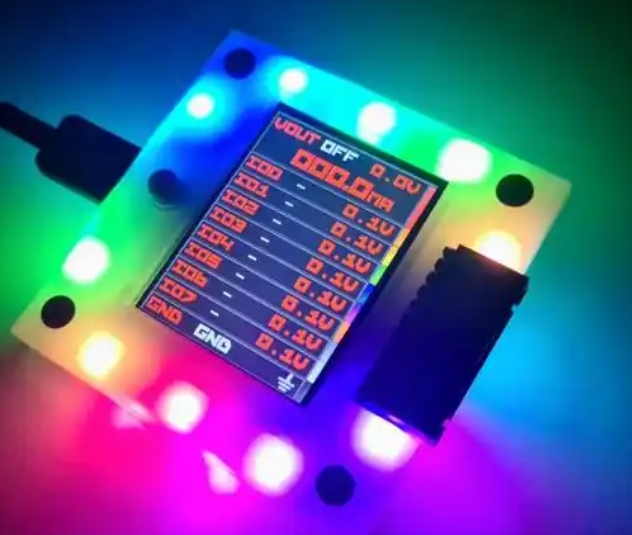
The most effective way to learn is by doing. The canonical “Hello, World!” equivalent in the MCU realm is the LED Blink program. This simple project introduces you to the entire development cycle: writing code, compiling it, uploading it to the board, and observing a physical result.
Let’s outline the universal steps for this first project:
- Hardware Setup: Connect your MCU development board to your computer via USB. Insert an LED into a breadboard, connecting its anode (long leg) through a current-limiting resistor (e.g., 220Ω) to a GPIO pin (e.g., Pin 13 on Arduino), and its cathode to ground (GND).
- Software Setup: Install the necessary IDE and board support packages. For Arduino, this is straightforward within the Arduino IDE. For STM32 or ESP32, you might use Arduino IDE with board managers or their native frameworks.
- Writing the Code: The code revolves around two fundamental functions:
setup()andloop(). Insetup(), you initialize the LED pin as an OUTPUT. Inloop(), you use digital write functions to set the pin HIGH (turning the LED on), delay for a second, set it LOW (turning it off), and delay again. - Compilation & Upload: The IDE compiles your human-readable code into machine code (a binary file). You then upload this binary to the MCU’s flash memory via the USB connection.
- Observation & Iteration: If successful, your LED will blink! You can then modify the delay times to change the blink pattern.
This process teaches critical concepts: GPIO (General-Purpose Input/Output) control, digital writes, timing delays, and the basic program structure. From here, you can expand by adding a push button as an input to control the LED, introducing you to digital reading and interrupt-driven programming. Resources and communities like those found through ICGOODFIND can be invaluable at this stage, offering curated project ideas, troubleshooting forums, and component guides to help you navigate these initial experiments smoothly.
Part 3: Building Up Your Skills - Core Concepts & Next Steps
Once you’ve mastered blinking an LED, it’s time to explore the broader capabilities of your MCU. Progressing systematically will build a strong foundation.
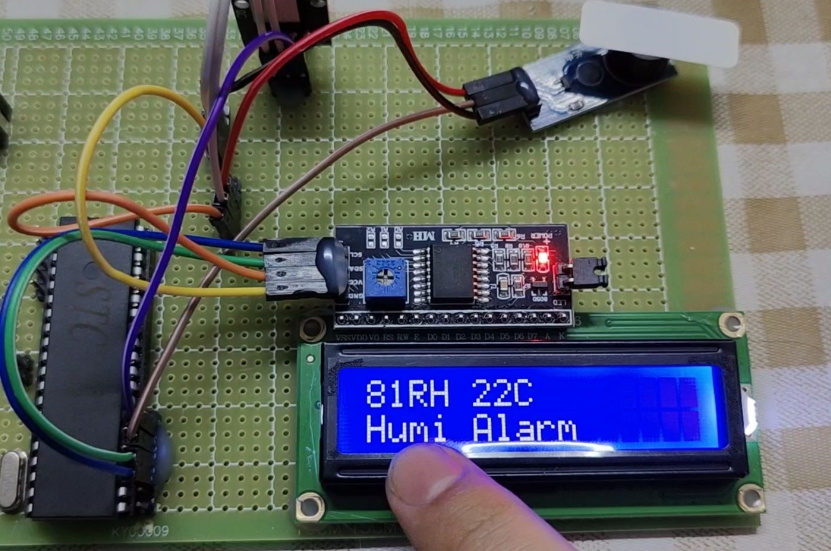
First, delve deeper into interfacing with sensors and actuators. Learn to communicate with components using various protocols: * Analog-to-Digital Conversion (ADC): Read values from analog sensors like potentiometers, temperature sensors (LM35), or light-dependent resistors (LDRs). * Pulse-Width Modulation (PWM): Fade an LED or control the speed of a DC motor by simulating an analog output. * Serial Communication (UART): Print debug messages to your computer’s serial monitor or communicate between two microcontrollers. * I2C & SPI Protocols: Interface with more complex sensors (e.g., gyroscopes, OLED displays) that use these two-wire or three-wire communication protocols. These are essential for projects requiring multiple peripherals.
Second, understand timing and interrupts. Moving beyond simple delay() functions is key to building responsive systems. Learn to use hardware timers and interrupts—events that cause the processor to pause its main task and execute a specific function immediately. This allows your MCU to handle multiple tasks seemingly simultaneously or respond instantly to external triggers.
Finally, adopt good software practices and explore advanced frameworks. As projects grow: * Write modular code using functions and classes. * Implement finite state machines for complex control logic. * Explore Real-Time Operating Systems (RTOS) like FreeRTOS for managing multiple tasks on more powerful 32-bit MCUs. * Consider moving from beginner-friendly IDEs to more professional environments like PlatformIO within VS Code or vendor-specific IDEs that offer powerful debugging features.
Remember, consistent practice through progressively challenging projects is the best teacher. Build a weather station, a simple robot, or a smart home controller. Each project will introduce new challenges and solidify your understanding.
Conclusion
Embarking on your journey with Microcontroller Units opens a world of tangible digital creation. We began by mapping the MCU ecosystem—understanding architectures and selecting the right development board. We then translated theory into practice with our foundational LED blink project, experiencing the full development cycle. Finally, we charted a path forward through essential concepts like sensor interfacing, communication protocols, and interrupt-driven design. The path from novice to proficient developer is paved with curiosity, hands-on experimentation, and leveraging available resources. Platforms that curate quality components and project ideas can significantly accelerate this learning curve. As you continue to explore this fascinating field—perhaps sourcing reliable parts or inspiration from specialized hubs like ICGOODFIND—remember that every expert was once a beginner who successfully blinked their first LED.