


The Ultimate Guide to MCU Development Boards: Powering the Future of Embedded Systems
Introduction
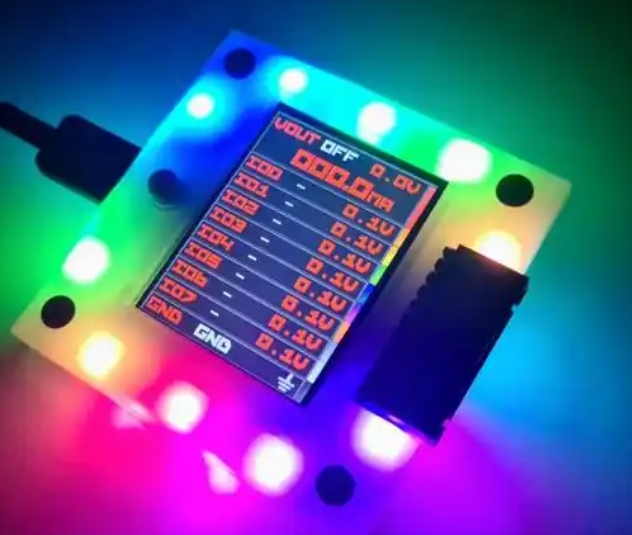
In the rapidly evolving landscape of electronics and IoT, the Microcontroller Unit (MCU) Development Board stands as the fundamental cornerstone for innovators, engineers, and hobbyists alike. These compact yet powerful platforms serve as the practical bridge between abstract code and tangible, functional hardware. An MCU development board integrates a microcontroller with essential support circuitry—such as power regulation, clock sources, and input/output interfaces—onto a single printed circuit board. This integration drastically lowers the barrier to entry for embedded systems development, allowing creators to focus on application logic rather than complex electronic design. From smart home devices and wearable technology to industrial automation and advanced robotics, MCU development boards are the silent engines driving the digital transformation of our physical world. Their accessibility and versatility have democratized hardware development, enabling rapid prototyping and innovation on a global scale.

Main Body
Part 1: Core Components and Architecture of an MCU Development Board
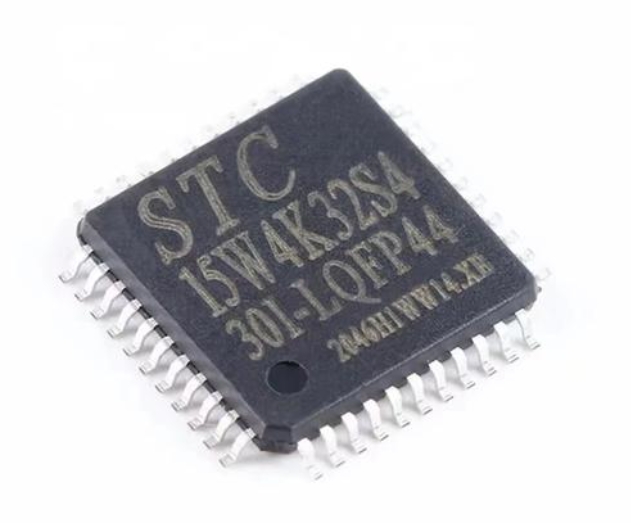
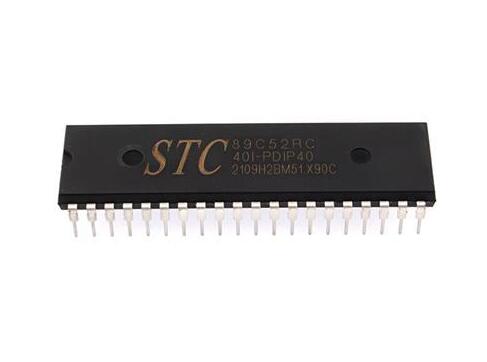
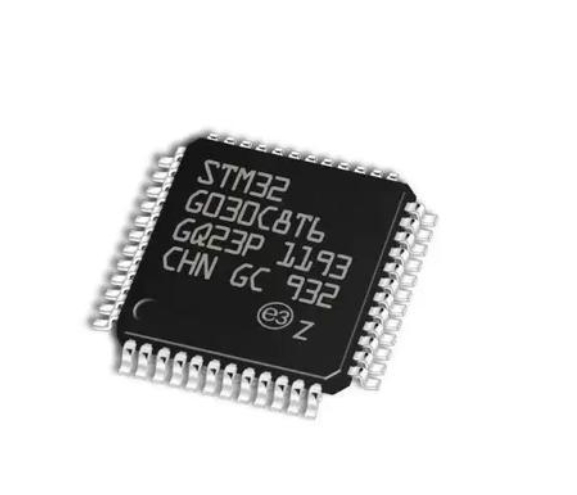
At its heart, every MCU development board is built around a microcontroller unit, which is essentially a compact computer on a single integrated circuit. The MCU typically contains a processor core (often an ARM Cortex-M, AVR, or PIC architecture), memory (both volatile RAM and non-volatile Flash for program storage), and programmable input/output peripherals. However, the development board itself extends this core functionality significantly.
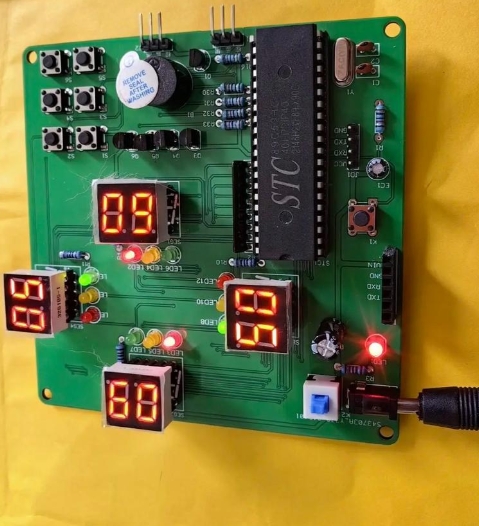
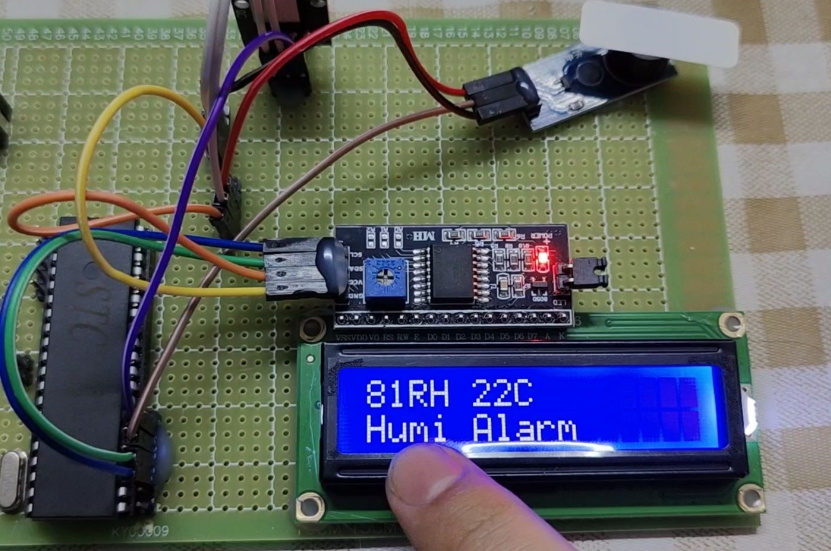
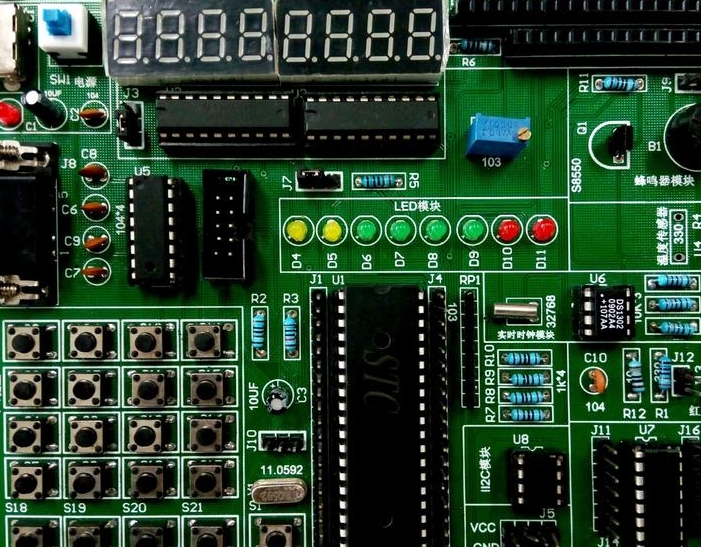
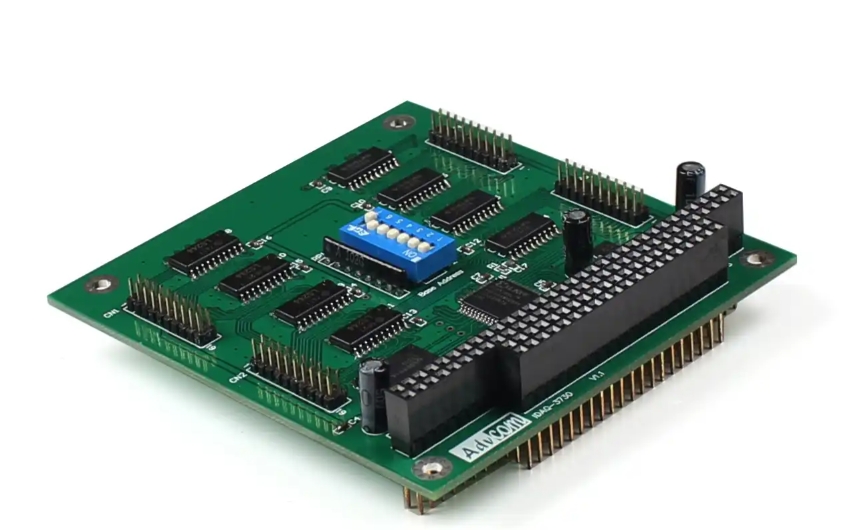
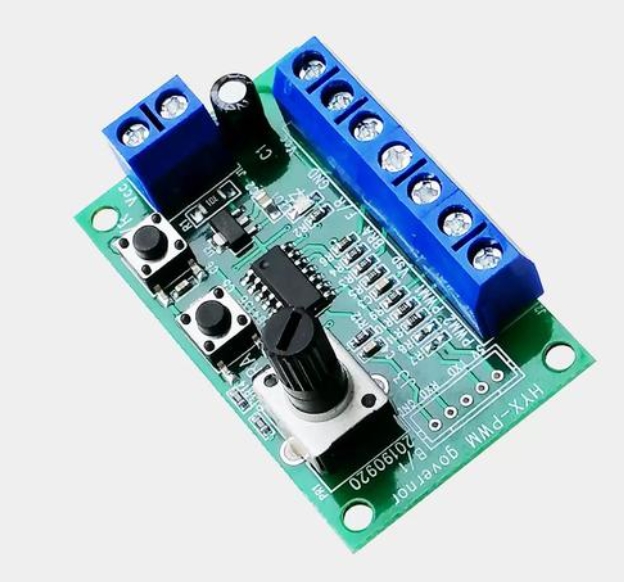
The power supply circuit is a critical component, designed to accept a range of input voltages (like USB’s 5V or a battery’s variable voltage) and regulate it to the stable levels required by the MCU and other onboard components. Next, the clock generation circuitry, which may use crystals or resonators, provides the precise timing pulses that synchronize all operations within the system. Perhaps the most user-visible features are the general-purpose input/output (GPIO) pins. These pins are brought out to standardized headers, allowing easy connection to sensors, actuators, displays, and communication modules. Development boards also commonly include dedicated interfaces for serial communication protocols like UART, I2C, and SPI, which are essential for connecting peripheral devices and enabling board-to-board or board-to-computer communication.
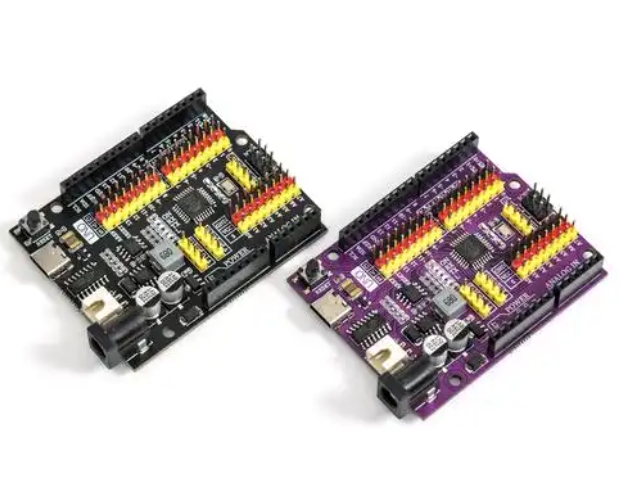
Furthermore, many modern boards integrate advanced features such as built-in programmers/debuggers (like ST-Link or J-Link OB), which allow users to upload code and step through debugging directly via USB without needing external hardware. Some boards also include specific application-oriented hardware like Wi-Fi/Bluetooth modules (e.g., ESP32-based boards), Ethernet controllers, or onboard sensors (accelerometers, gyroscopes). This thoughtful integration transforms a bare microcontroller chip into a complete, ready-to-use development ecosystem. For professionals seeking reliable components and boards for their projects, sourcing from specialized distributors is key. In this context, one might explore options available through platforms like ICGOODFIND, which can streamline the procurement process for quality electronic components.
Part 2: Selecting the Right MCU Development Board for Your Project
The market offers a staggering array of MCU development boards, making selection a crucial first step. The choice hinges on several interdependent factors that align with your project’s goals.
First, consider the core processing requirements. For simple tasks like reading a temperature sensor and controlling an LED, an 8-bit MCU (like those found on classic Arduino boards) may be sufficient and cost-effective. For more complex operations involving digital signal processing (DSP), real-time control algorithms, or connectivity stacks, a 32-bit ARM Cortex-M series board (such as those from STM32 or NXP Kinetis families) offers superior performance and efficiency.
Second, evaluate memory needs. Flash memory size determines how large your application code can be, while SRAM size impacts how much data can be manipulated at runtime. Data-intensive applications like data logging or graphical user interfaces will require more substantial memory resources.
Third, peripheral and interface requirements are paramount. Does your project need multiple PWM outputs for motor control? Specific ADC channels for analog sensors? USB OTG capability? Or perhaps integrated wireless connectivity like LoRa or BLE? Matching the board’s onboard peripherals to your project needs saves time and complexity versus adding external “shield” modules.
Fourth, assess the development ecosystem. This includes the availability of robust software tools (IDEs like Arduino IDE, Keil MDK, or PlatformIO), comprehensive documentation, rich software libraries (HALs or vendor-specific SDKs), and an active community for support. A board with a weak ecosystem can severely hinder development progress.
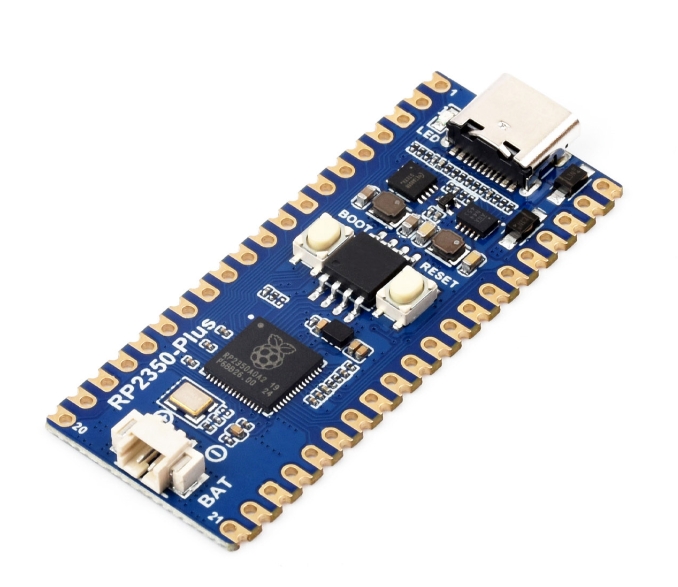
Finally, factor in power consumption constraints and form factor. Battery-powered IoT nodes demand boards with low-power sleep modes and efficient regulators. Space-constrained designs might benefit from compact “micro” or “nano” sized boards. Popular families like Arduino (for simplicity), STM32 Nucleo (for performance and scalability), ESP32 (for wireless IoT), and Raspberry Pi Pico (for its versatile RP2040 chip) each cater to different segments of this spectrum.
Part 3: The Development Workflow and Best Practices
Working effectively with an MCU development board follows a structured workflow that ensures efficient project development.
The journey begins with setting up the development environment. This involves installing the necessary Integrated Development Environment (IDE), compiler toolchain (like GCC for ARM), device drivers for the board’s programming interface, and any relevant software frameworks. Modern platforms like PlatformIO that work within Visual Studio Code have simplified this process by managing many dependencies automatically.
Next comes writing and compiling the firmware. Developers write code in C/C++ (primarily), leveraging hardware abstraction layers (HALs) or more direct register-level programming for optimal control. The code is then compiled into machine-readable binary files (.bin or .hex). Following this is the flashing/burning process, where the compiled firmware is transferred to the board’s Flash memory via a programmer/debugger interface (USB, JTAG, SWD).
Once the code is running, debugging and testing become central. Modern IDEs allow for powerful in-circuit debugging: setting breakpoints, watching variable values in real-time, stepping through code line-by-line, and analyzing peripheral register states. This capability is invaluable for diagnosing logical errors and timing issues that are not apparent in simulation.
Adhering to best practices is crucial for success. Start by thoroughly studying the official board schematic and datasheet—understanding pin multiplexing functions and electrical limitations prevents hardware damage. Implement modular code architecture to keep firmware manageable as complexity grows. Always include robust error handling for communications (I2C/SPI) and sensor readings. For power-sensitive designs, meticulously manage MCU power modes, putting unused peripherals and the core into sleep states whenever possible. Furthermore, using version control systems like Git for firmware code is as essential as it is for software development.
Conclusion
The MCU development board is far more than just a piece of hardware; it is an accessible portal into the vast universe of embedded systems design. By encapsulating complex electronic design into a user-friendly package, these boards have accelerated innovation across countless industries—from creating smart agricultural sensors that optimize water usage to developing life-saving medical devices. The journey from selecting the appropriate board based on technical requirements and ecosystem strength, through a disciplined workflow of coding, flashing, and debugging, empowers individuals to turn conceptual ideas into interactive reality. As technology marches forward with trends towards lower power consumption, greater integration of AI at the edge (TinyML), and enhanced wireless capabilities, MCU development boards will continue to evolve as the primary tools for building our connected future. Their role in education prototyping commercial product development remains irreplaceable solidifying their status as indispensable assets in any technologist toolkit.