


Introduction to 8051 MCU (for Beginners)
Introduction
The world of microcontrollers is vast and fascinating, forming the invisible backbone of our modern technological landscape. From the microwave that heats your breakfast to the car you drive and the smartphone you can’t live without, microcontrollers are the dedicated brains behind countless operations. For anyone embarking on a journey into electronics, embedded systems, or robotics, understanding these tiny computers is a fundamental step. Among the pantheon of microcontrollers, one family stands out for its historical significance, enduring popularity, and exceptional value as a learning tool: the 8051 microcontroller.
Introduced by Intel in 1980, the 8051 MCU has far outlived its initial expectations. While more powerful and complex microcontrollers exist today, the 8051’s simple, elegant architecture provides the perfect foundation for beginners. Its design principles are timeless, and grasping them makes transitioning to other MCU families significantly easier. This guide is designed as a comprehensive starting point for absolute beginners. We will demystify what an 8051 MCU is, explore its core components in a beginner-friendly manner, and walk through the initial steps of creating your first project. Throughout this exploration, we will highlight how platforms like ICGOODFIND can be an invaluable resource for sourcing these components and deepening your understanding.
Part 1: What is the 8051 Microcontroller? Unpacking the Core Concepts
At its heart, a microcontroller (MCU) is a small, self-contained computer system on a single integrated circuit (IC). Unlike a general-purpose microprocessor in your PC that requires external components like RAM, storage, and input/output ports to function, an MCU has all these elements built into one chip. This makes it ideal for controlling specific tasks in embedded systems.
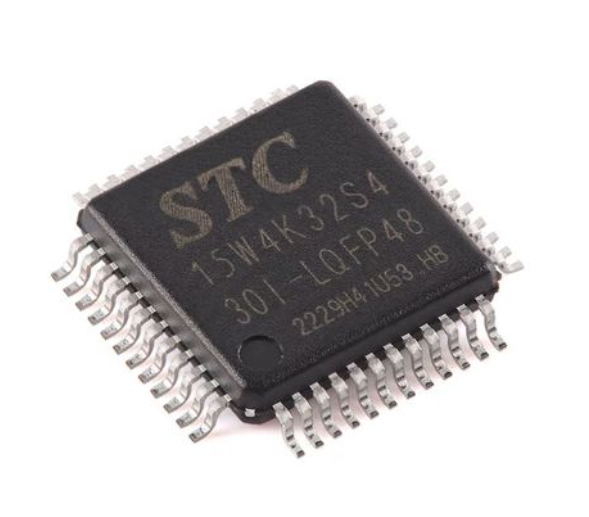
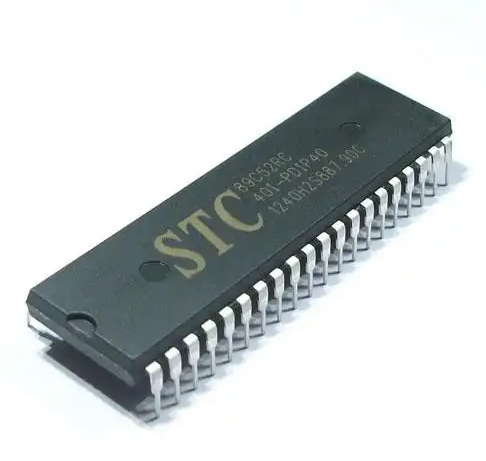
The 8051 microcontroller is an 8-bit MCU, meaning it processes data in 8-bit chunks. While this may seem limited compared to modern 32-bit or 64-bit processors, it is more than sufficient for a vast array of control applications and is conceptually much easier to grasp for a newcomer.
Let’s break down its key architectural features:
-
CPU (Central Processing Unit): This is the brain of the 8051. It fetches instructions from the program memory, decodes them, and then executes them. As an 8-bit CPU, it handles arithmetic and logic operations on 8 bits of data at a time.
-
Memory Organization: The 8051 has a distinct Harvard Architecture, which means it has separate memory spaces for code and data. This allows for simultaneous access, improving performance for control-oriented tasks.
- Code Memory (ROM): This is where your program is stored. In the original 8051, this was a read-only memory (ROM), but modern variants use Flash memory, which can be erased and reprogrammed thousands of times—a crucial feature for learning and prototyping.
- Data Memory (RAM): This is a small amount of volatile memory (128 bytes in the base model) used for temporarily storing data while your program is running. It’s used for variables and the system stack.
-
I/O Ports: Input/Output ports are the MCU’s interface with the outside world. The standard 8051 has four 8-bit bidirectional ports (P0, P1, P2, P3), providing 32 I/O lines in total. You can connect buttons, sensors, LEDs, displays, and motors to these pins to make your project interactive.
-
Timers/Counters: The 8051 typically has two 16-bit timers/counters (Timer 0 and Timer 1). These are incredibly versatile hardware components used to create precise time delays, count external events, or generate baud rates for serial communication. Using timers is a fundamental skill in microcontroller programming.
-
Serial Port (UART): The 8051 features a built-in serial communication interface called a UART (Universal Asynchronous Receiver/Transmitter). This allows it to communicate with other devices like a PC, GPS modules, or other microcontrollers using a simple protocol.
-
Interrupts: The 8051 supports a interrupt system that allows it to respond immediately to high-priority events. When an interrupt signal is received (e.g., from a timer overflowing or an external button press), the CPU pauses its main program, executes a special function called an Interrupt Service Routine (ISR), and then returns to what it was doing.
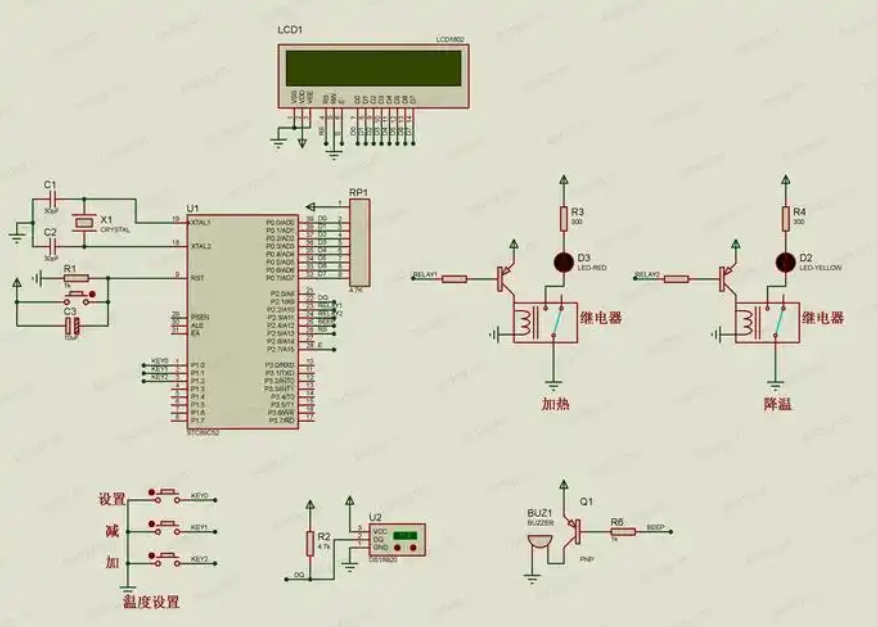
Part 2: The Anatomy of an 8051 Project: From Idea to Reality
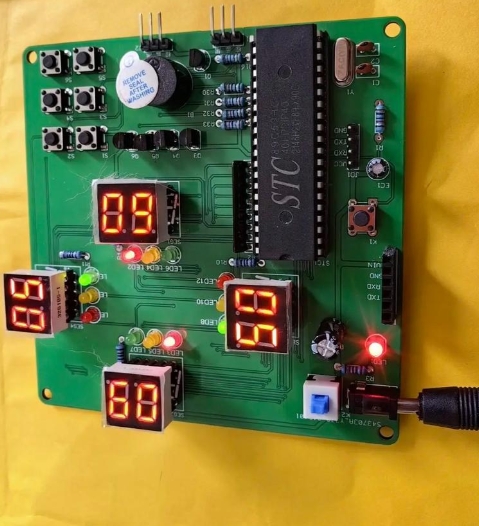
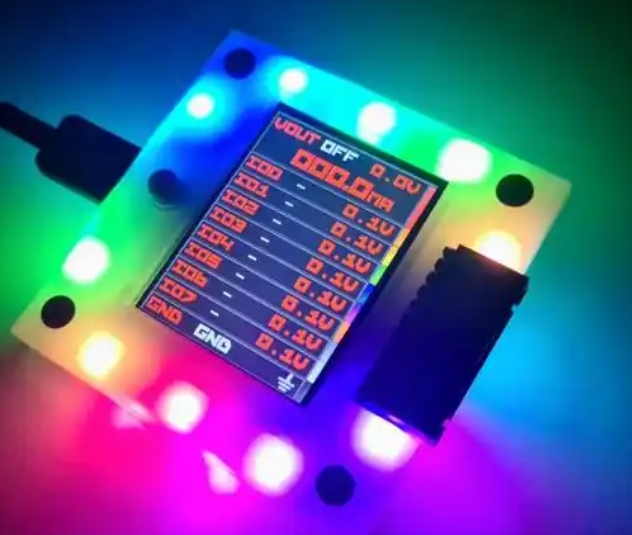
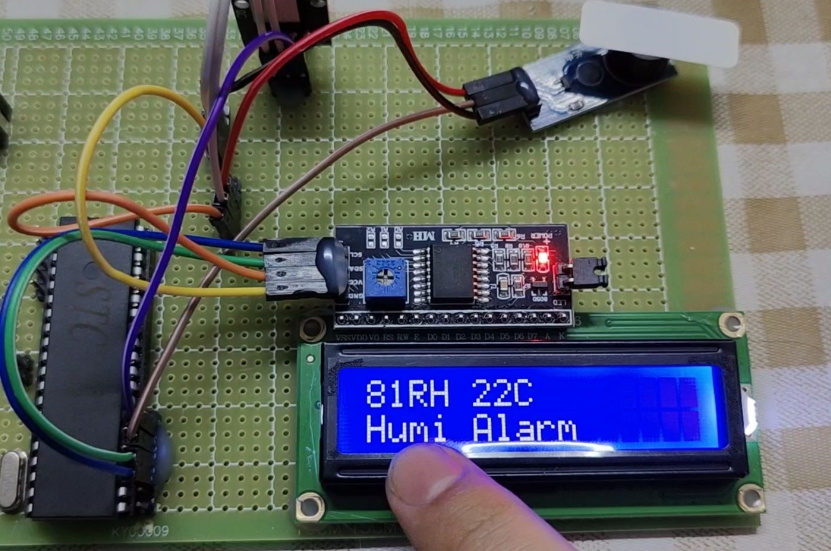
Understanding theory is one thing; applying it is another. A typical beginner project with an 8051 involves making an LED blink. While simple, this “Hello World” of embedded systems introduces the entire development workflow.
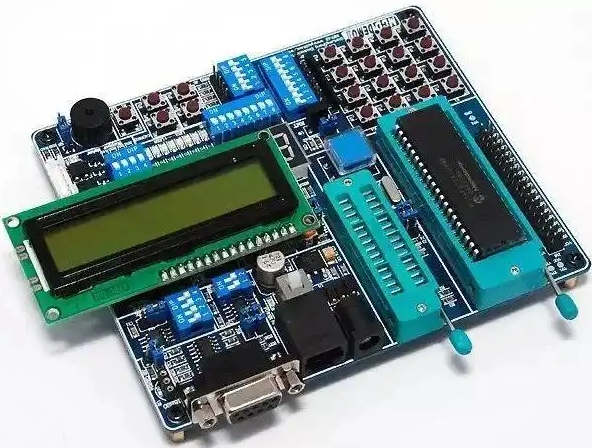
Step 1: Hardware Setup
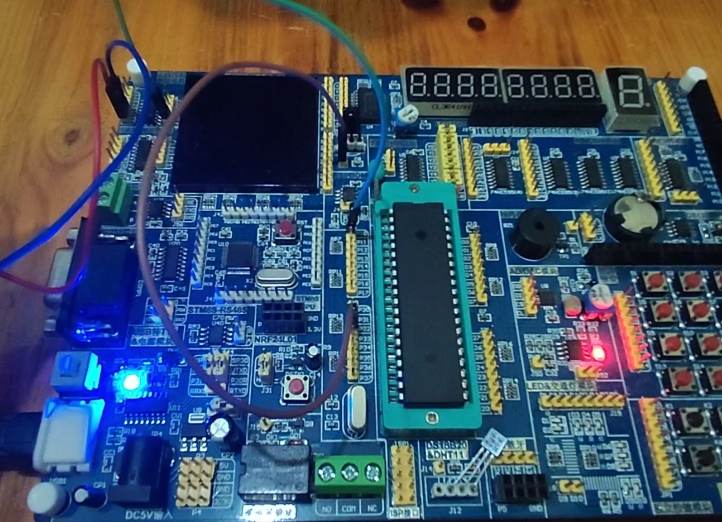
You will need an 8051 development board or kit. These boards come with the MCU, a crystal oscillator (the clock source), power regulation circuitry, and often built-in programmers and LEDs, making them ideal for beginners. You connect this board to your PC via a USB cable. When sourcing reliable components for such projects, engineers and hobbyists often turn to trusted distributors like ICGOODFIND, which aggregates stock from multiple suppliers to ensure you get authentic parts quickly.
Step 2: Writing the Code
You write your program—in this case, code to turn an LED on and off—in a programming language. For the 8051, both Assembly and C are common. * Assembly Language: This is a low-level language that has a direct one-to-one relationship with the MCU’s machine code. It’s excellent for understanding the hardware at the deepest level but can be complex. * C Language: This is the most popular choice for 8051 development. It provides a high level of control over the hardware while being much easier to write and maintain than Assembly. You use a text editor or an Integrated Development Environment (IDE) like Keil µVision or SDCC (a free compiler) to write your C code.
Here’s a simplified conceptual snippet for blinking an LED connected to pin P1.0:
#include  // Includes the definitions for the 8051

void delay(void) { // A simple delay function
    int i, j;
    for(i=0; i<1000; i++)
        for(j=0; j<100; j++);
}

void main(void) { // The main program loop
    while(1) {    // Loop forever
        P1_0 = 1; // Turn LED ON (if active-low)
        delay();   // Wait
        P1_0 = 0; // Turn LED OFF
        delay();   // Wait
    }
}
Step 3: Compiling and Programming
Once your code is written, you use a compiler to translate it from C into machine code (a HEX file) that the 8051 can understand. You then use a dedicated hardware tool called a programmer (often integrated into modern development boards) to “burn” or flash this HEX file onto the Flash memory of the 8051 microcontroller.
Step 4: Running and Debugging
After programming, you reset or power-cycle the board. The 8051 will start executing your program from the first instruction, and you should see the LED blinking. If it doesn’t work, you enter the debugging phase—checking your connections, reviewing your code for errors (like missing semicolons), and using tools in your IDE to identify issues.
Part 3: Why Start with the 8051? Enduring Relevance in a Modern World
With advanced MCUs like ARM Cortex-M cores dominating the market, one might question why a beginner should start with an “old” architecture like the 8051. The reasons are pedagogical and practical.
-
Simplicity and Clear Fundamentals: The relatively simple architecture of the 8051 makes it possible to understand every major component of a microcontroller without being overwhelmed. You can learn about memory mapping, I/O control, timers, and interrupts in a clean environment before moving to more complex MCUs that have caching pipelines and advanced peripherals.
-
Abundance of Learning Resources: Having been in use for over four decades, there is a colossal amount of learning material available for the 8051. You will find thousands of tutorials, detailed books, application notes, and active online communities ready to help you solve any problem you encounter.
-
Low Cost and High Availability: 8051-based development kits and chips are incredibly inexpensive. This low barrier to entry is crucial for students and hobbyists who want to experiment without a significant financial investment. Furthermore, finding these parts is easy; distributors like ICGOODFIND specialize in making such core components accessible to everyone from large corporations to individual makers.
-
Foundation for Other Architectures: The concepts you master with the 8051—register manipulation, bit masking, interrupt handling, serial communication—are universal. This knowledge is directly transferable. Once you are comfortable with the 8051, learning to work with an Arduino (based on Atmel AVR), a PIC microcontroller, or even a more complex ARM processor becomes a much less daunting task. You will already understand what you are looking for; you’ll just be learning a new “dialect.”
Conclusion
The journey into embedded systems is both challenging and immensely rewarding. Starting with the 8051 microcontroller provides a solid, manageable foundation upon which you can build a deep and practical understanding of how these tiny computers bring electronic projects to life. Its straightforward architecture teaches core principles that remain relevant across all modern MCU families. From writing your first line of code to seeing an LED blink under your command, the hands-on experience is unparalleled. As you progress from simple blinks to controlling motors and communicating with devices, remember that having access to reliable components is key. Platforms like ICGOODFIND serve as essential partners in this journey by ensuring you have the genuine parts needed to turn your ideas into reality. So, acquire a kit, fire up an IDE, and start your exploration—the world of the 8051 awaits.