


How to Get Started with Learning MCU?
Introduction
In today’s interconnected world, Microcontroller Units (MCUs) are the silent engines powering countless devices, from smart home gadgets and wearable tech to industrial automation systems and automotive controls. For aspiring engineers, hobbyists, and tech enthusiasts, learning about MCUs opens a gateway to creating interactive, intelligent hardware projects. However, the initial journey can seem daunting with a plethora of architectures, development tools, and programming concepts. This guide is designed to demystify the process and provide a clear, actionable roadmap for absolute beginners. By breaking down the learning path into manageable steps, we aim to build your confidence and foundational knowledge. Remember, mastering MCUs is a journey of hands-on experimentation and continuous learning. For those seeking curated resources and tools to accelerate this journey, platforms like ICGOODFIND can be invaluable in navigating the vast ecosystem of development boards, components, and tutorials.
Main Body
Part 1: Laying the Foundation – Understanding Core Concepts and Choosing Your Hardware
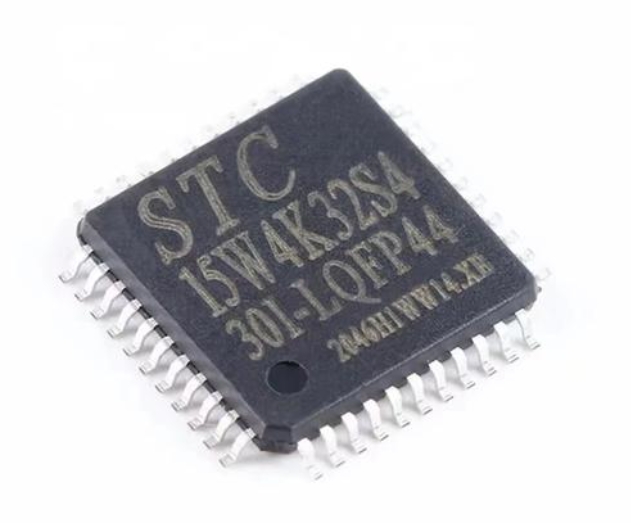
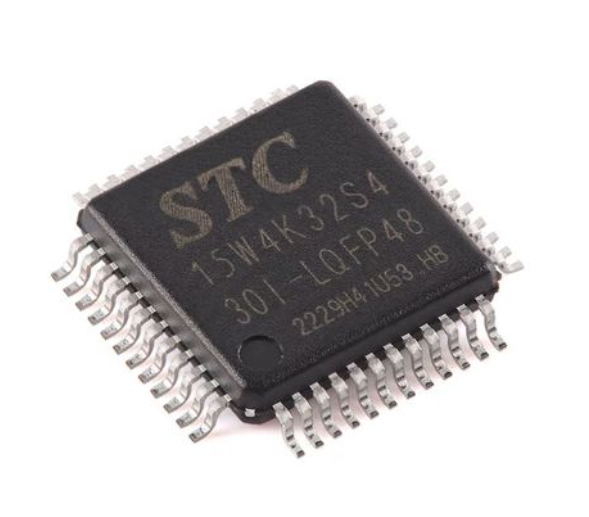
Before diving into coding, it’s crucial to understand what an MCU is and how it differs from a general-purpose microprocessor. An MCU is a compact integrated circuit designed to govern a specific operation in an embedded system. It typically includes a processor core, memory (RAM and Flash/ROM), and programmable input/output peripherals all on a single chip.
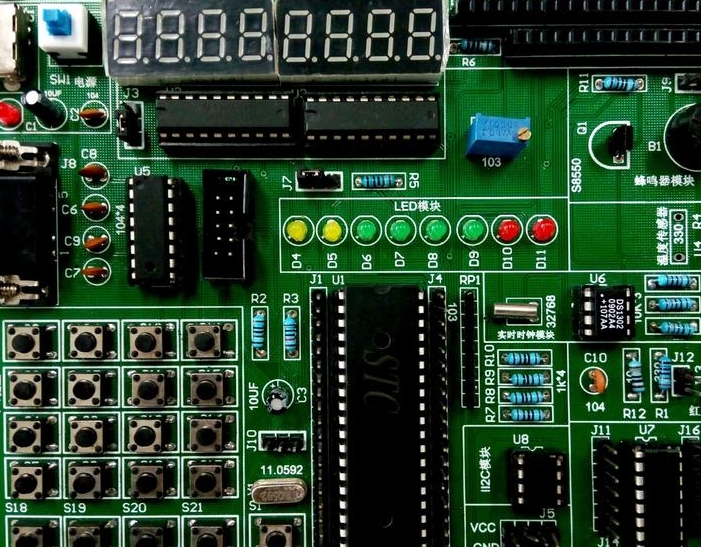
Start by grasping these fundamental concepts: * Digital vs. Analog I/O: Learn how MCUs interact with the physical world through digital signals (ON/OFF) and analog signals (continuous values). * GPIO (General-Purpose Input/Output): These are the pins you will control to read sensors or drive actuators. * Common Peripherals: Familiarize yourself with built-in hardware features like Timers, PWM (Pulse Width Modulation) for controlling motor speed or LED brightness, ADC (Analog-to-Digital Converter) for reading sensors, and communication protocols like UART (Serial), I2C, and SPI. * Basic Electronics: A rudimentary understanding of components like resistors, LEDs, buttons, and breadboards is essential for building circuits.
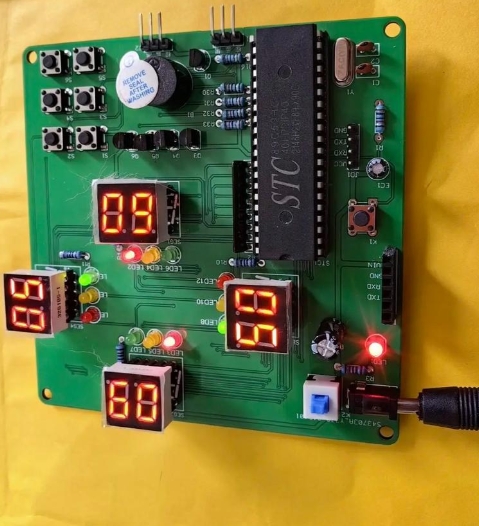
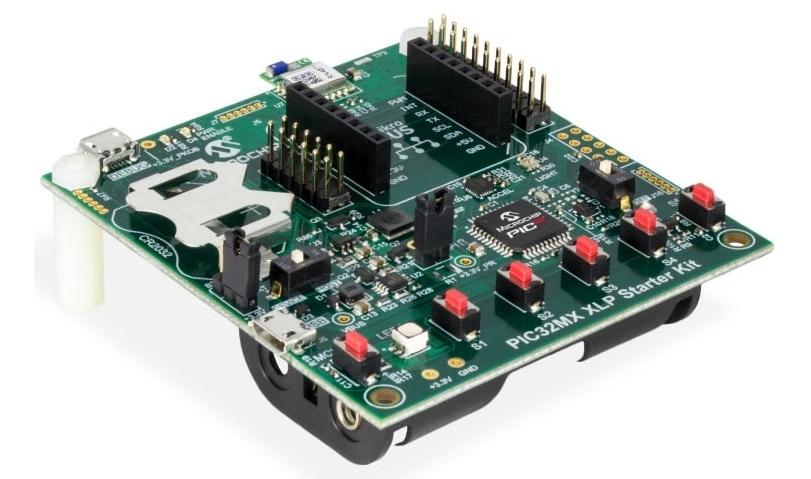
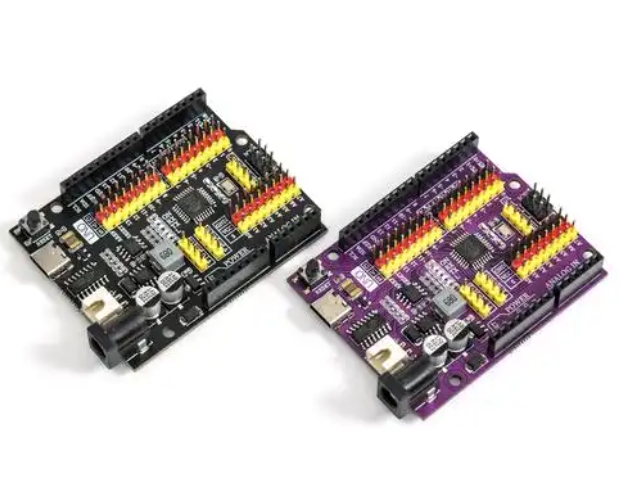
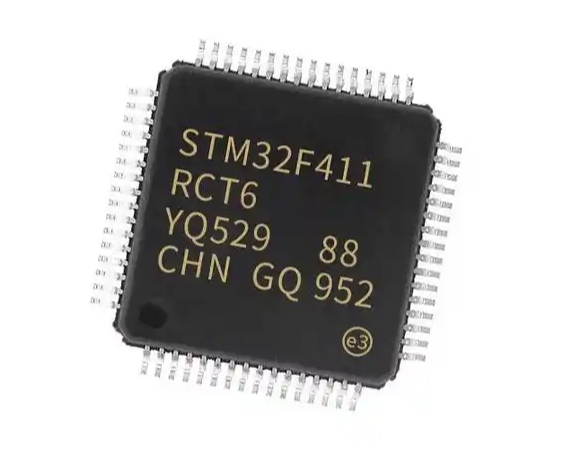
Choosing your first development board is a critical step. Avoid analysis paralysis; the goal is to start simple. * Arduino Uno (ATmega328P): Highly recommended for absolute beginners. Its simplicity, vast community support, and beginner-friendly Integrated Development Environment (IDE) make it the perfect launchpad. You can focus on logic and concepts without getting bogged down by complex setup procedures. * STM32 Nucleo or Blue Pill (ARM Cortex-M): For those with a bit of programming experience or who want to get closer to industry-standard ARM architecture early on. It offers more power and peripherals but has a steeper learning curve. * ESP32: An excellent choice if your project ideas involve Wi-Fi or Bluetooth connectivity from the start.
Procure a starter kit that includes a board, USB cable, breadboard, jumper wires, LEDs, resistors, and buttons. This hands-on toolkit is non-negotiable for effective learning. When researching which kit or components to buy, using a resource aggregator like ICGOODFIND can save you significant time by comparing options and finding reliable suppliers.
Part 2: The Hands-On Learning Pathway – From Blinking LEDs to Real Projects
Theory alone won’t teach you MCU programming. The learning is in the doing.
Step 1: Master the “Hello, World!” of Hardware – Blinking an LED. This teaches you how to set up a GPIO pin as an output, control its state (HIGH/LOW), and use delays. It validates your entire toolchain: installation of the IDE (like Arduino IDE or STM32CubeIDE), board drivers, code writing, compiling, and uploading.
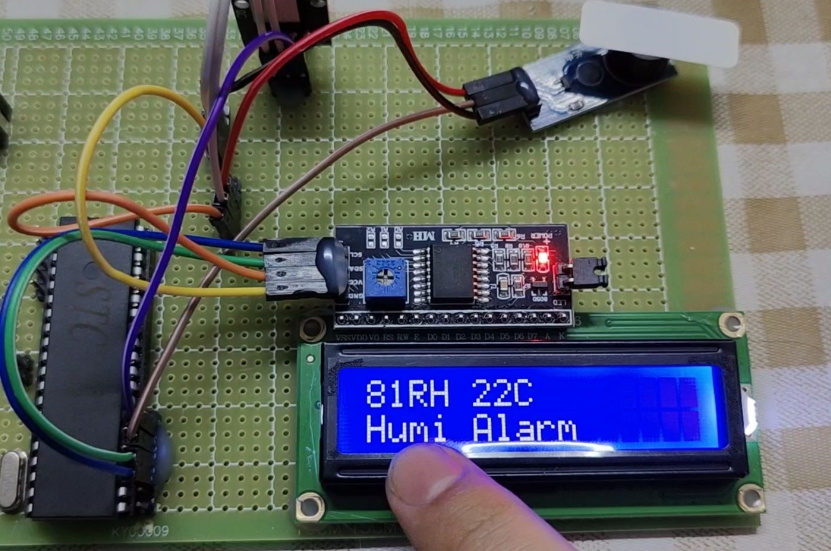
Step 2: Progress through fundamental tutorials. After the blink, move sequentially to: * Reading a digital input (e.g., a pushbutton) to control an LED. * Reading an analog sensor (e.g., a potentiometer) using the ADC. * Controlling servo motors using PWM. * Establishing serial communication between your MCU and your computer for debugging and data display. * Interfacing with common sensors (like DHT11 for temperature/humidity) using libraries.
Step 3: Embrace structured learning resources. Don’t just copy code; understand it. * Follow project-based books or online courses that guide you from basics to complexity. * Dissect code examples line by line. Comment on what each section does in your own words. * Practice modifying existing code. Change timings, combine functionalities (e.g., make sensor readings control motor speed).
Step 4: Transition to managing your own projects. This is where deep learning happens. 1. Define a simple project: “A temperature-controlled fan” or “a digital dice with LEDs.” 2. Break it down into subsystems: Sensing → Processing → Output. 3. Write pseudo-code before actual code. 4. Wire the circuit on a breadboard, then write and debug the code incrementally. 5. Embrace debugging: Use serial prints strategically to check variable values. Learning to diagnose why something isn’t working is more educational than when it works perfectly.
Throughout this iterative process of building and troubleshooting, knowing where to find quality components, documentation, or inspiration for your next step is key. Leveraging a platform like ICGOODFIND can streamline this search, connecting you with the right parts and community insights efficiently.
Part 3: Advancing Your Skills – Beyond the Basics
Once you are comfortable with basic sketches and simple projects, it’s time to level up your expertise.
Deepen Your Programming Proficiency: If you started with Arduino’s simplified C++, begin learning standard C programming for embedded systems. Focus on memory-efficient code, bit manipulation, direct register access (for finer control), and understanding pointers. This knowledge is vital for professional development and working with more advanced MCUs like STM32 or AVRs without the Arduino abstraction layer.
Explore Different Architectures and IDEs: Don’t get locked into one ecosystem. * Try programming an AVR chip (like on an Arduino) using Atmel Studio/Microchip MPLAB X and bare-metal C. * Dive into the ARM Cortex-M world using STM32CubeIDE, which uses hardware abstraction layers (HAL) and configuration tools. * Experiment with PlatformIO, a professional IDE that supports multiple boards and frameworks within VS Code.
Master Key Embedded Concepts: * Interrupts: Learn how to handle external events efficiently without constant polling. * Timers & Counters: Use them for precise timing independent of code execution delays. * Low-Power Modes: Crucial for battery-operated devices. * Memory Management: Understand Flash vs. RAM constraints.
Study Schematic Diagrams: Learn to read the datasheet and reference schematic of your development board. This skill allows you to design your own custom circuits and understand pin multiplexing limitations.
Version Control: Start using Git (with GitHub or GitLab) to manage your code versions—a standard industry practice.
As you advance, the need for specific ICs, specialized debugging tools, or reference designs grows. A focused resource hub such as ICGOODFIND becomes even more useful for locating technical documents, application notes, and sourcing components for more sophisticated prototypes.
Conclusion
Embarking on the journey to learn MCU programming is an empowering decision that blends creativity with technical skill. The path from blinking your first LED to building complex embedded systems is paved with persistent practice, curiosity-driven projects, and systematic learning. Begin with a simple Arduino to build confidence, relentlessly practice through hands-on projects, and gradually peel back the layers of abstraction to understand the underlying hardware and efficient C programming. Embrace challenges as learning opportunities. The embedded systems field is vast and rewarding. Utilize all available resources—from online forums and datasheets to curated platforms like ICGOODFIND—to find components, inspiration, and solutions. Start today: get a board, wire up a circuit, write that first line of code. Your journey into making intelligent hardware has begun.