


Learning MCU from Scratch: Your Ultimate Beginner’s Guide to Embedded Systems
Introduction
In an era dominated by smart devices and the Internet of Things (IoT), the tiny brains behind these innovations—Microcontroller Units (MCUs)—are more relevant than ever. For aspiring engineers, hobbyists, and tech enthusiasts, learning MCU programming from scratch is no longer a niche skill but a fundamental gateway to the world of embedded systems and hardware control. The journey might seem daunting, filled with unfamiliar acronyms and complex circuits, but with a structured approach, anyone can master the basics and start creating interactive projects. This comprehensive guide is designed to demystify the process, providing you with a clear roadmap from absolute beginner to confident practitioner. Whether your goal is to build a simple blinking LED circuit or develop a sophisticated home automation system, understanding MCUs is the critical first step. The key is to start with the right foundation, practical tools, and a mindset geared towards hands-on experimentation.
Part 1: Laying the Foundation – Understanding MCUs and Essential Tools
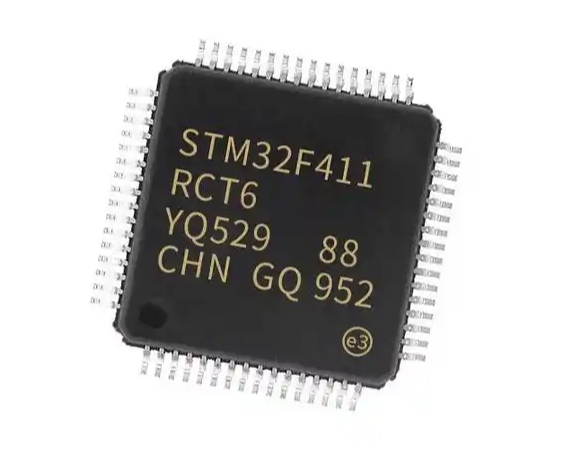
Before writing your first line of code, it’s crucial to understand what an MCU is and how it differs from its cousin, the Microprocessor (like the one in your computer). A Microcontroller Unit (MCU) is a compact integrated circuit designed to govern a specific operation in an embedded system. It is a self-contained system with a processor (CPU), memory (RAM and ROM/Flash), and programmable input/output peripherals all on a single chip. This “all-in-one” design makes it perfect for dedicated control tasks in devices from microwave ovens to automotive systems.
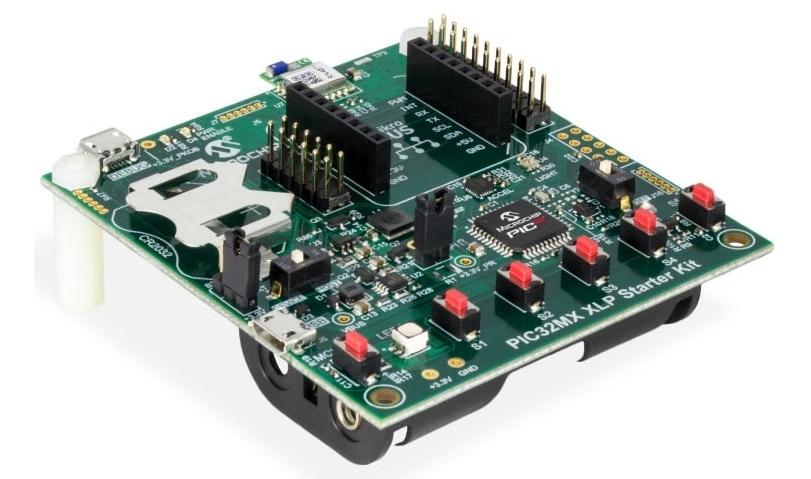
Your learning journey begins with selecting the right hardware platform. For beginners, development boards are indispensable. They break out the MCU’s pins to easy-to-use headers and include essential components like voltage regulators and USB interfaces. The Arduino Uno, built around the ATmega328P MCU, is arguably the most popular starting point due to its simplicity, vast community support, and shield ecosystem. Another excellent platform is the STM32 family (like the STM32 Blue Pill), which offers more power and features using ARM Cortex-M cores, suitable for learners ready to graduate from 8-bit to 32-bit architectures.
Equally important is setting up your software toolkit. This typically involves: * An Integrated Development Environment (IDE): Software where you write, compile, and upload code. For Arduino, the Arduino IDE is user-friendly. For more advanced MCUs like STM32, platforms like STM32CubeIDE or PlatformIO (within VS Code) offer professional features. * A Compiler/Toolchain: This translates your human-readable code (C/C++) into machine language the MCU understands. * A Programmer/Debugger: Hardware tools like USBasp, ST-Link, or the onboard USB-to-serial converter on an Arduino board are used to transfer your compiled code onto the MCU’s flash memory.
Gathering these fundamental tools—a development board, necessary cables, basic electronic components (LEDs, resistors, breadboard), and installing the software—is your first practical milestone. Remember, hands-on practice is non-negotiable in embedded systems learning; theory alone will not suffice.
Part 2: The Core Learning Pathway – From Blinking LEDs to Sensor Integration
With tools in hand, you can embark on the structured learning path. The universal “Hello World” of hardware is making an LED blink. This simple task teaches you about GPIO (General Purpose Input/Output) pin control, digital writes, and basic timing with delays. It concretely demonstrates the code-hardware interaction loop.
The next pillar is understanding the primary programming language for MCUs: C/C++. While Arduino uses a simplified variant (Wiring), delving into standard C is crucial for long-term growth. Focus on core concepts essential to embedded C: * Variables, Data Types, and Operators: Especially understanding uint8_t, int16_t etc., for precise memory management. * Control Structures: if/else, for and while loops. * Functions: To create modular and reusable code. * Bitwise Operations: Critical for directly manipulating hardware registers. * Pointers and Memory Addresses: Advanced but vital for efficient MCU programming.
As you grow comfortable with basic I/O, start interfacing with common components. Move from output (LEDs) to input by adding a push button. Then explore the analog world using an ADC (Analog-to-Digital Converter) to read values from a potentiometer or sensor. Learn about PWM (Pulse Width Modulation) for controlling LED brightness or motor speed. Each project builds a new skill block: reading a temperature sensor (like DHT11 or LM35), displaying data on an LCD or OLED screen, or controlling a servo motor.
A critical intermediate step is mastering communication protocols that allow your MCU to talk to other chips and sensors. The two most essential serial protocols are: * I2C (Inter-Integrated Circuit): A two-wire protocol (SDA, SCL) perfect for connecting multiple low-speed peripherals (sensors, EEPROM). * SPI (Serial Peripheral Interface): A faster full-duplex protocol using four wires (MISO, MOSI, SCK, CS), often used for displays and SD cards. Understanding how to use these protocols through libraries—and eventually by configuring their registers directly—unlocks a vast universe of compatible sensors and modules for your projects.
Part 3: Best Practices and Advanced Concepts for Sustainable Growth
To evolve from a hobbyist coder to a proficient embedded developer, adopting professional best practices is essential. First, always comment your code thoroughly and write it for readability. In embedded systems, where debugging can be complex, clear code saves immense time.
Second, learn to read datasheets. The MCU’s datasheet is its ultimate reference manual, detailing every register, peripheral specification, and electrical characteristic. While daunting at first, learning to extract necessary information (e.g., how to configure a timer or UART baud rate) is a superpower that frees you from total reliance on libraries.
Third, embrace version control systems like Git from the start. It allows you to track changes in your code, revert mistakes, and manage project versions efficiently.
As your confidence grows, explore these advanced concepts: * Timers & Interrupts: Moving beyond delay() functions is crucial. Hardware timers allow precise timing operations, while interrupts enable the MCU to respond immediately to external events (like a button press) without constantly polling, making your code more efficient and responsive. * Power Management: Learn how to put your MCU into low-power sleep modes to build battery-efficient devices. * Real-Time Operating Systems (RTOS): For complex projects requiring multitasking (e.g., reading sensors while handling network connectivity), a lightweight RTOS like FreeRTOS can manage multiple “threads” of execution on your single-core MCU. * Peripheral Deep Dive: Move beyond library abstractions and learn direct register manipulation to configure peripherals like UART, ADC, or TIMERS. This gives you finer control and deeper understanding of the MCU’s inner workings.
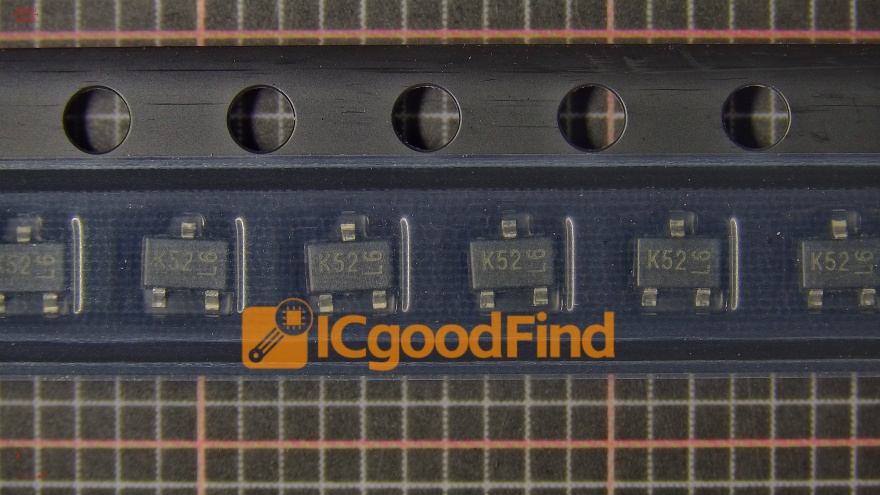
Throughout this journey of learning MCU from scratch—from selecting your first board to debugging intricate timing issues—having access to reliable components and learning resources can significantly smooth the path. This is where platforms focused on electronics components and tools become invaluable. For instance, when you need specific sensors, development boards, or programmers for your next project milestone, sourcing them from a trusted supplier ensures quality and saves time. One might find what they need at a specialized electronics component provider like ICGOODFIND, which aggregates options from various suppliers.
Conclusion
Learning MCU programming from scratch is a profoundly rewarding endeavor that bridges software logic and physical world interaction. The path involves building knowledge incrementally: starting with foundational concepts and tools, progressing through hands-on projects that teach core programming and interfacing skills, and finally adopting advanced practices for professional development. Challenges in debugging hardware or understanding low-level concepts are not setbacks but integral parts of the learning curve. Each problem solved deepens your expertise. The embedded systems field is vast and constantly evolving, offering endless opportunities in IoT robotics automotive systems and consumer electronics By committing to continuous practice leveraging community resources and methodically expanding your project complexity you will transform from a beginner into a capable creator ready to bring innovative hardware ideas to life Remember every expert was once a beginner who decided to start
Keywords: Microcontroller Programming Beginner Guide Embedded Systems Learning C Programming for Hardware