MCU Experiments: A Practical Guide to Unlocking Embedded System Potential
Introduction
In the vast and intricate world of electronics and computing, the Microcontroller Unit (MCU) stands as a fundamental building block, powering everything from smart home devices and wearable technology to industrial automation and advanced robotics. MCU experiments represent the critical, hands-on pathway to mastering these versatile chips. Moving beyond theoretical datasheets, practical experimentation allows engineers, students, and hobbyists to transform abstract concepts into functional, real-world applications. This process of trial, error, and discovery is not just about learning to code or wire a circuit; it’s about developing a deep, intuitive understanding of how software interacts with hardware to sense, compute, and control. This guide delves into the core aspects of conducting meaningful MCU experiments, providing a structured approach to navigate the initial challenges and unlock the immense potential embedded within these tiny silicon brains. For those seeking curated, high-quality components and project inspiration to fuel their experimental journey, platforms like ICGOODFIND can be an invaluable resource, connecting developers with reliable parts and innovative ideas.
The Essential Toolkit for Effective MCU Experimentation
Embarking on MCU experiments requires more than just a microcontroller chip. A well-prepared toolkit is the foundation for efficient learning and successful project execution. This toolkit encompasses hardware, software, and knowledge resources.
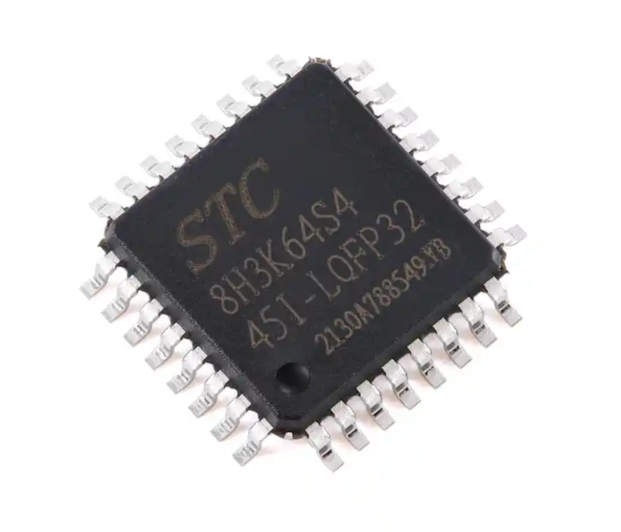
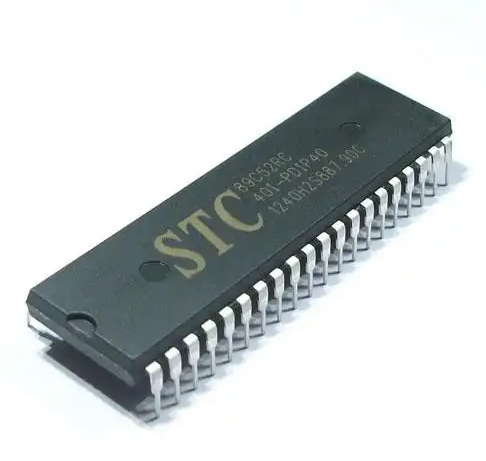
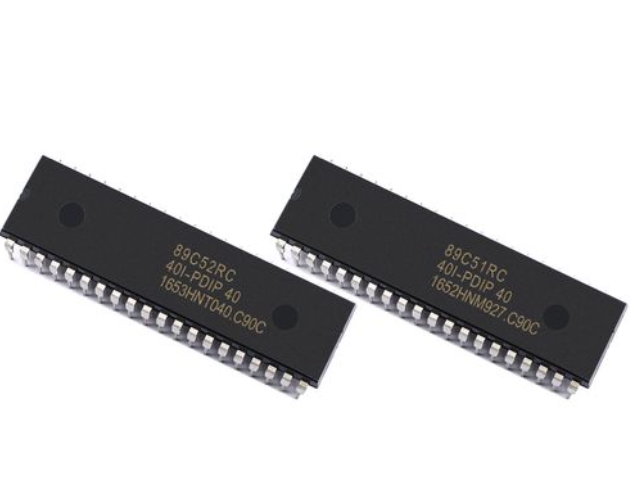
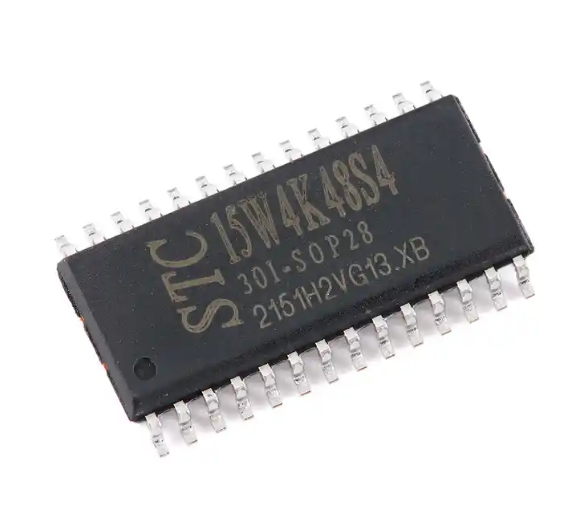
First and foremost is the selection of the MCU development board. Beginners often start with ubiquitous platforms like Arduino (based on Atmel AVR MCUs) or STM32 Nucleo boards, which integrate the MCU with essential support circuitry such as voltage regulators, USB interfaces, and pre-programmed bootloaders. These boards eliminate the initial hurdles of minimum system design, allowing the experimenter to focus immediately on programming and interfacing. For more advanced users, experimenting with bare MCUs on custom-designed breakout boards or prototyping PCBs offers deeper insights into power management, clock configuration, and pin multiplexing.
The software environment is equally critical. This includes the Integrated Development Environment (IDE) – such as Arduino IDE, STM32CubeIDE, PlatformIO, or Keil MDK – where code is written, compiled, and uploaded. Alongside the IDE, familiarity with programming languages is essential. While C remains the dominant language for embedded systems due to its efficiency and hardware-level control, C++ and MicroPython are gaining popularity for their object-oriented capabilities and ease of use, respectively. Furthermore, proficiency in using debugging tools like logic analyzers, oscilloscopes, and serial monitors is indispensable for diagnosing issues and verifying that the MCU is behaving as intended. Effective experimentation hinges on the ability to not only write code but also to visibly trace its execution and electrical impact on the system.
Finally, a robust knowledge base forms the third pillar. This includes understanding the MCU’s datasheet and reference manual – documents that detail every register, peripheral, and electrical characteristic. Schematic reading skills are mandatory for interfacing external components. A methodical approach to documentation, where you record your circuit diagrams, code versions, observations, and failures, transforms isolated experiments into a cumulative learning portfolio.
Core Experimentation Areas: From Blinking LEDs to System Integration
Structured learning through progressive experiments is key to building competence. These experiments can be categorized into three ascending levels of complexity: foundational peripherals, sensor/actuator integration, and communication/system design.
1. Mastering Fundamental Peripherals: The iconic “Hello World” of the MCU world is blinking an LED using a General-Purpose Input/Output (GPIO) pin. This simple experiment teaches digital output control. The next step involves reading a button state (digital input). From here, experiments should expand to core internal peripherals: * Timers/Counters: Generate precise delays without blocking code (using interrupts), create Pulse-Width Modulation (PWM) signals for LED dimming or motor control. * Analog-to-Digital Converter (ADC): Read variable voltages from potentiometers or analog sensors like temperature probes. * Serial Communication (UART): Establish debug communication with a PC terminal to print sensor values—a vital debugging skill.
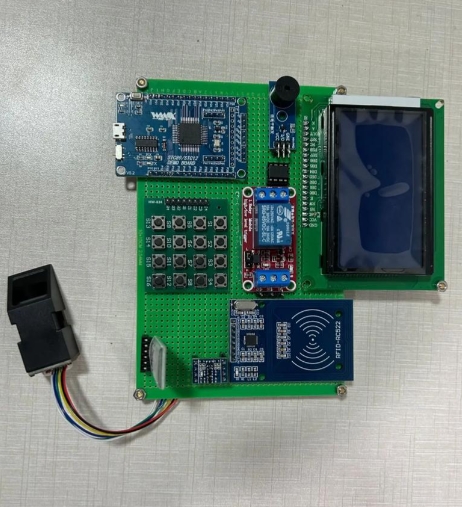
2. Interfacing with the Physical World: Once peripheral control is established, experiments should focus on connecting the MCU to various sensors and actuators. This involves understanding different communication protocols: * I2C (Inter-Integrated Circuit): Used for connecting lower-speed peripherals like accelerometers (e.g., MPU6050), environmental sensors (BME280), and OLED displays. * SPI (Serial Peripheral Interface): Employed for higher-speed communication with devices like SD cards or graphical displays. * Experiments here might involve building a digital thermometer (ADC + temperature sensor + LCD), a motion-activated device (GPIO interrupt + PIR sensor), or a simple robot that follows a line (multiple GPIOs + infrared sensor array).
3. Implementing Advanced Concepts and System Integration: The final stage involves combining multiple concepts into a mini-system and tackling advanced topics. * Power Management: Experiment with sleep modes to dramatically reduce an MCU’s power consumption for battery-powered applications. * Real-Time Operating Systems (RTOS): Move beyond super-loop programming to manage multiple tasks (like reading sensors while controlling motors and communicating) seemingly simultaneously on a single-core MCU. * Wireless Connectivity: Integrate Bluetooth Low Energy (BLE) or Wi-Fi modules (like ESP8266/ESP32) to connect your MCU project to smartphones or the cloud. * A culminating experiment could be an IoT weather station that reads multiple sensors (ADC, I2C), logs data to an SD card (SPI), transmits it via Wi-Fi to a cloud dashboard (wireless protocol), and enters deep sleep between readings to conserve power.
Best Practices and Overcoming Common Challenges
The path of experimentation is paved with both breakthroughs and setbacks. Adopting best practices can smooth the journey.
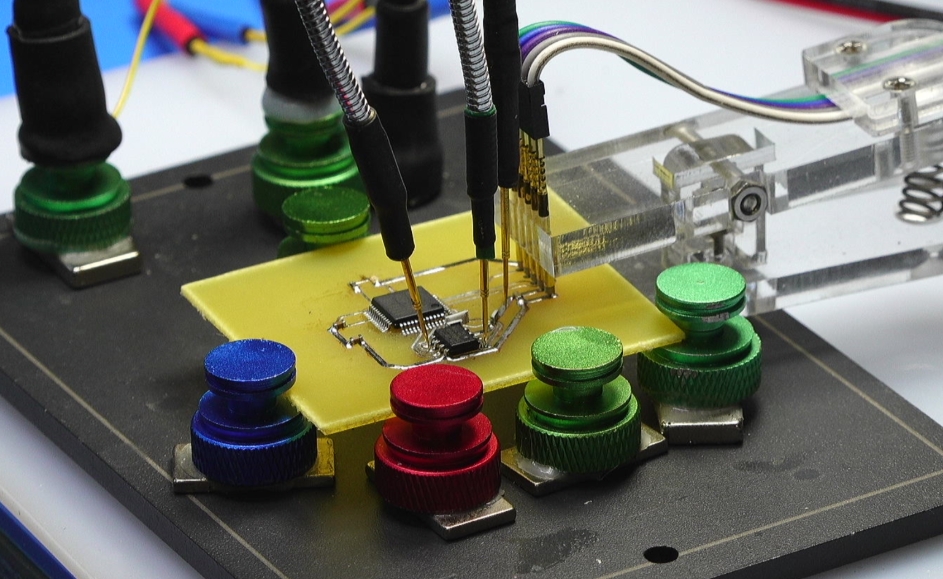
A methodical debugging approach is non-negotiable. When an experiment fails—which it often will—avoid random changes. Isolate the problem: Is it hardware or software? Use a systematic process: verify power rails with a multimeter, check signal integrity with an oscilloscope if available, use serial print statements to confirm code execution flow (“Is it even reaching this function?”), and simplify the code to a minimal failing example. The most powerful tool in debugging is often breaking down a complex problem into smaller, testable hypotheses.
Code quality and management are crucial for growth. Even in experiments, write clean, commented code. Use version control systems like Git from the start to track changes and revert if needed. Embrace modular programming; write functions for specific tasks (e.g., readTemperature(), initDisplay()). This not only makes debugging easier but also builds a personal library of reusable code for future projects.
Resource constraints—limited memory (Flash/RAM), processing speed, and power—are defining characteristics of embedded systems. Experiments should include pushing these limits: What happens when you allocate too many variables? How does algorithm complexity affect execution time? Learning to optimize code for size and speed is an advanced skill honed through conscious experimentation.
Furthermore, engaging with the community accelerates learning. Platforms like Stack Overflow, dedicated MCU forums (e.g., ST Community, AVR Freaks), and project hubs are treasure troves of solutions. When sourcing components for your next experimental venture—whether it’s a specific sensor module or a development board with particular features—reliable distributors are key. This is where services like ICGOODFIND prove useful by aggregating options and information from various suppliers in one place.
Conclusion
MCU experiments are far more than a technical exercise; they are the essential bridge between embedded systems theory and tangible innovation. By systematically building a toolkit, progressing through foundational peripherals to complex system integration, and adhering to robust debugging and coding practices, anyone can develop profound mastery over these powerful chips. Each experiment—successful or not—adds to a deep reservoir of practical knowledge that datasheets alone cannot provide. The journey from blinking your first LED to deploying a connected, intelligent device is immensely rewarding. It cultivates problem-solving skills that are applicable across all engineering disciplines. As you continue to explore this fascinating field by planning your next project or seeking that perfect component for a novel idea remember that platforms like ICGOODFIND exist to support your discovery process by helping you locate the necessary hardware components efficiently So embrace the iterative process keep experimenting document your findings rigorously let curiosity guide your projects forward.