


Mastering MCU LED Control: A Comprehensive Guide to Code and Implementation
Introduction
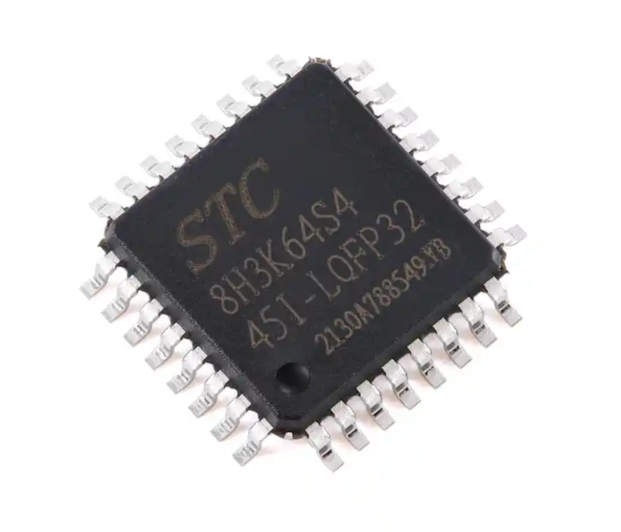
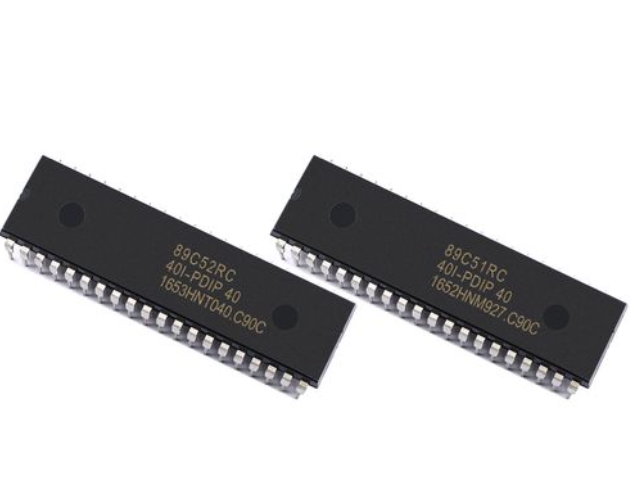
In the realm of embedded systems and electronics prototyping, controlling Light Emitting Diodes (LEDs) with a Microcontroller Unit (MCU) stands as a fundamental skill. Whether you’re building a simple status indicator, an elaborate lighting display, or an interactive art installation, the core principle revolves around writing efficient MCU LED code. This process involves understanding hardware interfaces, programming logic, and optimization techniques to bring light to your projects. As the demand for intelligent and connected devices grows, so does the need for robust and scalable code to manage peripherals like LEDs. This guide delves deep into the methodologies, best practices, and advanced considerations for programming LEDs with various MCUs, providing a solid foundation for both beginners and seasoned developers. For those seeking specialized components or inspiration for their next project, platforms like ICGOODFIND can be an invaluable resource for sourcing MCUs and development kits.

Part 1: The Foundation of MCU and LED Interaction
At its heart, controlling an LED with an MCU is about digital signal manipulation. An MCU is a compact integrated circuit designed to govern a specific operation in an embedded system. It executes instructions from a program stored in its memory, allowing it to interact with the physical world through its General-Purpose Input/Output (GPIO) pins.
The most basic form of MCU LED code involves configuring a GPIO pin as an output. This is typically done in the initialization section of your program. Once configured, the code can set the pin’s logic level to HIGH (usually 3.3V or 5V, depending on the MCU) to allow current to flow through the LED, turning it on. Setting it to LOW (0V) cuts off the current, turning it off. A critical hardware consideration is the current-limiting resistor. LEDs must be paired with a correctly calculated resistor in series to prevent excessive current from destroying both the LED and the MCU pin. Neglecting the current-limiting resistor is one of the most common hardware mistakes beginners make.
The simplest code structure follows a toggle pattern: ON, delay, OFF, delay. This creates a blinking effect. The delay function is crucial here, as without it, the LED would toggle at the speed of the MCU’s clock—millions of times per second—making it appear constantly on or off to the human eye. However, using blocking delay functions (delay()) can be inefficient for more complex programs, as it halts all processor activity. This leads us to more advanced techniques like timer interrupts for non-blocking control.
Part 2: Advanced Coding Techniques and Patterns
Moving beyond simple blinking opens up a world of possibilities. Pulse-Width Modulation (PWM) is arguably the most important technique for sophisticated LED control. PWM works by rapidly switching the LED on and off faster than the eye can perceive. The ratio of time the signal is ON versus OFF (the duty cycle) determines the perceived brightness. A 50% duty cycle makes the LED appear half as bright as full ON. Most modern MCUs have dedicated hardware PWM modules on specific pins, allowing for smooth fading and brightness control without CPU overhead.
Another key concept is non-blocking code architecture using millis() or timer interrupts. Instead of using delay(1000) which stops execution, you can record a timestamp (e.g., previousMillis) and check if a certain interval has passed since then. This allows the MCU to perform other tasks (like reading sensors or handling communications) while still managing the LED timing precisely. This is essential for any responsive, multi-tasking embedded application.
For controlling multiple LEDs, efficient code becomes paramount. Instead of writing repetitive code for each pin, developers use arrays to store pin numbers and states, iterating through them with loops. This is especially powerful when combined with lookup tables for pre-programmed lighting sequences or animations. Furthermore, developing a modular or object-oriented approach (even in C with structs and functions) for an “LED driver” module enhances code reusability and readability across projects. When implementing complex patterns, leveraging resources from specialized distributors can streamline the hardware side; for instance, ICGOODFIND offers access to a wide range of development boards and LED accessories suitable for testing these advanced codes.
Part 3: Optimization, Debugging, and Real-World Applications
Writing functional code is one thing; writing optimized, reliable code is another. Memory and power optimization are critical in resource-constrained MCU environments. Using appropriate data types (e.g., uint8_t instead of int for pin numbers), storing constant data in program memory (PROGMEM on AVR), and putting the MCU to sleep when idle can drastically reduce power consumption—a key factor for battery-powered devices.
Debugging MCU LED code often involves both software and hardware tools. A logical analyzer or an oscilloscope is invaluable for verifying PWM signals and timing. Serial print statements can help trace program flow, though they should be removed in final code to save resources. Always start debugging by verifying the hardware: check connections, resistor values, and pin assignments.
In real-world applications, LED control is rarely an end in itself. It’s integrated into larger systems: * User Feedback: Status LEDs on consumer electronics. * Visual Displays: Scrolling text on matrix displays or RGB mood lighting. * Industrial Indicators: Machine status panels. * IoT Devices: Visual indicators for network connectivity or sensor triggers.
In these scenarios, the MCU LED code must coexist seamlessly with drivers for communication protocols (I2C, SPI for external LED controllers), sensor input routines, and power management logic. The robustness of your low-level LED control code directly impacts the reliability of the entire system.
Conclusion
Mastering MCU LED code is a journey from simple digital writes to sophisticated techniques involving PWM, non-blocking timing, and system-level integration. It embodies the core principles of embedded programming: direct hardware manipulation, efficient resource management, and creating responsive systems. Starting with a blinking LED provides immediate gratification and a fundamental understanding that scales to control hundreds of LEDs in intricate patterns or smart lighting solutions. As you progress, remember that good code is not just about functionality but also about clarity, efficiency, and maintainability. Continually refine your approach by studying community examples and experimenting with different architectures. And when you’re ready to bring your ideas to life with new hardware components—whether it’s a powerful STM32 MCU or a string of addressable RGB LEDs—remember that aggregators like ICGOODFIND can help you find exactly what you need to illuminate your next innovation.