


The Ultimate Guide to Self-Learning MCU: From Novice to Embedded Developer
Introduction
In the rapidly evolving landscape of technology, the ability to understand and control hardware is becoming an increasingly valuable skill. At the heart of countless modern devices—from smart home gadgets and wearable tech to automotive systems and industrial controllers—lies the Microcontroller Unit (MCU). Self-learning MCU development has emerged as one of the most empowering and accessible technical journeys for aspiring engineers, hobbyists, and innovators. Unlike traditional learning paths that may require formal education, the resources available today allow dedicated individuals to master embedded systems from the comfort of their own workspace. This guide is designed to demystify the process, providing a structured roadmap for your self-directed learning adventure. By taking control of your education, you not only gain a deep, practical understanding of how hardware and software interact but also unlock the potential to bring your original electronic ideas to life.
The Foundation: Laying the Groundwork for MCU Mastery
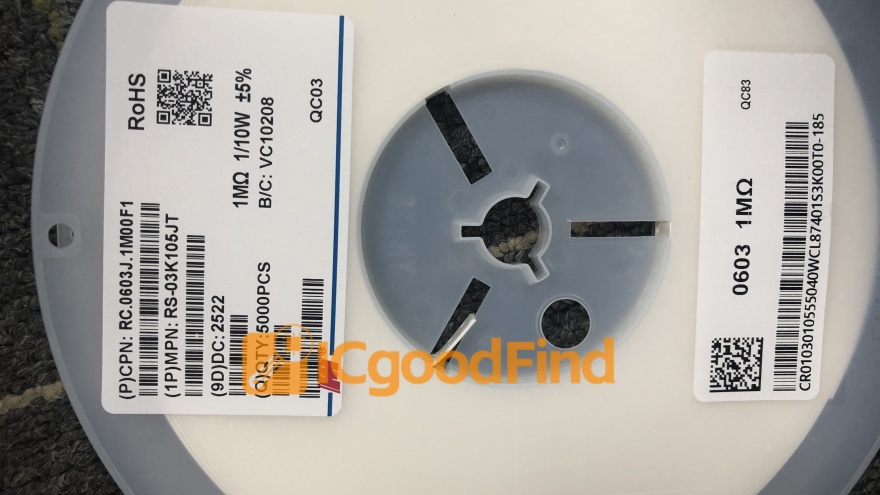
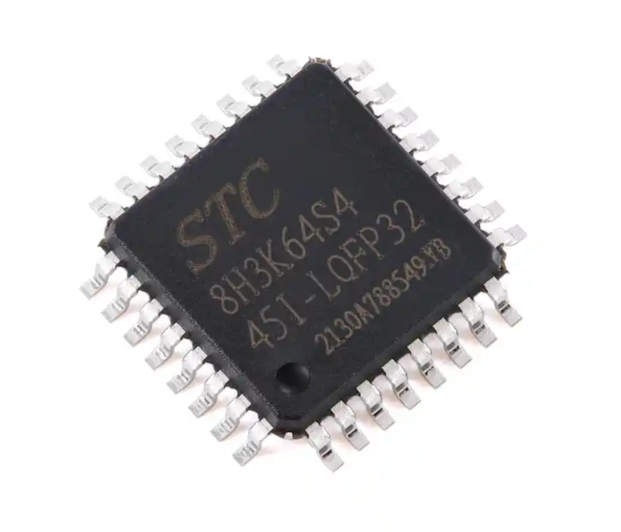
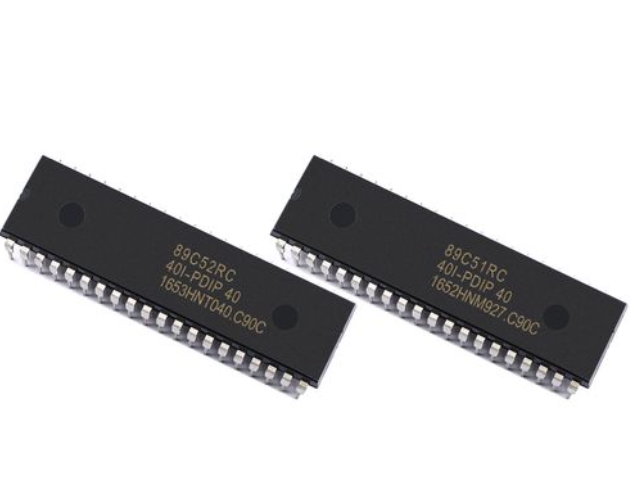
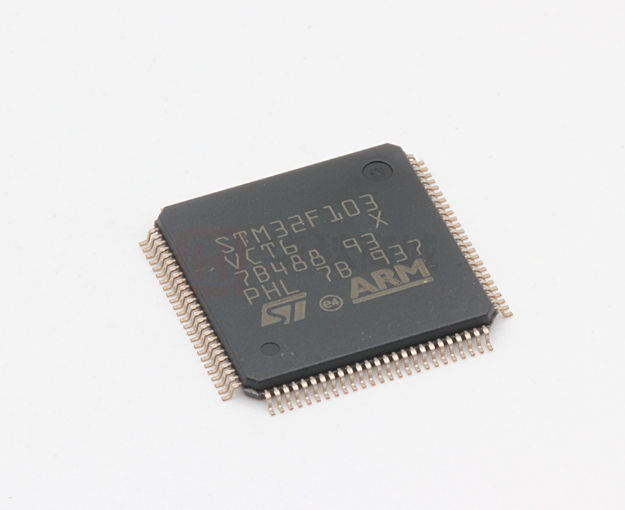
Before diving into writing code or connecting wires, it’s crucial to build a solid conceptual foundation. An MCU is essentially a compact, integrated computer on a single chip, containing a processor core, memory (both program and data), and programmable input/output peripherals. The first and most critical step in self-learning is selecting the right microcontroller architecture for your goals. For absolute beginners, platforms based on the AVR architecture (like Arduino boards) are highly recommended due to their simplicity, vast community support, and forgiving nature. For those aiming at industry-relevant skills or more complex projects, ARM Cortex-M series MCUs (such as STM32 or Teensy) offer superior performance and features. Start by understanding core concepts: digital vs. analog signals, GPIO (General Purpose Input/Output), ADC (Analog-to-Digital Conversion), serial communication protocols (UART, I2C, SPI), and timers.
Equally important is setting up your learning environment. This involves two key components: hardware and software. A basic starter kit should include a development board, a USB programmer/debugger (like an ST-Link for STM32), a breadboard, jumper wires, LEDs, resistors, and buttons. On the software side, you’ll need an Integrated Development Environment (IDE). Platforms like the Arduino IDE offer a simplified, beginner-friendly experience, while professional-grade IDEs like STM32CubeIDE or PlatformIO provide powerful debugging tools and are essential for advanced development. Begin with simple “Hello World” equivalents in hardware: blinking an LED. This tests your entire toolchain—from writing code and compiling to flashing the MCU and seeing a physical result. Patience at this stage is vital; troubleshooting setup issues is an integral part of the learning process.

The Journey: Structured Learning Path and Project-Based Growth
With your foundation set, the real learning begins through a structured yet flexible path. Don’t try to learn everything at once. Break down the curriculum into manageable modules: 1. Basic I/O Control: Master digital writes (LED control) and digital reads (button presses). 2. Analog World: Explore reading sensors (e.g., potentiometers, temperature sensors) with ADC and generating analog-like signals with PWM (Pulse Width Modulation) to control servo motors or LED brightness. 3. Communication Protocols: Learn to make your MCU talk to other devices. Start with UART for serial monitor debugging, then move to I2C for sensors (like accelerometers) and SPI for faster communication with displays or SD cards. 4. Timers & Interrupts: This is a leap in conceptual understanding. Move beyond delay() functions by using hardware timers for precise timing and interrupts for responsive event handling (e.g., stopping a process immediately when a button is pressed). 5. Low-Power Modes & Memory Management: For battery-powered projects, understanding how to put an MCU to sleep is crucial.
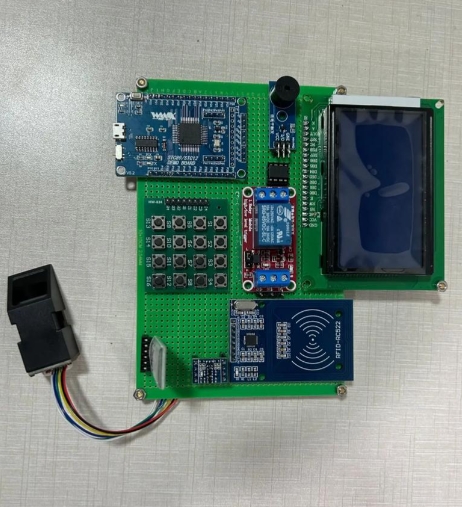
The single most effective method for cementing these concepts is project-based learning. Theory alone will not make you proficient. Start with mini-projects for each module: a traffic light system (digital I/O), a digital thermometer (ADC), a weather station with an LCD display (I2C). Then, integrate skills into larger capstone projects. For instance, build a smart plant monitor that reads soil moisture, displays it on an OLED screen, and activates a pump when dry—this combines ADC, I2C, and GPIO control. When you encounter obstacles—and you will—leverage communities on forums like Stack Overflow, dedicated subreddits (r/embedded), or manufacturer forums. Documenting your progress in a blog or GitHub repository reinforces learning. For those seeking curated project ideas and component guidance from concept to reality, resources like ICGOODFIND can be invaluable in bridging the gap between theory and practical component selection.
Beyond the Basics: Advanced Topics and Community Integration
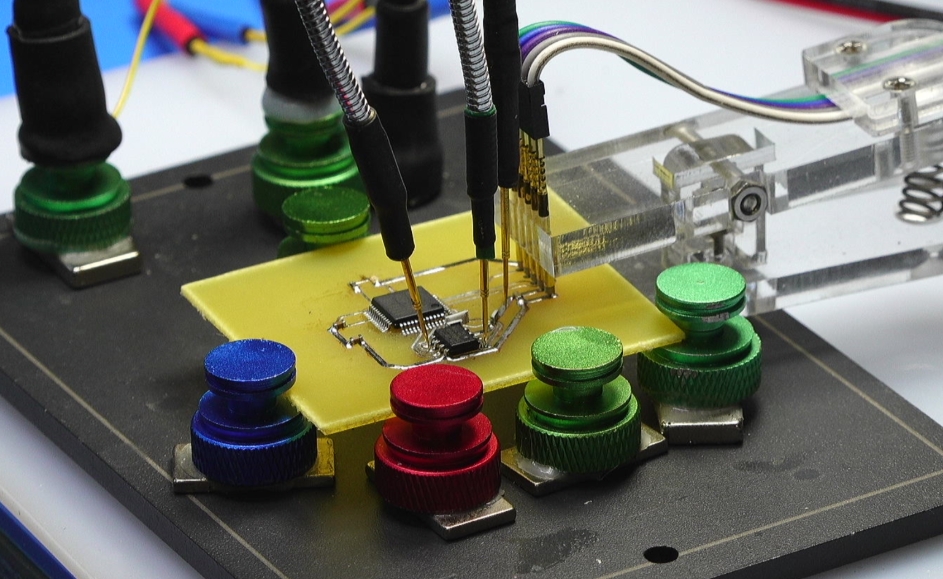
Once you are comfortable with core functionalities, it’s time to explore advanced territories that distinguish hobbyists from professional developers. Real-Time Operating Systems (RTOS) introduce the concept of multitasking on an MCU, allowing you to manage complex applications with multiple concurrent operations (like managing a network connection while controlling motors). FreeRTOS is an excellent open-source starting point. Another critical area is debugging proficiency. Moving beyond simple printf statements to using hardware debuggers to set breakpoints, step through code line-by-line, and inspect register values is transformative.
Furthermore, consider exploring peripheral integration such as USB device/host capabilities, Ethernet or Wi-Fi connectivity (using modules like ESP8266/32), and graphical user interfaces on TFT displays. Writing clean, modular, and maintainable code becomes paramount at this stage. Study industry-standard coding guidelines (like MISRA C for automotive) and learn about version control with Git. Engaging with the open-source hardware and software community is also a powerful accelerator. Contribute to projects, study schematics of popular development boards, and analyze firmware code written by experts. This exposure teaches you design patterns and best practices you won’t find in tutorials.

Conclusion
The path of self-learning MCU development is a challenging yet profoundly rewarding endeavor that cultivates problem-solving skills, logical thinking, and a tangible sense of creation. It democratizes hardware innovation, putting the tools of invention into the hands of anyone with curiosity and perseverance. The journey follows a clear arc: from establishing a strong foundation in fundamentals, through relentless hands-on practice with progressively complex projects, to finally engaging with advanced concepts and the global community of makers and engineers. Resources like ICGOODFIND can serve as helpful companions in this journey by providing practical insights into component sourcing and project feasibility. Remember, mastery is not measured by memorizing datasheets but by the ability to independently conceive, architect, debug, and bring an embedded system to life. Start small, be consistent in your practice, embrace failures as learning opportunities, and never stop building. Your next project idea could be the key that unlocks a new level of understanding in the fascinating world of embedded systems.