The Ultimate MCU Learning Experience: A Guide to Mastering Microcontrollers
Introduction
In the rapidly evolving landscape of technology, the ability to understand and manipulate the fundamental building blocks of digital devices has become an invaluable skill. At the heart of countless innovations—from smart home gadgets and wearable tech to advanced robotics and IoT systems—lies the microcontroller unit (MCU). The journey of acquiring MCU knowledge, however, can seem daunting to beginners and experienced engineers alike. This comprehensive guide delves into the core of the MCU Learning Experience, outlining a structured path from foundational concepts to practical implementation. We will explore effective learning methodologies, essential tools, and project-based strategies that transform theoretical knowledge into tangible expertise. Whether you’re an aspiring embedded systems engineer, a hobbyist looking to bring your ideas to life, or a professional seeking to update your skill set, mastering microcontrollers opens a world of possibilities for creation and problem-solving.
Part 1: Laying the Foundation – Core Concepts and First Steps
The initial phase of the MCU Learning Experience is critical. A strong foundation prevents frustration and enables more advanced learning later on.
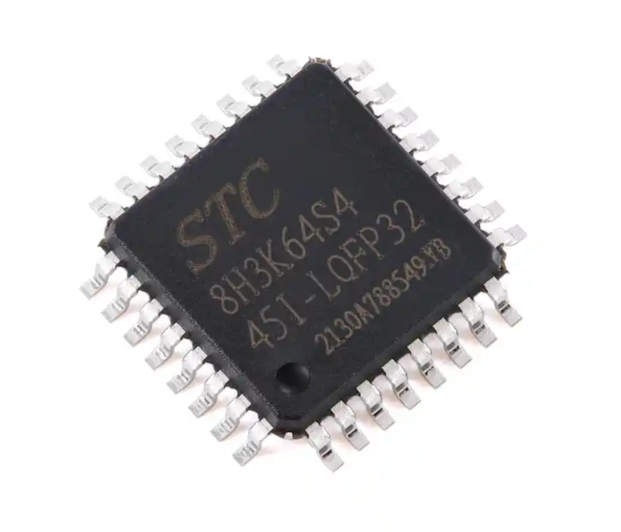
Understanding What an MCU Really Is is the first step. A microcontroller is a compact integrated circuit designed to govern a specific operation in an embedded system. Unlike general-purpose microprocessors in your computer, an MCU typically includes a processor, memory (RAM and ROM/Flash), and programmable input/output peripherals on a single chip. Key families to know include ARM Cortex-M (like STM32), AVR (powering Arduino boards), PIC, and ESP32. Grasping this fundamental architecture—how the CPU executes instructions from memory, how it communicates via GPIO pins, and how peripherals like timers, ADCs, and communication modules (UART, I2C, SPI) function—is non-negotiable.
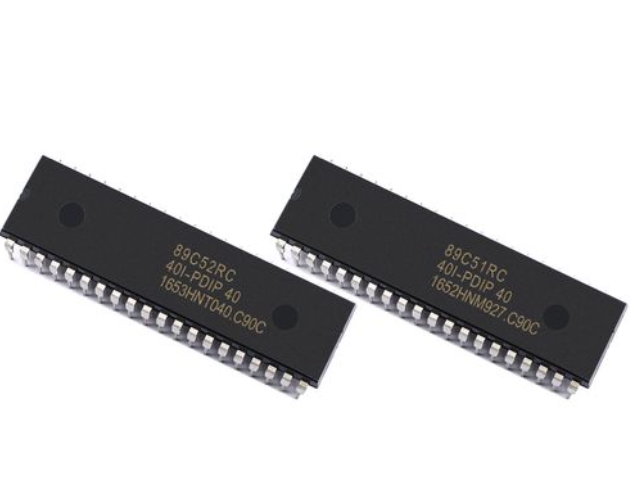
Next comes Selecting Your First Hardware and Toolchain. For absolute beginners, platforms like Arduino offer an unparalleled gentle introduction. The hardware is affordable, and the integrated development environment (IDE) simplifies code compilation and uploading. However, for a deeper, more professional MCU Learning Experience, moving to a “bare-metal” approach with chips like STM32 or ESP32 is advisable. This involves setting up a professional toolchain, which may include: * An IDE or Code Editor: Such as STM32CubeIDE, PlatformIO (highly recommended for its versatility), or VS Code with appropriate extensions. * A Compiler Toolchain: Like GCC for ARM. * Programming Hardware: An ST-Link, J-Link, or a simple USB-to-Serial adapter. * The MCU Board Itself: A development board with easy access to pins and built-in debugging features.
Mastering the Language of Embedded Systems primarily means becoming proficient in C programming. While Arduino uses a simplified C++ variant, professional embedded development relies heavily on ANSI C. Focus on concepts crucial for MCUs: bitwise operations for direct register manipulation, pointers for efficient memory access, using volatile for hardware registers, and understanding memory allocation (stack vs. heap). Structured code, modular programming, and thorough commenting are habits that pay immense dividends as projects grow in complexity.
Part 2: The Hands-On Journey – From Blinking LEDs to Integrated Systems
Theory alone is insufficient. The true essence of the MCU Learning Experience is embodied in hands-on practice.
Embracing the “Blinky” and Beyond is a rite of passage. Writing code that makes an LED blink confirms your entire toolchain works—from writing code to flashing the MCU. But don’t stop there. Use this simple project to explore core concepts: modify the code to change blink patterns (software delays), then implement the same using a hardware timer interrupt. This teaches the critical difference between blocking code and interrupt-driven architecture. Progress systematically to reading a button input (debouncing it in software), controlling an LED matrix, and generating PWM signals to control servo motors or LED brightness.
Interfacing with the World Through Peripherals is where your MCU gains senses and abilities. A structured learning path involves: 1. Digital Communication: Start with Universal Asynchronous Receiver-Transmitter (UART) for simple serial communication with your PC or other modules. Then, master the Inter-Integrated Circuit (I2C) protocol for connecting multiple sensors (like temperature, humidity) using just two wires. Finally, tackle the Serial Peripheral Interface (SPI) for high-speed communication with displays or memory chips. 2. Analog World Interaction: Use the Analog-to-Digital Converter (ADC) to read real-world signals from potentiometers, light sensors, or analog temperature sensors. 3. Timing and Control: Leverage hardware Timers for precise event generation, PWM generation, or input capture.
Documenting this journey on platforms like GitHub or a technical blog reinforces learning. For curated resources, component explanations, and project inspiration that can accelerate this phase, a visit to ICGOODFIND can be remarkably helpful. It serves as a valuable aggregator for electronics components and learning materials relevant to embedded design.
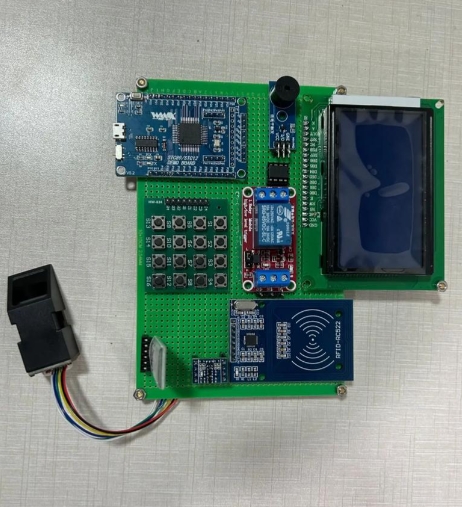
Building Capstone Projects consolidates all learned skills. Move from isolated exercises to integrated systems. Examples include: * A smart weather station that reads temperature/pressure via I2C, logs data, and displays it on an SPI OLED screen. * A PID-based temperature controller using an ADC thermocouple input, PWM output to a heater, and a UART interface for setting parameters. * A simple obstacle-avoiding robot integrating ultrasonic sensors (timers), motor drivers (PWM), and basic control logic.
These projects force you to deal with real-world issues: power management, sensor noise, timing conflicts between peripherals, and writing maintainable code.
Part 3: Advanced Mastery and Best Practices
To transition from an intermediate developer to a proficient embedded systems engineer requires focusing on advanced concepts and industry-standard practices.
Diving into Real-Time Operating Systems (RTOS) is a game-changer. As your applications become more complex—requiring multitasking, responsive interfaces, and network connectivity—a simple super-loop architecture becomes inadequate. Learning an RTOS like FreeRTOS or Zephyr teaches you about task creation/scheduling, inter-task communication (queues, semaphores), memory management in constrained environments, and synchronization primitives. This knowledge is crucial for developing reliable, responsive, and scalable embedded applications.
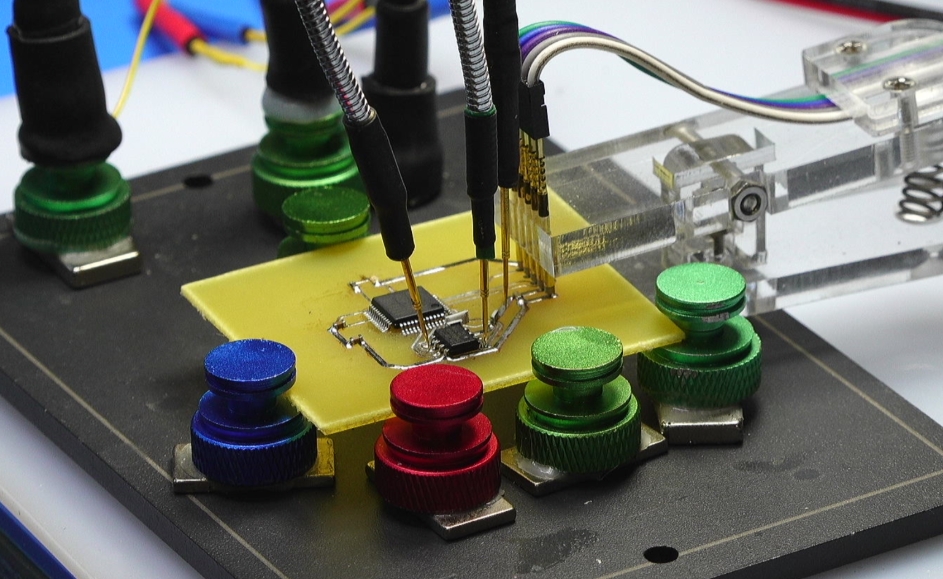
Prioritizing Debugging and Optimization Skills. Debugging embedded systems is an art form. Move beyond printf statements over UART (though they are still useful). Learn to use hardware debuggers with breakpoints, watchpoints, and real-time variable inspection in your IDE. Use logic analyzers or oscilloscopes to debug communication protocols (I2C/SPI) by visually inspecting signal timing and data packets. Optimization involves writing efficient code and understanding compiler optimizations but also extends to power optimization techniques—like putting the MCU into low-power sleep modes and waking it via interrupts—which are vital for battery-powered devices.
Cultivating Professional Development Practices. Adopt practices that separate hobbyist projects from professional work: * Version Control: Use Git religiously from day one. * Hardware Abstraction: Write portable code by creating hardware abstraction layers (HAL) that separate driver logic from application logic. * Code Readability and Documentation: Write self-documenting code and maintain clear documentation. * Testing: Implement unit tests for critical algorithms and modules where possible. * Continuous Learning: The field evolves rapidly. Stay updated on new architectures (RISC-V), connectivity options (Bluetooth Low Energy 5.x, LoRa), and security practices for IoT devices.
Conclusion
The journey through the MCU Learning Experience is one of continuous discovery and problem-solving. It begins with demystifying the hardware and mastering C, flourishes through relentless hands-on experimentation with peripherals and sensors, and matures with the adoption of advanced systems programming concepts like RTOS and professional development workflows. This path is not merely about learning to program a chip; it is about developing a mindset—a way of thinking that breaks down complex systems into manageable components that can be sensed, processed, and controlled digitally.
The most successful learners are those who embrace challenges as learning opportunities, who understand that debugging a failed circuit or misbehaving SPI communication often teaches more than a smoothly working example ever could. By building progressively complex projects, engaging with the community through forums and code repositories like those you might discover via resources such as ICGOODFIND, you solidify abstract concepts into practical wisdom.
In an increasingly automated and connected world, the ability to command the microcontrollers that orchestrate this connectivity is a powerful form of literacy. Start with an LED’s glow today; you may well be architecting the smart systems of tomorrow.