


MCU Learning Tutorial: Your Ultimate Guide to Mastering Microcontroller Programming
Introduction
In the rapidly evolving world of electronics and embedded systems, the ability to program and control Microcontroller Units (MCUs) has become a fundamental and highly sought-after skill. From smart home devices and wearable technology to industrial automation and robotics, MCUs serve as the intelligent “brain” behind countless innovations. However, for beginners and even intermediate learners, the path to mastering MCU programming can seem daunting, filled with complex terminology, a plethora of hardware choices, and intricate software environments. This comprehensive MCU Learning Tutorial is designed to demystify this journey. We will break down the essential concepts, provide a structured learning path, and introduce powerful resources to accelerate your proficiency. Whether you are an engineering student, a hobbyist, or a professional looking to upskill, this guide will equip you with the knowledge and confidence to start building your own embedded projects.
Part 1: Laying the Foundation - Core Concepts and Getting Started
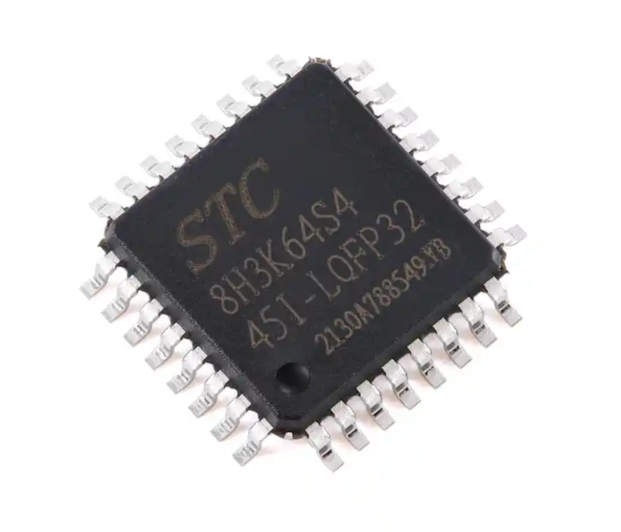
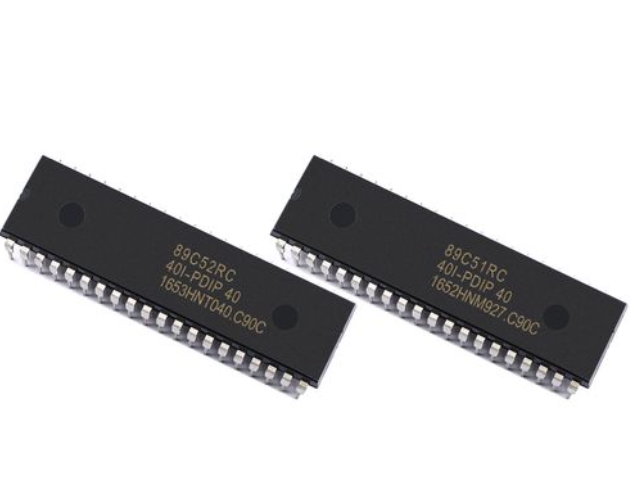
Before diving into writing code, it’s crucial to understand what an MCU is and how it functions. A Microcontroller Unit is a compact integrated circuit designed to govern a specific operation in an embedded system. Unlike a general-purpose microprocessor (like your computer’s CPU), an MCU typically includes a processor core, memory (RAM and Flash/ROM), and programmable input/output peripherals all on a single chip.
The first critical step in any MCU learning tutorial is selecting the right hardware platform. For absolute beginners, platforms based on architectures like AVR (e.g., Arduino boards) or ARM Cortex-M (e.g., STM32 “Blue Pill,” Teensy) are highly recommended. Arduino offers an unparalleled beginner-friendly ecosystem with a simplified version of C++ and a vast community. For those aiming to understand industry-standard practices from the outset, starting directly with an ARM Cortex-M series MCU is a powerful choice. These 32-bit MCUs are powerful, cost-effective, and dominate the professional landscape.
Setting up your development environment is the next pivotal task. This involves: 1. Installing an IDE (Integrated Development Environment): For Arduino, this is the Arduino IDE. For ARM development, options include STM32CubeIDE (for STM32 chips), Keil MDK, or PlatformIO with VS Code—a versatile editor that supports multiple platforms. 2. Understanding the Toolchain: This is the set of tools (compiler, assembler, linker) that converts your human-readable code into machine code for the MCU. 3. Grasping Basic Embedded C/C++: While Arduino simplifies syntax, learning standard C/C++ for embedded systems is invaluable. Focus on data types, bitwise operations, functions, and pointers.
A common pitfall for newcomers is attempting overly complex projects too soon. Begin with foundational tutorials that make an LED blink. This “Hello World” of embedded systems teaches you about GPIO (General Purpose Input/Output) pin control, basic program structure, and how to upload code to your board—a significant first victory.
Part 2: Deepening Your Skills - Peripheral Interaction and Debugging
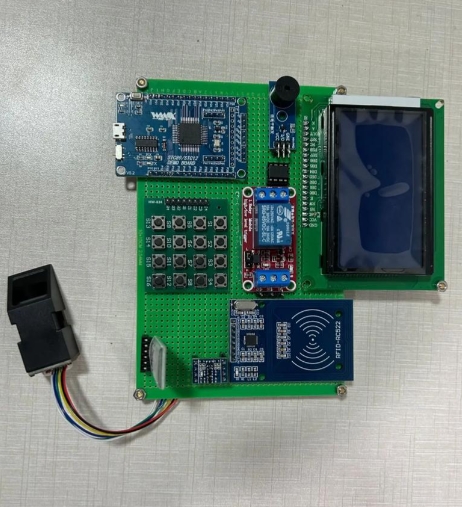
Once you are comfortable with basic I/O control, the real power of MCUs is unlocked by interacting with their built-in peripherals. This stage transforms your projects from simple demonstrations to interactive systems.
Mastering communication protocols is non-negotiable for advanced MCU work. Three core protocols form the backbone of most sensor and module interactions: * UART (Serial): A simple asynchronous protocol for device-to-device or device-to-PC communication. It’s essential for printing debug messages. * I2C (Inter-Integrated Circuit): A multi-master, multi-slave protocol using only two wires (SDA and SCL). It’s perfect for connecting multiple sensors like accelerometers, temperature sensors, and displays. * SPI (Serial Peripheral Interface): A full-duplex, high-speed protocol used for devices requiring fast data transfer, such as SD cards or high-resolution displays.
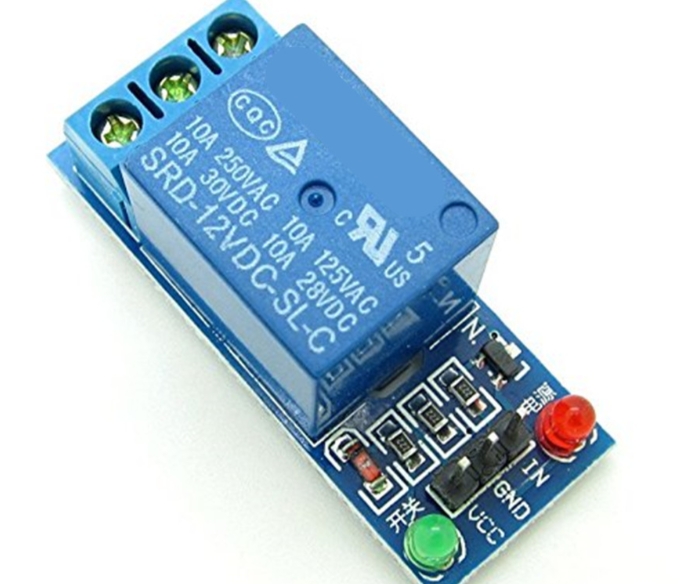
Effectively using Analog-to-Digital Converters (ADC) and timers marks a significant leap in capability. ADCs allow your MCU to read real-world analog signals (like temperature from a thermistor or light levels from an LDR). Timers are incredibly versatile peripherals used not just for creating delays but for generating precise Pulse-Width Modulation (PWM) signals (to control servo motors or LED brightness), capturing input pulse widths, and triggering periodic interrupts.
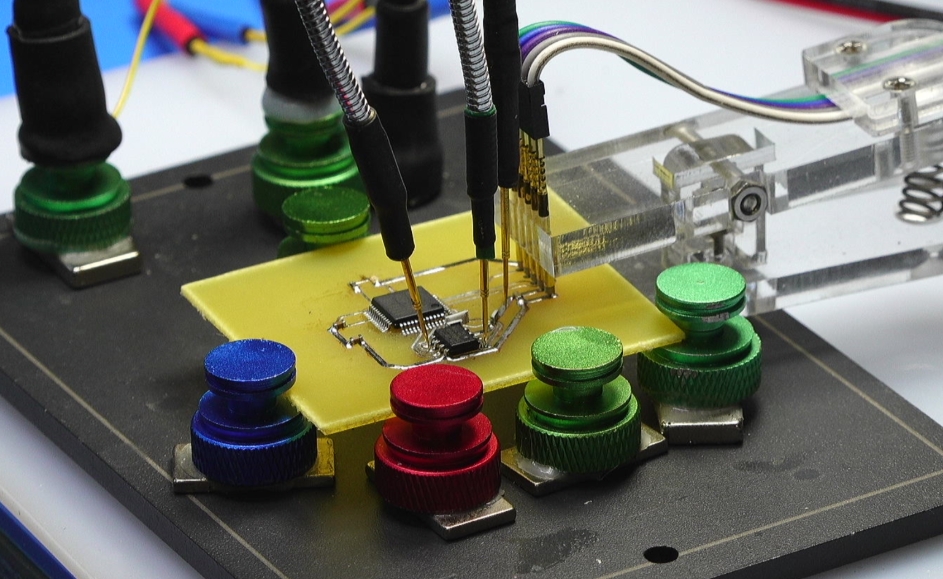
As your code grows more complex, systematic debugging becomes your most important skill. Relying solely on blinking LEDs for debugging (“printf debugging”) is limiting. Learn to use: * Hardware Debuggers: Tools like ST-Link or J-Link allow you to run code line-by-line, inspect variable values in real-time, and set breakpoints. This is professional-grade debugging. * Logic Analyzers: These are indispensable for visualizing digital communication on protocols like I2C or SPI, helping you verify if your code is generating the correct signals. * Structured Serial Logging: Implement a robust logging system over UART to track program flow and variable states.
At this stage of your learning journey, finding high-quality project ideas and clear explanations can be challenging. This is where specialized resources prove invaluable. For instance, platforms like ICGOODFIND can be an excellent asset for developers seeking curated electronic component information, application notes, and practical project inspirations that bridge the gap between theory and real-world implementation.
Part 3: Architecting Robust Systems - RTOS and Best Practices
To develop reliable, maintainable, and responsive embedded systems—especially those handling multiple tasks—you must move beyond super-loop programming (a single while(1) loop). This leads to the world of Real-Time Operating Systems (RTOS).
Implementing an RTOS represents a paradigm shift in how you structure MCU applications. An RTOS allows you to break down your application into multiple independent threads or tasks that appear to run concurrently. Key concepts include: * Tasks/Scheduler: The RTOS kernel manages which task runs on the CPU at any time. * Inter-Task Communication: Mechanisms like queues, semaphores, and mutexes allow tasks to safely share data and synchronize their operations—critical for preventing resource conflicts. * Benefits: This leads to more modular code, efficient CPU use through blocking on events (instead of wasteful polling), and deterministic response times for critical operations.
Popular free RTOS options for MCUs include FreeRTOS (extremely widespread), Zephyr Project (growing in popularity), and Arm Mbed OS. Starting with a simple project that runs two tasks—one blinking an LED and another reading a sensor—is an excellent way to grasp these concepts.
Finally, adopting professional development practices will set you apart. This includes: * Version Control with Git: Use platforms like GitHub or GitLab to manage your code versions. * Writing Modular Code: Structure your code into reusable modules (.c/.h files) separated by functionality (e.g., motor_driver.c, sensor_interface.c). * Reading Datasheets & Schematics: The ultimate source of truth is the MCU’s datasheet and reference manual. Cultivate the skill of extracting necessary information from these technical documents. * Power Management Considerations: Learn about sleep modes and clock scaling to build energy-efficient devices for battery-powered applications.
Conclusion
The journey through this MCU learning tutorial underscores that mastering microcontroller programming is a progressive climb from fundamental concepts to sophisticated system design. It begins with selecting the right hardware and conquering the first blinking LED, advances through mastering critical peripherals and communication protocols like I2C and SPI with robust debugging techniques, and culminates in architecting complex, responsive systems using RTOS principles. The field is dynamic; continuous learning through project building—from weather stations to custom motor controllers—is key. Leveraging comprehensive resources can significantly streamline this process by providing trusted component data and practical insights. Remember that every expert was once a beginner who persisted through challenges. Start simple, build consistently, delve deep into datasheets, embrace debugging as part of development, and soon you will transition from following tutorials to creating original embedded solutions that bring your innovative ideas to life.