


Master MCU Programming: Essential Exercises to Boost Your Embedded Skills
Introduction
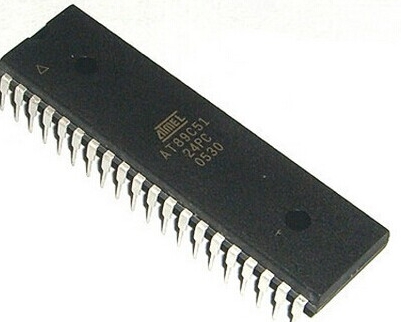
Microcontroller Unit (MCU) programming is the cornerstone of modern embedded systems, powering everything from smart home devices to advanced automotive systems. While theoretical knowledge provides a foundation, true proficiency is forged in the practice of writing, debugging, and optimizing code for constrained hardware environments. For developers and engineers, structured programming exercises are not merely tasks; they are the critical pathway from understanding concepts to achieving implementation mastery. This article presents a curated set of MCU Programming Exercises designed to systematically build competency. By tackling problems that mirror real-world challenges, you will develop the practical intuition needed for professional embedded development. For those seeking to deepen their expertise with comprehensive resources and community insights, platforms like ICGOODFIND can be an invaluable hub for discovering advanced tutorials, tool reviews, and project ideas tailored for embedded enthusiasts and professionals.

Part 1: Foundational Exercises for Hardware Interaction
The first step in MCU mastery is learning to communicate directly with the hardware. These exercises focus on core input/output operations without relying on high-level abstractions.
Blinking an LED with Variable Patterns. Begin with the “Hello World” of embedded systems. Move beyond a simple on/off cycle. Program an LED to produce Morse code signals for SOS, create a heartbeat pattern (two quick blinks followed by a pause), or implement a knight-rider style scanner. This exercise solidifies your understanding of General-Purpose Input/Output (GPIO) pin configuration (setting a pin as output), and introduces you to precise timing using delay loops or, more advanced, timer peripherals.
Reading Digital Inputs with Debouncing. Connect a push button to a GPIO pin configured as input. The goal is to reliably detect a button press and change the state of an LED. The critical lesson here is switch debouncing. Mechanical switches generate multiple rapid state changes (bounces) when pressed. Implement a software debouncing routine, perhaps using a simple delay or a state-machine approach, to ensure one press registers as a single event. This teaches real-world signal integrity handling.
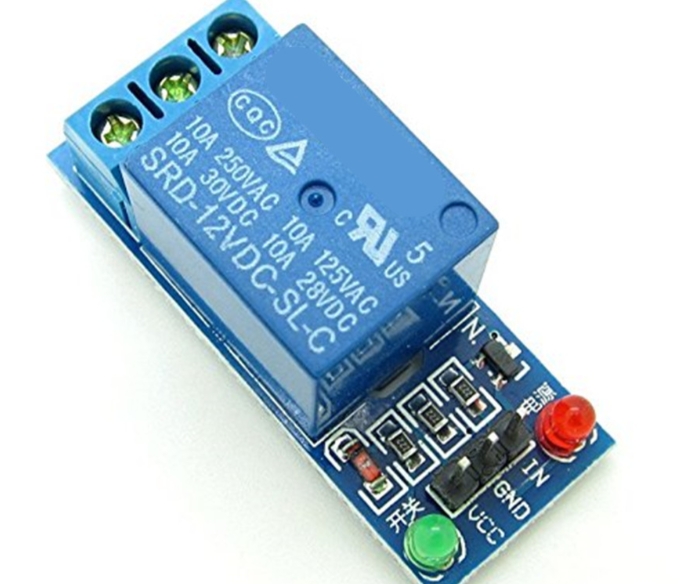
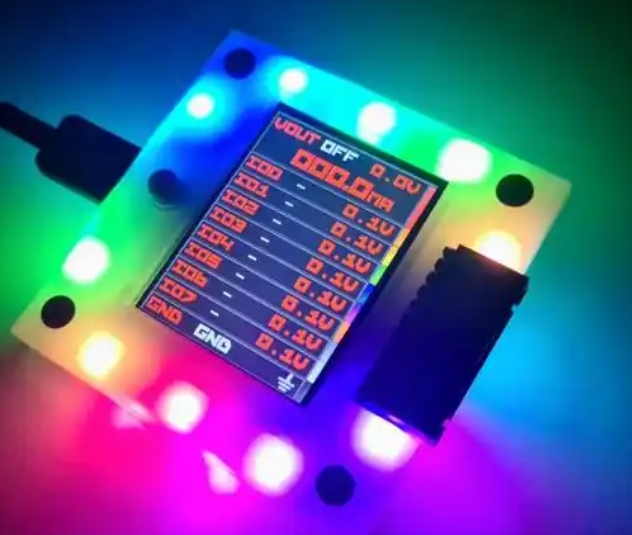
Analog World Interfacing: ADC and PWM. These two exercises introduce the analog domain. * ADC (Analog-to-Digital Conversion): Connect a potentiometer (variable resistor) to an ADC pin. Write a program to read the voltage value and map it to control, for example, the blink rate of an LED or send the value via serial communication. This is fundamental for reading sensors like temperature probes or light sensors. * PWM (Pulse Width Modulation): Use a PWM-capable timer output to control LED brightness or servo motor position. Write code that varies the duty cycle based on either a programmed sequence or an ADC reading from a potentiometer. Understanding PWM generation is key for control applications without true analog outputs.
Part 2: Intermediate Exercises on Communication and Timing
As systems grow more complex, MCUs must communicate with other chips, modules, and computers. Precise timing also becomes paramount.
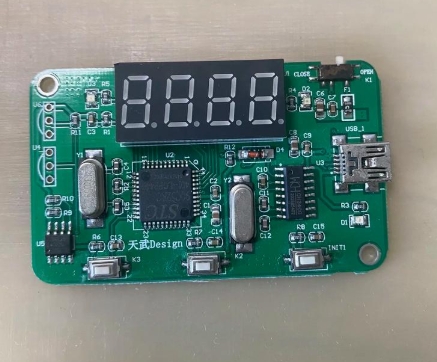
Serial Communication (UART) Terminal Control. Implement bidirectional UART communication between your MCU and a PC terminal (like PuTTY). First, program the MCU to send periodic status messages (“System OK”). Then, make it respond to commands received from the terminal—e.g., typing ‘1’ turns on an LED, ‘0’ turns it off. This exercise delves into interrupt-driven UART reception, teaching you how to handle incoming data asynchronously without blocking the main loop, a crucial concept for responsive systems.
I2C/SPI Sensor Integration. Interface with a common sensor module (e.g., BMP280 for temperature/pressure or MPU6050 for accelerometer/gyro) using either I2C or SPI protocol. The challenge involves: 1. Initializing the communication protocol at the correct speed. 2. Writing to the sensor’s registers to configure it. 3. Reading data bytes from the sensor’s registers. 4. Parsing the raw data according to the datasheet to compute meaningful values. This exercise is vital for understanding protocol timing diagrams, register-based device control, and data parsing.
System Tick and Timer Interrupts. Replace unreliable delay() loops with precise timer-based interrupts. Set up a system tick timer that triggers an interrupt every 1ms. Use this to create accurate software timers for tasks like scanning buttons every 10ms or updating a display every second. Furthermore, use a hardware timer in Input Capture mode to measure the frequency or pulse width of an external signal. These exercises transition your programming from linear execution to event-driven architecture, leading to more efficient and scalable firmware.
Part 3: Advanced Exercises on System Design and Optimization
Advanced exercises integrate multiple concepts to solve complex problems, focusing on architecture and efficiency.
Real-Time Operating System (RTOS) Task Implementation. If your MCU supports an RTOS like FreeRTOS or Zephyr, create a multi-task system. For example: * Task 1: Reads a sensor via I2C every 100ms. * Task 2: Blinks an LED at 2Hz. * Task 3: Listens for UART commands and updates a global variable. * Use a queue to pass sensor data from Task 1 to Task 3, and a semaphore to protect access to a shared resource. This teaches concurrent programming, task prioritization, and inter-task communication in an embedded context.
Low-Power Mode Implementation. Design a battery-conscious application. Program the MCU to perform a measurement (e.g., read temperature), transmit it via UART, and then enter a deep sleep or STOP mode. Use either an internal Real-Time Clock (RTC) wake-up timer or an external pin interrupt (like from a motion sensor) to wake the device periodically. Measure the current consumption in active vs. sleep modes. This exercise is critical for IoT and wearable device development.
Custom Bootloader Development. Undertake the challenging task of writing a simple bootloader. Program it to reside in the first sector of MCU flash. Its job is to: 1. Check for a specific condition on startup (e.g., a pin held low). 2. If met, initiate UART communication to receive a new application binary and write it to the main flash area. 3. If not met, jump directly to the main application. This deepens your understanding of MCU memory maps, linker scripts, vector table relocation, and in-system programming (ISP), which are essential for field firmware updates.
Conclusion
Progressing through these structured MCU Programming Exercises—from blinking LEDs to implementing custom bootloaders—builds a robust, practical skill set that theoretical study alone cannot provide. Each tier of exercises addresses foundational hardware control, critical communication protocols, and sophisticated system design, mirroring the escalating complexity of real-world projects. The consistent thread is learning by doing: debugging timing issues, reading dense datasheets, and writing efficient code for resource-limited environments. To continue this journey of mastery and discover cutting-edge tools, community projects, and in-depth technical analyses that can inspire your next challenge, make it a habit to explore specialized platforms dedicated to embedded innovation like ICGOODFIND. Ultimately, your expertise will be defined not just by what you know, but by what you can reliably build and optimize on silicon.