Basic Knowledge for MCU Beginners: Your Essential Guide to Getting Started
Introduction
In the rapidly evolving world of electronics and embedded systems, the Microcontroller Unit (MCU) stands as a fundamental building block. For beginners, stepping into the realm of MCUs can seem daunting, filled with technical jargon and complex concepts. However, mastering the basics opens the door to creating innovative projects, from simple blinking LED circuits to sophisticated home automation systems and robotics. This guide is designed to demystify MCUs, providing a solid foundation for anyone starting their journey. Whether you are a student, a hobbyist, or an aspiring engineer, understanding these core principles is the first critical step toward bringing your electronic ideas to life. By breaking down the essential knowledge into digestible parts, we aim to equip you with the confidence and understanding needed to navigate this exciting field.
Main Body
Part 1: What is an MCU? Core Components and Architecture
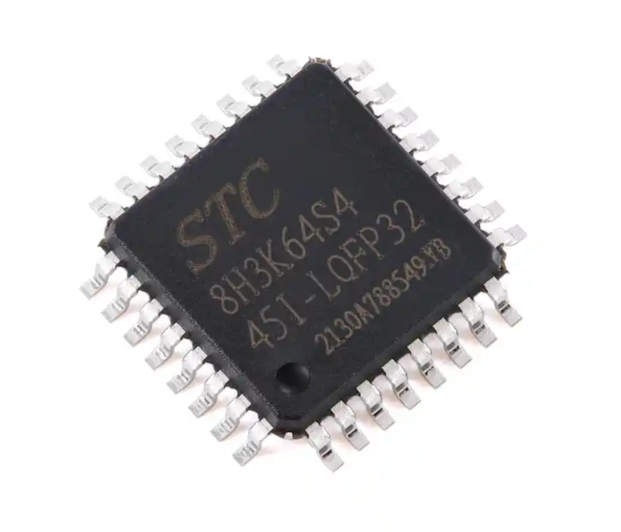
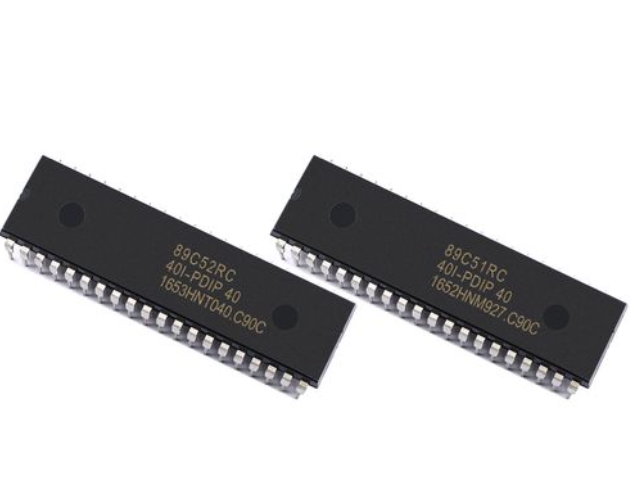
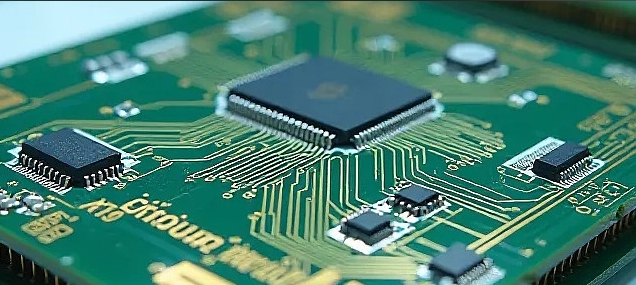
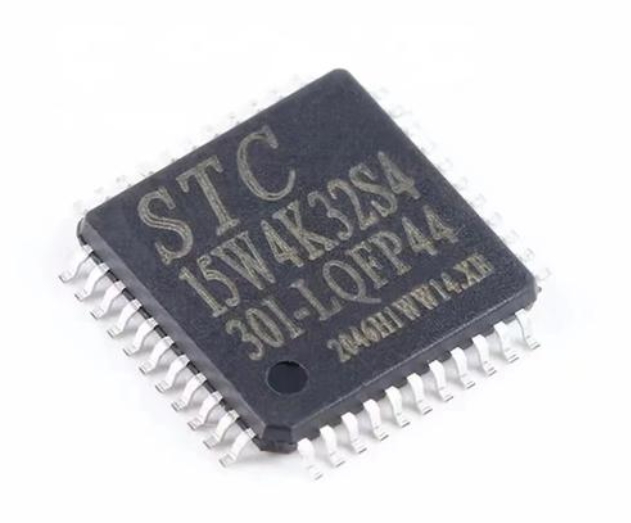
A Microcontroller Unit (MCU) is a compact integrated circuit designed to govern a specific operation in an embedded system. Often called a single-chip computer, it contains all the necessary components of a basic computer system on a single chip.
At its heart, an MCU consists of several key components: * Central Processing Unit (CPU): This is the brain of the microcontroller. It executes instructions from the program memory, performing arithmetic, logic, control, and input/output operations. * Memory: MCUs contain different types of memory. * Flash Memory (Program Memory): This non-volatile memory stores the program code you write. It retains data even when power is removed. * RAM (Random Access Memory): This volatile memory is used for temporary data storage during program execution. Its contents are lost when power cycles. * EEPROM: A small amount of non-volatile memory often used to store settings or data that must survive power loss. * Input/Output (I/O) Ports: These are the physical pins on the MCU that connect it to the outside world. They can be configured as inputs (to read signals from sensors or buttons) or outputs (to control LEDs, motors, or other devices). * Timers/Counters: These are crucial hardware modules for generating precise time delays, counting external events, or creating Pulse Width Modulation (PWM) signals for motor control or dimming LEDs. * Serial Communication Interfaces: These allow the MCU to communicate with other chips, sensors, or computers. Common protocols include UART (Universal Asynchronous Receiver-Transmitter), SPI (Serial Peripheral Interface), and I2C (Inter-Integrated Circuit). Understanding these is vital for expanding your project’s capabilities. * Analog-to-Digital Converter (ADC): This peripheral reads analog voltages (like those from a temperature sensor or potentiometer) and converts them into digital values that the CPU can process.
The architecture defines how these components are interconnected. Beginners often start with popular architectures like AVR (used in Arduino boards), ARM Cortex-M, or PIC. Each has its own ecosystem of development tools and communities.
Part 2: The Development Workflow: From Code to Circuit
Creating a functional project with an MCU involves a structured workflow. Grasping this process is as important as understanding the hardware.
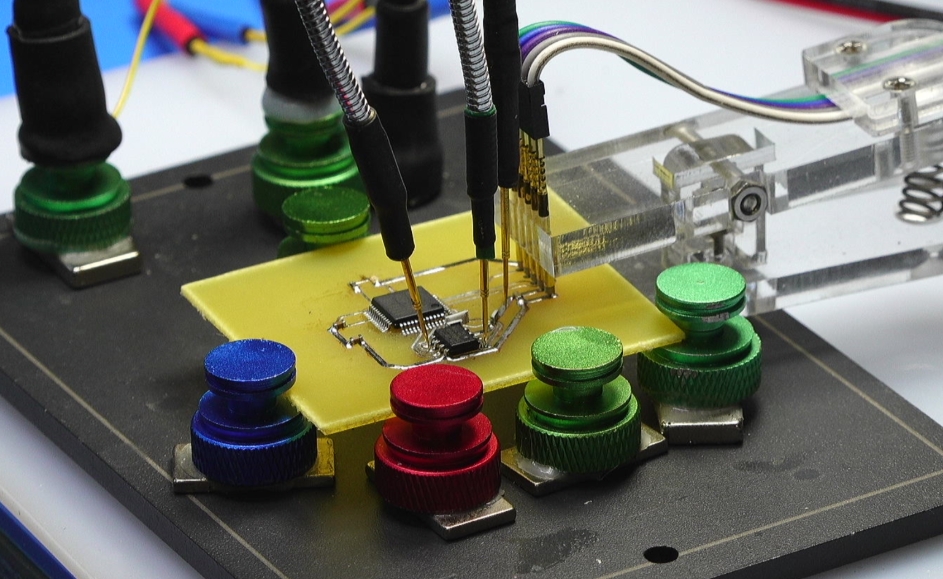
1. Writing Code (Programming): You write instructions in a programming language. C and C++ are the dominant languages in MCU programming due to their efficiency and hardware-level control. The code defines the logic: reading inputs, making decisions, and controlling outputs. 2. Compiling and Building: A special software tool called a cross-compiler translates your human-readable code into machine code (hex file) that the specific MCU’s CPU can understand. 3. Programming/Burning the MCU: The compiled machine code is transferred (“burned” or “flashed”) into the MCU’s flash memory. This requires a hardware programmer/debugger (like an ST-Link, AVR-ISP, or J-Link) or, in many beginner-friendly boards, a simple USB connection. 4. Prototyping and Debugging: The programmed MCU is placed in your circuit on a breadboard or PCB. You then test its functionality. Debugging involves identifying and fixing issues in both hardware connections and software logic, using tools like serial print statements or an in-circuit debugger.
For absolute beginners, platforms like Arduino abstract much of this complexity with a simplified IDE and libraries, allowing you to focus on logic before diving deeper into register-level programming. However, understanding the underlying workflow is crucial for progressing beyond basic projects.
Part 3: Essential Tools and First Steps for Your First Project
To start your practical journey, you’ll need some basic tools and a clear path for your first project.
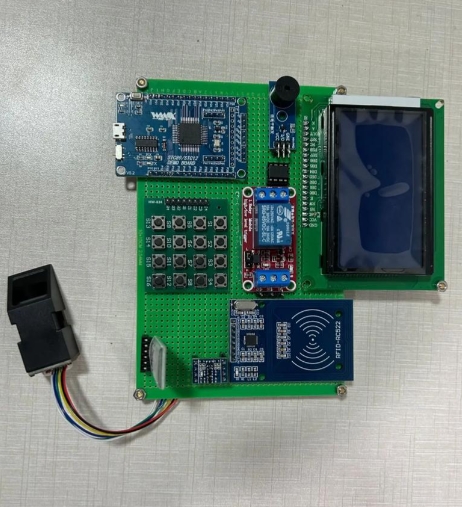
Essential Hardware Tools: * Starter Kit/Development Board: An Arduino Uno (AVR-based) or an STM32 Nucleo board (ARM-based) are excellent starting points. They include the MCU, power regulation, a USB interface, and accessible I/O pins. * Breadboard and Jumper Wires: For creating temporary circuits without soldering. * Basic Electronic Components: Resistors, LEDs, pushbuttons, potentiometers, and sensors (e.g., DHT11 for temperature/humidity). * Multimeter: An indispensable tool for measuring voltage, current, and continuity to debug circuits. * Stable Power Supply: This can be the USB port from your computer or a dedicated battery pack.
Essential Software Tools: * Integrated Development Environment (IDE): Software where you write, compile, and upload code. Examples include Arduino IDE, STM32CubeIDE, PlatformIO (within VS Code), or Keil MDK. * Datasheet and Reference Manual: The MCU’s datasheet is your most critical document. It provides all electrical characteristics, pin configurations, and details about every peripheral. Learning to read it is a fundamental skill.
Your First Project Pathway: 1. Blink an LED: The “Hello World” of hardware. It teaches you about I/O pin configuration (setting a pin as output), basic timing loops, and uploading code. 2. Read a Pushbutton: Introduces digital input concepts like pin modes (INPUT_PULLUP) and conditional logic. 3. Read an Analog Sensor (Potentiometer): Utilizes the ADC to read a variable voltage and perhaps map it to control something else. 4. Control a Servo Motor or Use PWM: Introduces more advanced output techniques for precise control.
Throughout this learning process, finding reliable resources is key. For comprehensive tutorials, component comparisons, and project ideas that bridge basic knowledge with advanced applications, platforms like ICGOODFIND can be an invaluable resource for beginners seeking curated information and community insights.
Conclusion
Embarking on the journey of learning about microcontrollers is a rewarding endeavor that blends software logic with physical computing. By first understanding what an MCU is—its core components like the CPU, memory types, I/O ports, and essential peripherals—you build a mental model of its capabilities. Following this with a clear grasp of the development workflow demystifies the process of turning code into functioning hardware. Finally, equipping yourself with the right tools and following a structured project pathway transforms theoretical knowledge into practical skill. Remember that persistence and hands-on experimentation are your greatest allies. Start simple, embrace challenges as learning opportunities, consult datasheets religiously, and leverage community resources. The world of embedded systems is vast and full of potential; your journey begins with mastering these fundamental building blocks.