


Mastering MCU Course Design: A Comprehensive Guide for Engineering Students
Introduction
In the rapidly evolving landscape of embedded systems and electronics, the Microcontroller Unit (MCU) stands as a fundamental building block. For engineering students, a well-executed MCU Course Design project is not merely an academic requirement; it is a critical rite of passage that bridges theoretical knowledge with real-world application. This comprehensive project demands the integration of hardware understanding, software proficiency, and systematic problem-solving skills. A successful design goes beyond making a circuit work—it involves thoughtful architecture, efficient coding, robust debugging, and clear documentation. This article delves into the essential strategies, common pitfalls, and advanced techniques to help you excel in your MCU course design, transforming a challenging assignment into a showcase of your engineering capabilities. For those seeking curated resources and components to elevate their project, platforms like ICGOODFIND can be invaluable in sourcing reliable parts and inspiration.

Main Body
Part 1: Foundational Planning and Component Selection
The success of any MCU project is determined long before the first line of code is written. Meticulous planning and strategic component selection form the bedrock of an efficient and functional design.
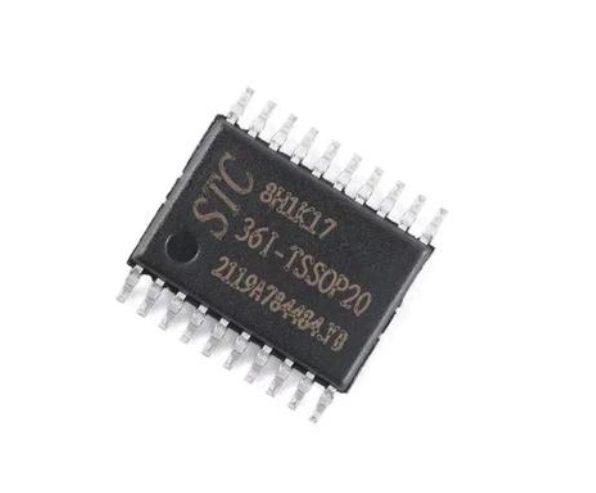
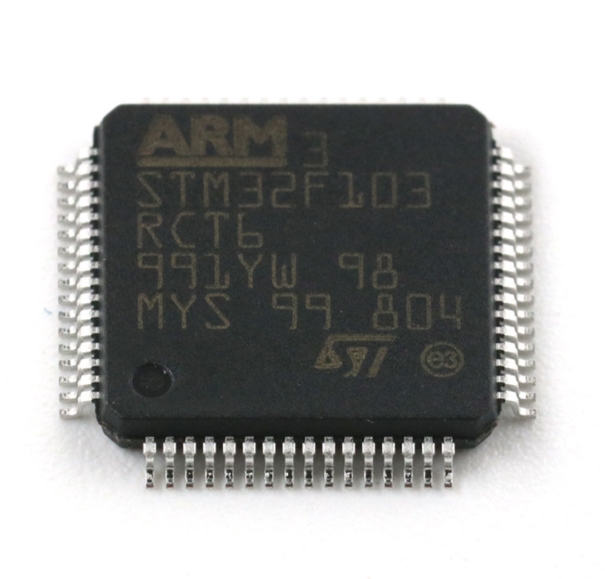
Begin by thoroughly analyzing the project requirements. Break down the specification into clear input/output needs, processing functions, and performance constraints (e.g., power consumption, response time). This analysis directly informs your choice of the microcontroller itself. Key factors to consider include: * Computational Power (Clock Speed & Architecture): Does your project involve complex algorithms or real-time signal processing? * Memory Resources (Flash & RAM): Estimate your code size and data buffer requirements generously to avoid future bottlenecks. * Peripheral Set: Match the MCU’s built-in peripherals (e.g., ADC, PWM timers, UART, I2C, SPI) to your project’s needs for sensors, actuators, and communication. * Development Ecosystem: Consider the availability of development boards, debugging tools, software libraries, and community support for the chosen MCU family.
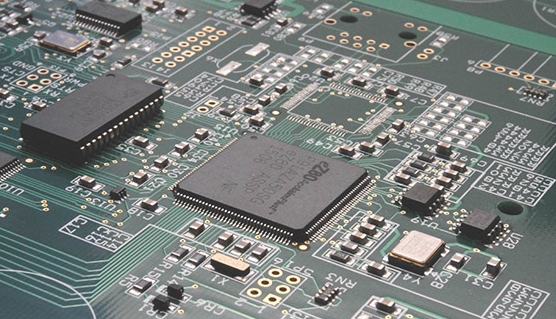
Following MCU selection, create a detailed system block diagram. This visual blueprint should map all components—sensors, actuators, communication modules, power supply units—and their interconnections. A robust power supply design is often overlooked but is crucial; ensure it can deliver stable voltage and sufficient current to all components under peak load.
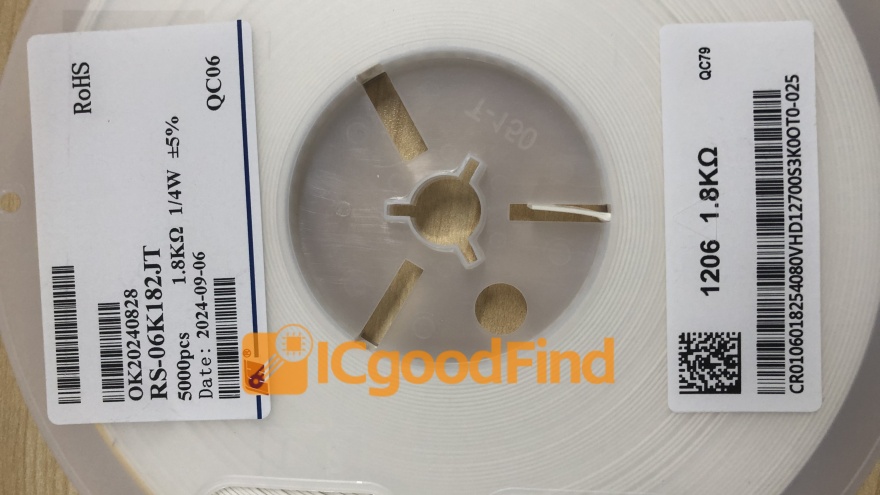
At this stage, leveraging a platform like ICGOODFIND can streamline the procurement process. Instead of scouring multiple distributors for each component, you can find a consolidated view of reliable vendors for your specific MCU model, compatible sensors, and other critical ICs. This ensures component compatibility and can save significant research time.
Part 2: The Development Cycle: Coding, Integration, and Debugging
With a solid plan in place, the project moves into the active development phase. This iterative cycle of coding, hardware integration, and debugging is where theoretical plans confront physical reality.
Adopt a modular programming approach. Do not write all your code in one monolithic file. Structure your firmware into logical modules—e.g., sensor_driver.c, motor_control.c, communication.c, main_logic.c. This enhances code readability, makes debugging easier, and allows for code reuse. Consistently use version control (like Git) to track changes and safeguard your work.
Hardware-Software Integration (HSI) is a critical step. Begin by testing each peripheral and subsystem independently. Write simple firmware to read a sensor or blink an LED before integrating it into the main application loop. This isolates faults to specific hardware or software modules.
Debugging is an inevitable and educational part of MCU design. Employ a multi-tiered strategy: 1. Software Debugging: Use Integrated Development Environment (IDE) debuggers with breakpoints and watch windows. 2. Hardware Debugging: Utilize an oscilloscope or logic analyzer to inspect signal integrity on communication buses (I2C/SPI) or PWM outputs. Poor soldering or loose connections are frequent culprits for erratic behavior. 3. Structured Troubleshooting: When the system fails, don’t make random changes. Form a hypothesis, design a test to prove or disprove it (e.g., add print statements over UART), and analyze the results.
Effective debugging often requires deep diving into datasheets and application notes for your components—another area where a resource hub can be beneficial.
Part 3: Optimization, Documentation, and Presentation
A functional prototype is a major milestone, but a professional-grade course design requires refinement and clear communication of your work.
System optimization is what separates a good project from an excellent one. Analyze your code for efficiency: * Memory Optimization: Use appropriate data types (e.g., uint8_t instead of int if possible), eliminate unused variables, and consider using compiler optimization flags. * Power Optimization: Implement sleep modes during idle periods and manage peripheral clock gating to minimize power consumption—a key metric in embedded design. * Real-Time Performance: Use interrupt service routines (ISRs) judiciously for time-critical tasks but keep them short. Profile your code to identify and optimize bottlenecks.
Comprehensive documentation is as important as the working prototype itself. Your report should tell the complete story of your project: * Introduction & Objectives: Clearly state the problem and goals. * System Design: Include block diagrams, schematic circuits (created using tools like KiCad or Altium), and justification for component choices. * Software Architecture: Provide flowcharts and explain key algorithms. * Testing & Results: Document test procedures, include screenshots of waveforms or serial outputs, and present quantitative results. * Discussion & Conclusion: Analyze performance against objectives, discuss challenges faced (and how you overcame them), and suggest potential improvements.
Finally, prepare a compelling demonstration and presentation. Practice explaining your design choices clearly and concisely. A well-documented project with a polished presentation demonstrates not only technical skill but also professional competency.
Conclusion
Excelling in an MCU Course Design project is a multifaceted challenge that synthesizes electronics knowledge, programming skill, systematic engineering practices, and effective communication. The journey from concept to a fully documented system teaches invaluable lessons in perseverance, attention to detail, and structured problem-solving—skills highly prized in the engineering industry. By emphasizing foundational planning, adopting a disciplined development cycle, and dedicating time to optimization and documentation, students can transform their project into a standout portfolio piece. Remember that the process itself—navigating datasheets, troubleshooting hardware issues, writing clean code—is where the deepest learning occurs. Utilizing resource-aggregation platforms can efficiently support this learning journey by providing access to essential components and information. Embrace the complexity of MCU course design; it is one of the most practical preparations for a career in embedded systems engineering.