MCU Tutorial: Your Comprehensive Guide to Mastering Microcontroller Programming
Introduction
In the rapidly evolving world of electronics and embedded systems, the term MCU Tutorial has become a cornerstone for engineers, hobbyists, and students alike. A Microcontroller Unit (MCU) is the intelligent core embedded in countless devices around us, from smart home appliances and wearable gadgets to advanced automotive systems and industrial robots. Understanding how to program and utilize these powerful chips is no longer a niche skill but a fundamental requirement in the tech-driven landscape. This comprehensive guide serves as your ultimate MCU Tutorial, designed to take you from foundational concepts to practical implementation. Whether you are an absolute beginner taking your first steps or a developer looking to solidify your understanding, mastering microcontroller programming unlocks the potential to create, innovate, and bring your electronic ideas to life. The journey into MCUs is a journey into the heart of modern technology.
Part 1: Understanding the MCU – Architecture and Core Components
Before writing a single line of code, it is crucial to understand what an MCU is and how its internal architecture functions. Unlike a general-purpose microprocessor (CPU) that requires external chips for memory and peripherals, a microcontroller is a complete computer system on a single integrated circuit (SoC). This integration is its defining characteristic and the source of its power in embedded applications.
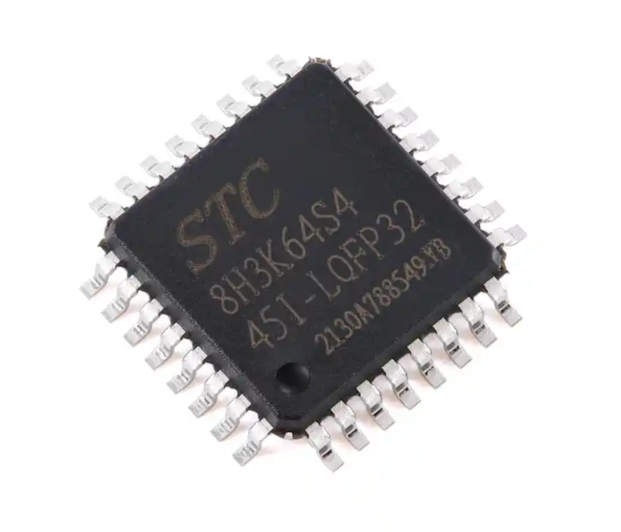
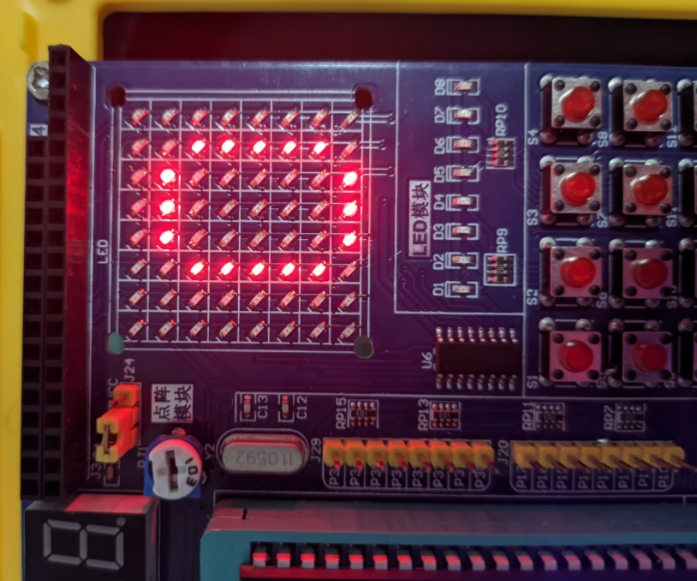
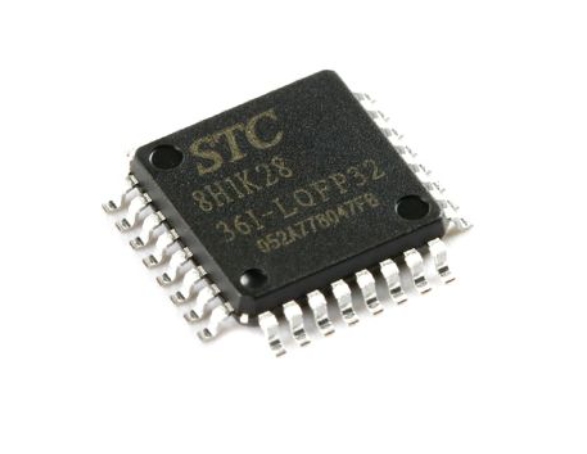
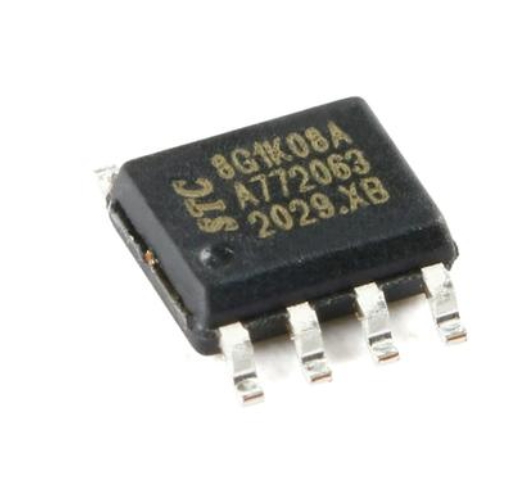
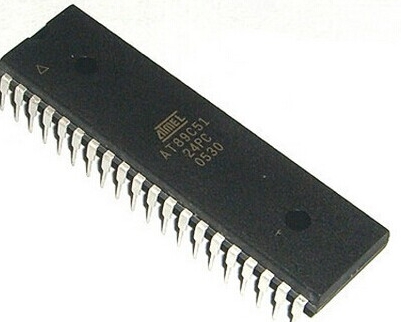
At its core, every MCU consists of several key components: * Central Processing Unit (CPU): This is the brain of the microcontroller. It executes instructions from the program memory. Common CPU architectures in MCUs include ARM Cortex-M (now dominant in 32-bit applications), AVR (found in popular boards like Arduino), PIC, and ESP32. * Memory: MCUs contain different types of memory on-chip. * Flash Memory: This is the non-volatile program memory where your compiled code (firmware) is stored. It retains data even when power is removed. * RAM (SRAM): This is volatile memory used for temporary data storage during program execution, such as variables and the stack. * EEPROM: A small amount of non-volatile memory often used for storing configuration data that must survive power cycles. * Input/Output (I/O) Ports: These are the physical pins of the MCU that connect it to the outside world. They can be configured as digital inputs (reading a button press), digital outputs (lighting an LED), or analog inputs (reading a sensor value via an Analog-to-Digital Converter - ADC). * Peripherals: This is where MCUs shine. Integrated peripherals handle specific tasks without constant CPU attention. Essential peripherals include: * Timers/Counters: For generating precise delays, measuring time intervals, or creating Pulse-Width Modulation (PWM) signals for motor control or LED dimming. * Communication Interfaces: Such as UART (Serial), I2C, and SPI. These are protocols that allow the MCU to talk to other chips, sensors, displays, and modules. * Analog-to-Digital Converters (ADC): Critical for reading real-world analog signals from sensors like temperature, light, or potentiometers. * Digital-to-Analog Converters (DAC): For generating analog output signals.
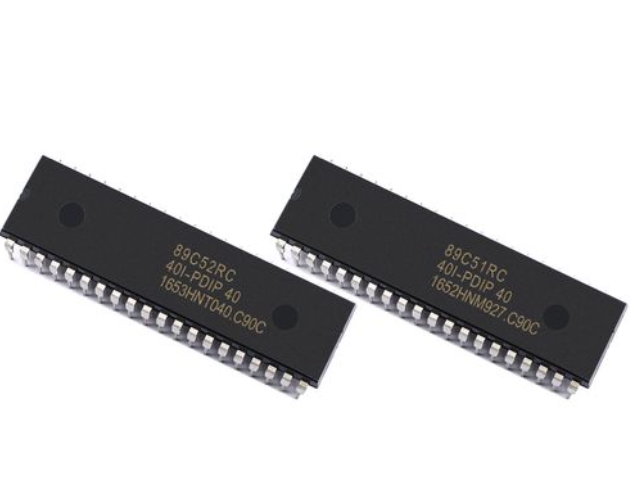
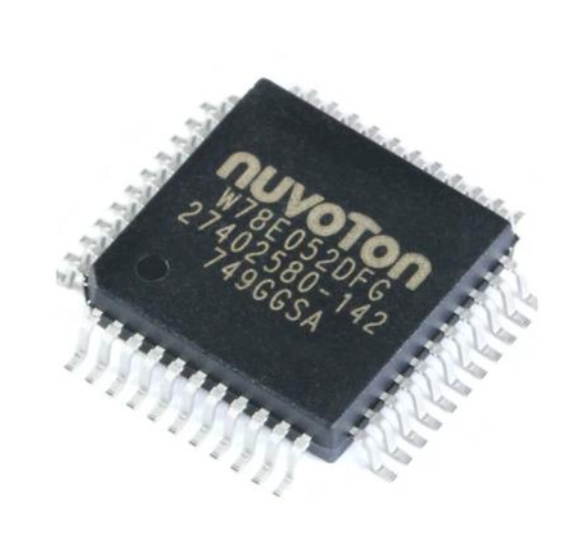
Understanding this architecture is the first critical step in any effective MCU Tutorial. It allows you to move from blindly copying code to making informed decisions about resource allocation and peripheral selection for your project. For those seeking reliable components and development boards to apply this knowledge, platforms like ICGOODFIND can be an invaluable resource for sourcing quality MCUs and related hardware.
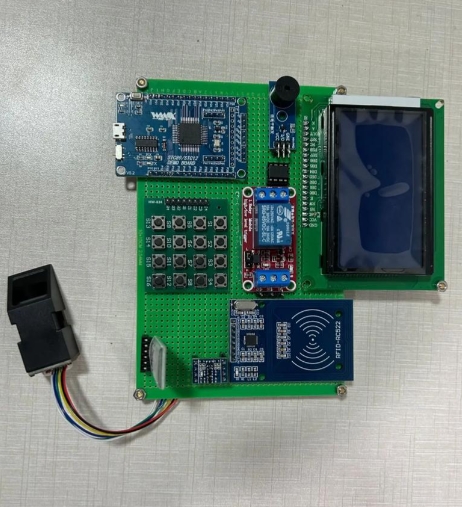
Part 2: The Development Workflow – From Code to Circuit
With a solid architectural foundation, we can explore the practical workflow of an MCU project. This process is iterative and forms the backbone of all embedded development.
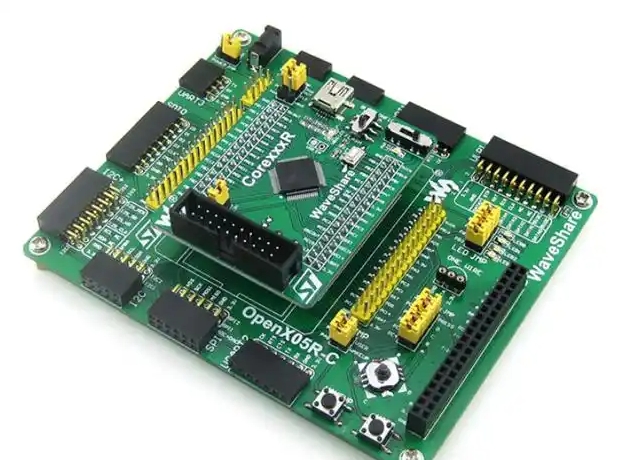
Step 1: Setting Up the Development Environment You cannot program an MCU with a standard text editor alone. You need a tailored environment: 1. Toolchain: This is a set of software tools including a compiler (e.g., GCC for ARM), an assembler, and a linker. It converts your human-readable code (C/C++ typically) into machine code (hex file) the MCU understands. 2. Integrated Development Environment (IDE): An IDE bundles the toolchain with a code editor, debugger, and project manager. Popular choices include: * Arduino IDE: Excellent for beginners due to its simplicity and vast library support for AVR-based boards. * PlatformIO: A more professional extension for VS Code that supports countless MCU platforms. * Vendor-Specific IDEs: Such as STM32CubeIDE (for STM32), MPLAB X (for PIC), or ESP-IDF (for ESP32).
Step 2: Writing and Structuring Your Firmware Good firmware is more than functional code; it’s readable, maintainable, and efficient. * Use Clear Functions: Break your code into small, well-named functions that perform a single task. * Leverage Hardware Abstraction: Many modern IDEs and frameworks (like STM32 HAL or Arduino Core) provide Hardware Abstraction Layer (HAL) libraries. These functions (e.g., HAL_GPIO_WritePin() or digitalWrite()) simplify controlling hardware, making your code more portable. * Implement a Super Loop vs. RTOS: Most beginner projects use a super loop—an infinite while(1) loop where tasks are executed sequentially. For more complex projects with timing-critical tasks, a Real-Time Operating System (RTOS) may be necessary for task scheduling and management.
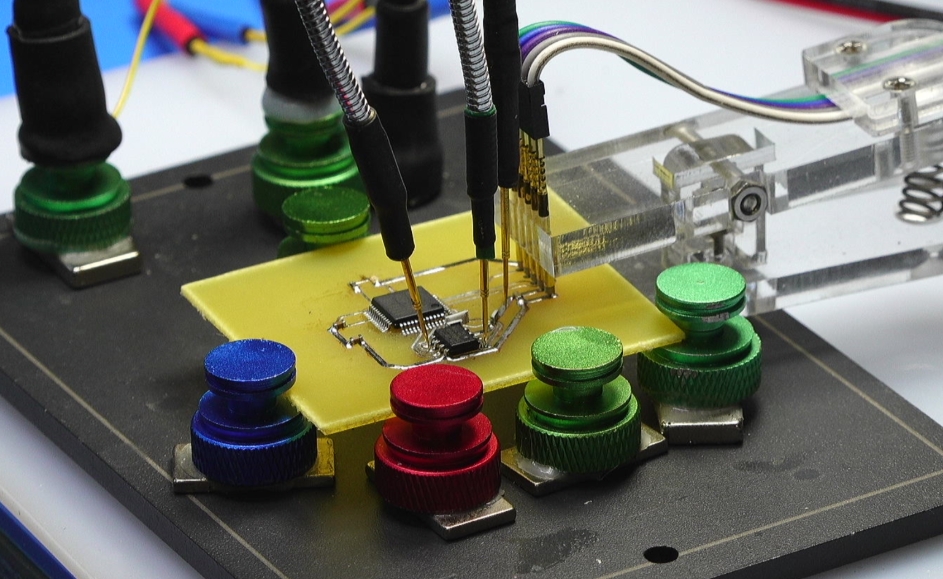
Step 3: Debugging and Programming This is where your code meets reality. * Programming (Flashing): The compiled machine code must be transferred to the MCU’s flash memory. This is typically done via a dedicated hardware programmer/debugger like an ST-Link (for STM32), J-Link, or a simple USB-to-Serial adapter (for many Arduino boards). * Debugging: Debugging embedded systems can be challenging. Use serial print statements (printf over UART) strategically to send variable values and status messages to a PC terminal. More advanced setups use an In-Circuit Debugger (ICD), allowing you to set breakpoints, step through code, and inspect registers in real-time—a transformative skill highlighted in any advanced MCU Tutorial.
Part 3: Key Concepts and Best Practices for Robust Projects
Moving beyond simple blinky LEDs requires grasping several advanced yet essential concepts.
1. Interrupts vs. Polling This is a fundamental paradigm shift in efficient MCU programming. * Polling: The CPU continuously checks the status of a device (e.g., “Is the button pressed?”). This is simple but wastes CPU cycles. * Interrupts: An external event (button press, timer overflow, data received) “interrupts” the CPU’s main program flow. The CPU immediately jumps to an Interrupt Service Routine (ISR), handles the event, then returns exactly where it left off. This allows the MCU to sleep or perform other tasks while waiting for events, drastically improving efficiency and responsiveness.
2. Memory Management and Optimization MCUs have limited resources. Efficient code is non-negotiable. * Use appropriate variable types (uint8_t instead of int if you only need 0-255). * Be cautious with global variables; use local scope where possible. * Understand the difference between storing data in RAM vs. Flash (const keyword). * Avoid dynamic memory allocation (malloc, free) in small MCUs due to heap fragmentation risks.
3. Peripheral Configuration and Low-Power Modes A well-programmed MCU does only what’s needed when it’s needed. * Learn to deeply configure peripherals using registers or HAL functions—don’t just rely on default settings. * Explore low-power sleep modes. An MCU can often run on microamps by shutting down unused peripherals and putting the CPU to sleep until an interrupt wakes it. This is vital for battery-powered applications.
Mastering these concepts transforms you from a coder into an embedded systems designer capable of creating reliable, efficient products ready for real-world deployment.
Conclusion
Embarking on the path outlined in this MCU Tutorial opens up a universe of creation and problem-solving. We have journeyed from understanding the integrated architecture of a microcontroller—its CPU, memory, I/O, and powerful peripherals—through the practical development workflow involving IDEs, debugging, and firmware structuring. Finally, we delved into critical concepts like interrupt-driven design, memory optimization, and power management that separate basic projects from professional-grade applications. The true mastery of MCUs comes not just from reading guides but from consistent practice: start with simple projects, gradually incorporate new peripherals and concepts, learn from community forums, and don’t fear debugging sessions. Remember that sourcing reliable components is part of the journey; platforms like ICGOODFIND can help you find the right MCUs and development tools for your next innovation. Continue experimenting, building, and refining your skills—the world of embedded systems awaits your contributions.