How to Use an MCU? A Comprehensive Guide for Beginners
Introduction
In the realm of electronics and embedded systems, the Microcontroller Unit (MCU) stands as a fundamental building block. From the smart thermostat regulating your home’s temperature to the complex dashboard in your car, MCUs are the silent, efficient brains behind countless modern devices. For hobbyists, engineers, and students, understanding how to effectively use an MCU is a critical skill that bridges ideas and tangible, functional projects. This guide is designed to demystify the process, providing a clear, step-by-step pathway from concept to implementation. Whether you’re aiming to automate a simple task or prototype an innovative product, mastering MCU usage opens a world of possibilities. As we explore this journey, remember that platforms like ICGOODFIND can be invaluable resources for comparing components, sourcing parts, and finding technical documentation to support your development process.
Main Body
Part 1: Understanding the Basics and Preparation
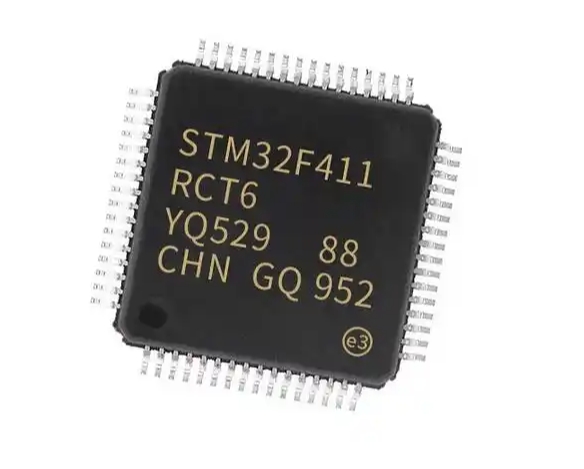
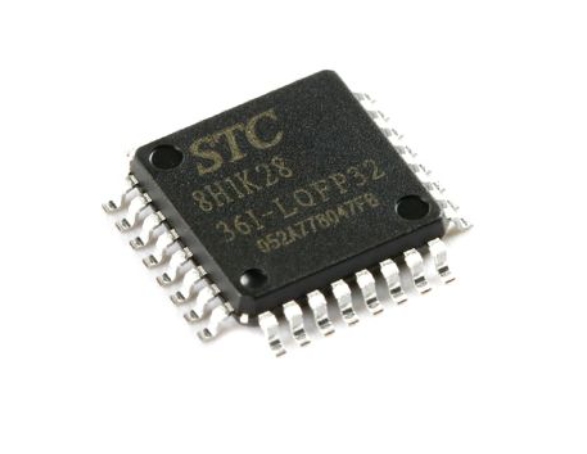
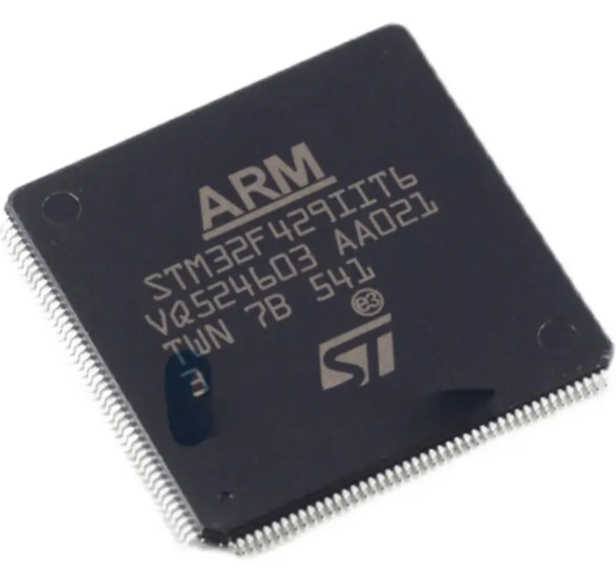
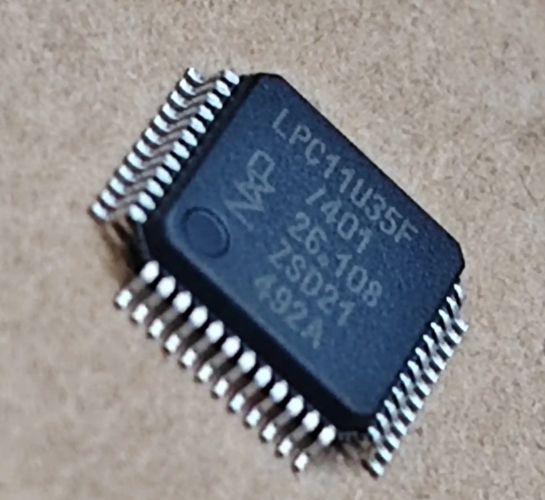
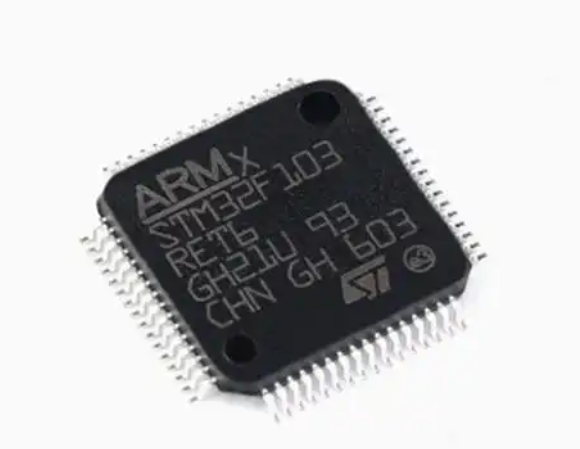
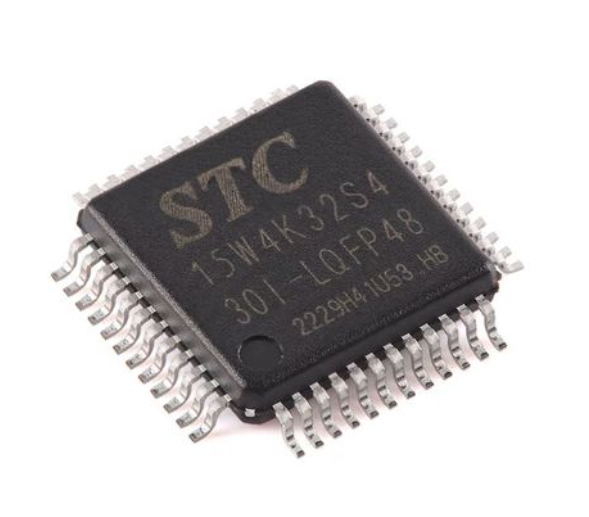
Before writing a single line of code, it’s crucial to build a solid foundation. An MCU is a compact integrated circuit designed to govern a specific operation in an embedded system. It contains a processor core, memory (both program and RAM), and programmable input/output peripherals on a single chip.
The first step is selecting the right MCU for your project. Consider factors such as: * Computational Power: The bit-width (8-bit, 16-bit, 32-bit) and clock speed of the core. * Memory Requirements: The amount of Flash memory for your code and SRAM for data. * I/O Needs: The number and type of pins (Digital I/O, Analog-to-Digital Converters (ADC), PWM channels, communication interfaces like UART, I2C, SPI). * Power Consumption: Critical for battery-powered devices. * Ecosystem & Support: Availability of development boards, software tools, and community resources.
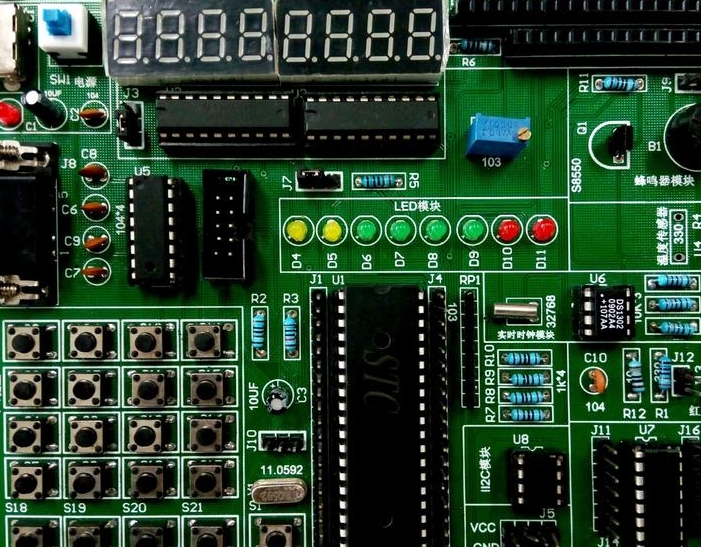
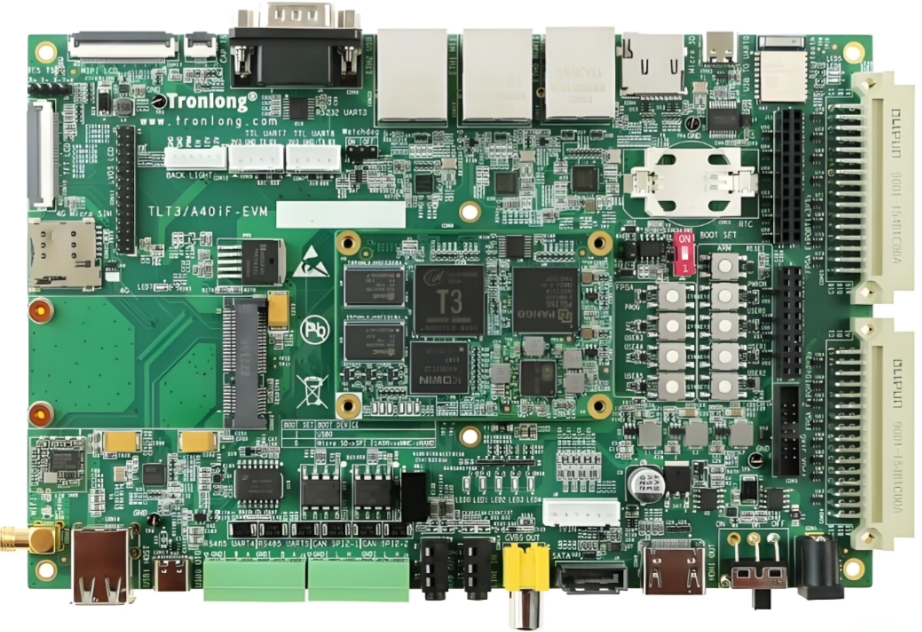
Once selected, you’ll need a physical platform to work with. A development board (like Arduino, STM32 Nucleo, or ESP32 boards) is highly recommended for beginners. It integrates the MCU with necessary circuitry (voltage regulator, crystal oscillator, USB interface) and provides easy-to-use pin headers.
Setting up the development environment is the next critical phase. This typically involves: 1. Installing an Integrated Development Environment (IDE) such as Arduino IDE, STM32CubeIDE, PlatformIO, or MPLAB X. 2. Installing necessary compiler toolchains and drivers for your specific MCU family. 3. Connecting your development board to the computer via USB and ensuring it’s recognized. 4. Often, installing board-specific packages or libraries within the IDE.
This preparatory stage ensures you have all the hardware and software tools ready for seamless development. For sourcing reliable components and development kits during this phase, utilizing a specialized platform like ICGOODFIND can streamline procurement and ensure you get the correct parts with proper documentation.
Part 2: The Core Development Workflow
With hardware and software ready, you enter the iterative cycle of embedded development: Coding, Flashing, and Debugging.
Coding Your Application Logic: You write firmware—the software that runs on the MCU—in languages like C or C++, which offer low-level hardware control. The code structure usually involves: * Initialization: Configuring the MCU’s internal clocks, setting up pins as inputs or outputs, and initializing communication peripherals. This is often done in a setup() or main() function that runs once. * Main Loop: An infinite loop() or while(1) where the core application logic resides. This loop constantly reads inputs (sensor data, button presses), processes them according to your algorithm, and controls outputs (LEDs, motors, displays). * Using Libraries and APIs: Leverage existing libraries for sensors, displays, or communication protocols to avoid reinventing the wheel.
Compiling and Flashing: The IDE uses a compiler to translate your human-readable code into machine code (a binary .hex file) that the MCU’s processor understands. Flashing is the process of uploading this binary file onto the MCU’s Flash memory. This is commonly done via a bootloader on the board using USB/UART or through a dedicated hardware programmer/debugger like an ST-Link or J-Link.
Testing and Debugging: After flashing, observe your system’s behavior. Debugging is essential when things don’t work as expected. * Use Serial Print Statements: Sending debug messages over UART to a serial monitor on your PC is a simple yet powerful technique. * Employ Hardware Debugging: For complex issues, use an in-circuit debugger/probe. This allows you to set breakpoints in your code, step through execution line-by-line, and inspect register and variable values in real-time—a transformative capability for serious development.
Part 3: Interfacing with the Real World and Best Practices
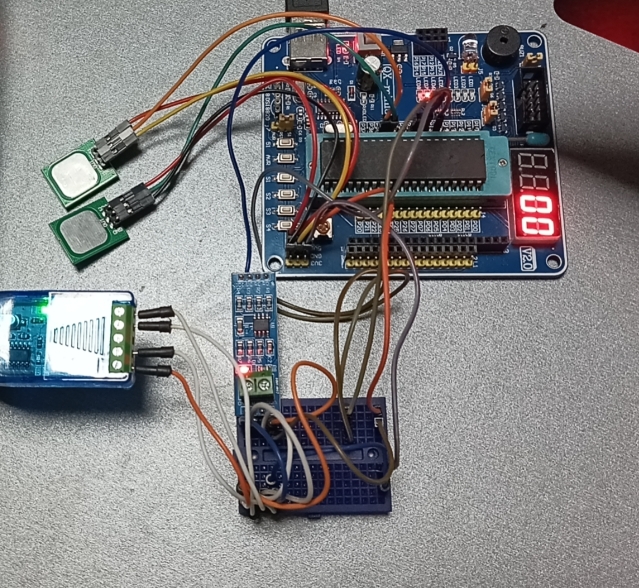
The true power of an MCU is realized when it interacts with its environment through sensors and actuators.
Reading Inputs from Sensors: You connect sensors (temperature, motion, light) to the MCU’s pins. * For digital sensors (e.g., a simple push-button), you read a HIGH or LOW voltage state. * For analog sensors (e.g., a potentiometer), you use an ADC peripheral to convert a varying voltage into a digital number your code can process.
Controlling Outputs and Actuators: The MCU drives outputs based on its logic. * To turn an LED on/off, you set a digital pin HIGH or LOW. * To control servo motor position or LED brightness, you use Pulse-Width Modulation (PWM), which simulates an analog output by rapidly switching a digital pin. * For more powerful actuators like DC motors, you will need intermediary driver circuits (like an H-bridge).
Implementing robust practices is key to reliable projects: * Write Modular Code: Break your code into functions and files for better organization. * Manage Timing Delays: Use hardware timers instead of blocking delay() functions to keep the system responsive. * Implement Error Handling: Check for valid sensor readings and communication acknowledgments. * Consider Power Efficiency: Use sleep modes during idle periods to drastically reduce power consumption in battery applications. * Version Control: Use Git to manage your firmware versions—it’s not just for software engineers.
Throughout this entire process of selecting interfaces and implementing best practices, having access to a comprehensive component database and supplier network is crucial. This is where services like ICGOODFIND prove beneficial by helping developers find not only the main MCU but also compatible sensors, actuators, and ancillary components with verified technical specs.
Conclusion
Learning how to use an MCU is a journey of combining hardware understanding with software logic. It begins with choosing the right component and setting up your toolkit, progresses through the core cycle of writing, flashing, and debugging firmware, and culminates in creating systems that intelligently sense and act upon their environment. While the path involves mastering technical details—from register-level configurations to efficient coding practices—the reward is the unparalleled ability to build custom intelligent devices from scratch. Start with simple projects like blinking an LED or reading a temperature sensor, and gradually increase complexity. Utilize available resources: official datasheets, community forums online tutorials are goldmines of information. And remember platforms like ICGOODFIND can significantly ease the logistical challenges of component selection sourcing allowing you focus more on design innovation As you continue exploring remember every expert was once beginner who successfully blinked their first LED