


Difference Between Arduino and MCU
Introduction
In the world of electronics and embedded systems, the terms “Arduino” and “MCU” are often used, sometimes interchangeably, leading to confusion among beginners and even experienced hobbyists. While they are related, they represent fundamentally different concepts. An MCU, or Microcontroller Unit, is the core integrated circuit chip that serves as the brain of an embedded system, containing a processor, memory, and programmable input/output peripherals on a single chip. In contrast, Arduino is not a chip itself but an open-source electronics platform built around a specific MCU. It consists of both hardware (a printed circuit board) and software (the Arduino Integrated Development Environment or IDE). The Arduino board provides a user-friendly package that includes an MCU, voltage regulation, a clock circuit, and convenient headers for connecting wires and components. This distinction is crucial for anyone looking to deepen their understanding of electronics or make informed decisions about which technology to use for a project. Platforms like ICGOODFIND can be excellent resources for discovering and comparing different development boards and microcontroller components, helping you navigate the vast ecosystem of available tools.

Main Body
Part 1: Core Definitions and Architectural Differences
To fully grasp the difference, we must first define each term in detail.
A Microcontroller Unit (MCU) is a compact, self-contained computer-on-a-chip. It is designed to execute a specific task or set of tasks within an embedded system. The architecture of a typical MCU includes several key components integrated onto a single piece of silicon:
- Central Processing Unit (CPU): This is the core that executes instructions. MCUs often use low-power processors like ARM Cortex-M, AVR, or PIC cores.
- Memory: This includes both volatile memory (RAM) for temporary data storage during operation and non-volatile memory (Flash or ROM) for storing the program code.
- Programmable I/O Peripherals: These are the pins that allow the MCU to interact with the outside world. They can be configured as digital inputs/outputs, analog-to-digital converters (ADC), serial communication interfaces (UART, I2C, SPI), and pulse-width modulation (PWM) controllers.
- Other On-Chip Peripherals: Many MCUs include timers, oscillators, watchdog timers, and sometimes more advanced features like USB controllers or Ethernet interfaces.
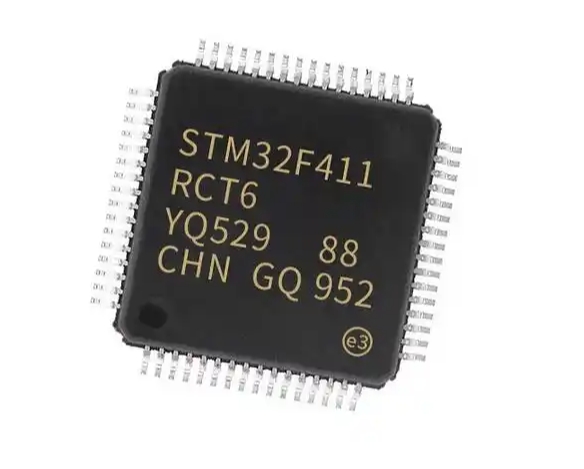
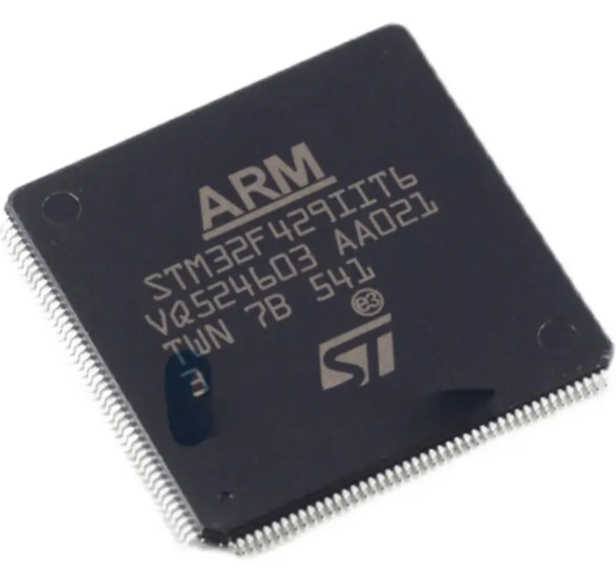
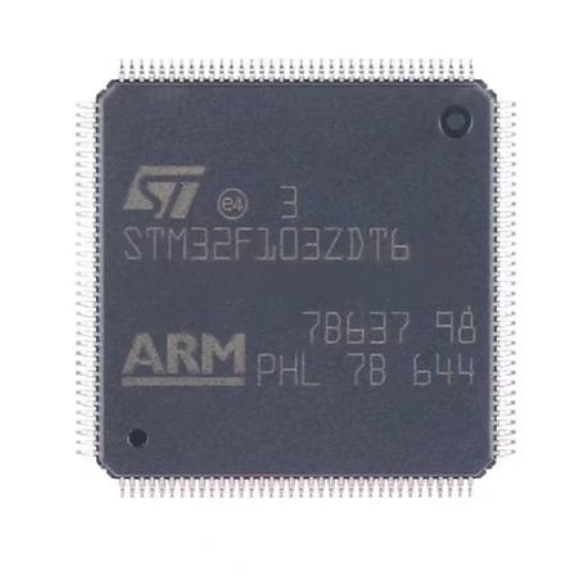
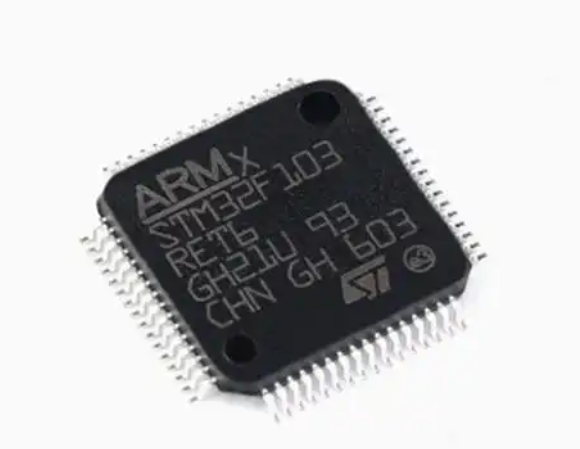
Popular families of MCUs include the ATmega328P (used in the Arduino Uno), the ESP32 (known for its Wi-Fi and Bluetooth capabilities), STMicroelectronics’ STM32 series, and Microchip’s PIC series. When you work with a standalone MCU, you are typically dealing with the raw chip. This requires you to provide all the supporting circuitry yourself, such as an external clock crystal, voltage regulator, and decoupling capacitors, to make it functional.
Arduino, on the other hand, is a complete ecosystem. The heart of any Arduino board is indeed an MCU. For instance, the Arduino Uno uses an ATmega328P MCU. However, Arduino is much more than just the chip:
- Hardware (The Board): The Arduino board takes the raw MCU and surrounds it with all the necessary supporting circuitry. It provides a stable 5V or 3.3V power supply via a voltage regulator, a USB-to-serial interface for easy programming and communication with a computer, a reset button, and pin headers that break out the MCU’s I/O pins in a standardized, accessible layout. This abstraction eliminates the need for users to design complex circuits just to get started.
- Software (The IDE and Bootloader): The Arduino IDE is a simplified programming environment based on Processing/C++. It uses a variant of the C++ language with a vast library of pre-written functions that simplify complex tasks like reading a sensor or controlling a motor. Crucially, Arduino boards come pre-flashed with a bootloader. This is a small program that allows new code to be uploaded to the MCU’s memory over a simple serial connection (like USB) without needing an external hardware programmer.
Therefore, the fundamental architectural difference is that an MCU is a component, while Arduino is a platform that packages that component with hardware and software to create an accessible development system. Using an MCU directly is like cooking a meal from scratch with individual ingredients, whereas using an Arduino is like using a meal kit that includes pre-measured ingredients and a simple recipe.
Part 2: Development Process and Ease of Use
The development workflow for these two approaches differs significantly, primarily in terms of complexity and accessibility.
Developing with a Standalone MCU:
This process is often referred to as “bare-metal” programming and is generally more complex. 1. Hardware Setup: You must first design and build a circuit board that includes the MCU and all its required support components. 2. Toolchain Setup: You need to install and configure a toolchain specific to the MCU’s architecture (e.g., ARM GCC for STM32). This includes a compiler, assembler, and linker. 3. Integrated Development Environment (IDE): You might use professional IDEs like Keil MDK, IAR Embedded Workbench, or STM32CubeIDE. These environments are powerful but can have a steep learning curve. 4. Programming/Debugging: To load your code onto the MCU, you typically need an external hardware tool called an In-Circuit Programmer (ICP) or In-Circuit Debugger (ICD), such as a JTAG or SWD debugger. This device connects your computer to the MCU’s programming pins. 5. Code Writing: You write code in C or C++, often dealing directly with the MCU’s memory-mapped registers. You must manually configure clocks, set up peripherals by writing to specific control registers, and manage interrupts. This offers maximum control and efficiency but requires deep knowledge of the MCU’s datasheet.
Developing with an Arduino:
The Arduino platform was explicitly designed to lower these barriers to entry. 1. Hardware Setup: You simply buy an official or compatible Arduino board and connect it to your computer via a USB cable. No circuit design is required to get started. 2. Software Setup: You download and install the free Arduino IDE—a straightforward process. 3. Programming: You write your code (called a “sketch”) in the Arduino IDE. The language simplifies many tasks with high-level functions like digitalWrite(), analogRead(), and Serial.println(). You don’t need to manipulate low-level registers directly. 4. Uploading Code: With a single click of the “Upload” button, the IDE compiles your code and sends it to the board via USB. The pre-installed bootloader handles the entire process seamlessly—no external programmer is needed.
The key takeaway here is that Arduino dramatically simplifies the development process, making it ideal for prototyping, education, and hobbyist projects where time-to-market and ease of use are priorities. Working directly with an MCU provides unparalleled control and optimization but demands significantly more expertise and time.
Part 3: Application Scenarios: When to Use Which?
Choosing between an Arduino platform and a standalone MCU depends entirely on the project’s requirements, budget, scale, and the developer’s skill level.
When to Choose Arduino:
- Rapid Prototyping: If you need to quickly test an idea or build a proof-of-concept, Arduino’s “out-of-the-box” functionality is unbeatable.
- Education and Hobbies: For students, artists, and makers with limited electronics or programming experience, Arduino provides a gentle introduction to embedded systems.
- Simple to Moderate Complexity Projects: Projects like home automation sensors, simple robots, weather stations, or interactive art installations are perfect for Arduino.
- Community and Libraries: The massive Arduino community and extensive library ecosystem mean that for almost any common sensor or module, someone has already written a library that you can use with minimal effort.
When to Choose a Standalone MCU:
- Cost-Sensitive Mass Production: For a product you plan to manufacture in thousands of units, the cost of a full Arduino board is prohibitive. Designing a custom PCB with just the necessary MCU and minimal components can reduce the unit cost dramatically.
- Demanding Performance Requirements: If your project requires very high processing speed, ultra-low power consumption (critical for battery-powered devices), or specific peripherals not available on standard Arduino boards, a standalone MCU is necessary. You can select an MCU that perfectly matches your technical specs.
- Size Constraints: An Arduino board has a fixed form factor. If your product needs to be extremely small, you can design a custom PCB that integrates only the MCU and essential parts into a much smaller footprint.
- Professional Product Development: In commercial products where reliability, precise control over hardware resources, and optimization are paramount, professional engineers almost always design with standalone MCUs.
Platforms like ICGOODFIND are invaluable in this decision-making process. They allow engineers and hobbyists to search for, filter, and compare specifications of various development boards (which are often based on specific MCUs), helping them find the perfect balance between ease-of-use and raw performance for their specific application.
Conclusion
In summary, while “Arduino” and “MCU” are intertwined concepts in electronics, they are not synonymous. The core difference lies in abstraction versus fundamentality: an MCU is the fundamental silicon component that serves as the programmable heart of countless electronic devices. In contrast,Arduino is an abstraction layer—a complete hardware and software platform built around an MCU to make it incredibly accessible for prototyping and learning.
Choosing between them is not about which is “better,” but about which is more appropriate for your specific needs. For quick results, learning purposes,and projects where development speed trumps unit cost,Arduino is the superior choice. For final products requiring high performance,cost-effectiveness at scale,and granular hardware control,a standalone MCU development path is essential. Understanding this distinction empowers you to select the right tool for your project from platforms like ICGOODFIND,and ultimately bridges the gap between being a user of technology and becoming a master of it.