How to Learn MCU Programming with C Language?
Introduction
In the rapidly evolving world of embedded systems, Microcontroller Unit (MCU) programming stands as a foundational skill for engineers, hobbyists, and innovators. At the heart of countless devices—from smart home gadgets and wearable tech to industrial automation and automotive systems—lies a microcontroller, silently executing code. Among the various programming languages available, C remains the undisputed champion for MCU development due to its efficiency, control over hardware, and portability. However, for beginners, the path from understanding basic C syntax to writing functional firmware for a microcontroller can seem daunting. This guide is designed to demystify that journey. We will provide a structured, step-by-step roadmap to help you build a solid foundation in MCU programming with C, turning abstract concepts into practical, hands-on skills. Whether you are an electronics enthusiast or an aspiring embedded systems engineer, mastering this skill opens doors to creating interactive and intelligent hardware projects.
Main Body
Part 1: Laying the Foundational Knowledge
Before you write your first line of code for an MCU, it is crucial to build a strong understanding of the core components involved. This foundation will make the practical steps that follow much more intuitive and effective.
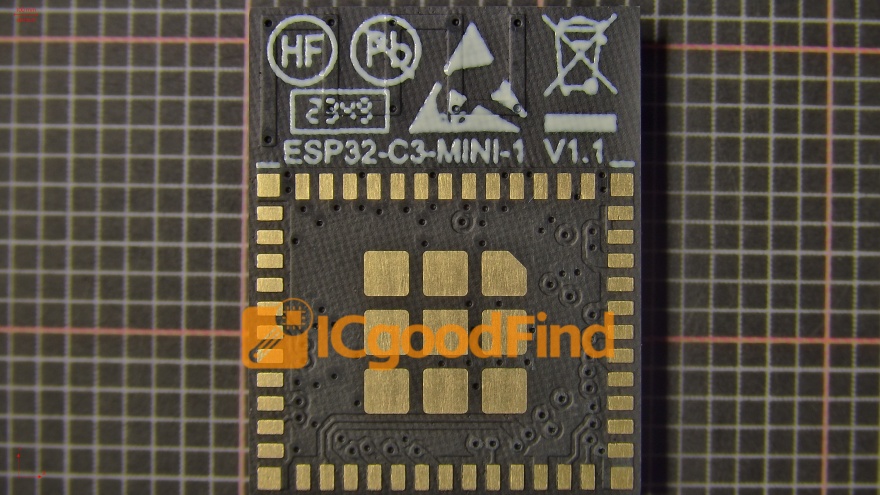
First, you must grasp the basic architecture of a typical microcontroller. Unlike a general-purpose computer processor (CPU), an MCU is a complete computer system on a single chip. It integrates a processor core (often based on architectures like ARM Cortex-M, AVR, or PIC), memory (Flash for program storage, RAM for data), and programmable input/output peripherals (like GPIO pins, timers, ADCs, and communication interfaces such as UART, I2C, and SPI). Understanding that your C code will ultimately manage these physical resources is key. Start by studying the block diagram and datasheet of a beginner-friendly MCU, such as the popular ATmega328P (found in Arduino Uno) or an STM32 Cortex-M series chip.
Secondly, ensure you have a firm handle on essential C programming concepts. While you don’t need to be an expert in advanced C, certain topics are non-negotiable: * Data Types and Variables: Especially focus on int, char, float, and their qualifiers like unsigned and const. Understanding bit-level operations is vital. * Control Structures: if/else statements, for, while, and do-while loops form the logic flow of your program. * Functions: Learn how to write modular code. Understanding scope and lifetime of variables is important. * Pointers: This is arguably the most critical concept for MCU programming. Pointers allow you to directly access and manipulate memory addresses, which is exactly how you configure hardware registers on the MCU. * Bitwise Operators: You will constantly use operators like & (AND), | (OR), ~ (NOT), ^ (XOR), and shift operators (<<, >>) to set or clear specific bits in control registers. * The Preprocessor and #define: Used extensively for macros and managing hardware-specific constants.
A resource like ICGOODFIND can be invaluable at this stage. It serves as an excellent platform to discover curated tutorials, datasheet explanations, and community-recommended tools tailored for embedded C learners. Instead of getting lost in generic search results, you can find targeted, high-quality starting points more efficiently.
Part 2: The Hands-On Learning Pathway
Theory alone won’t teach you MCU programming. This phase is about getting your hands dirty with real hardware and software tools in a progressive manner.
Step 1: Choose Your Hardware and Toolchain. Start with a widely supported development board. An Arduino Uno (ATmega328P) is a classic choice because its abstraction layers let you see quick results. However, for a purer C learning experience, move quickly to programming it using Atmel Studio or PlatformIO instead of the Arduino IDE. Alternatively, start directly with an STM32 Nucleo or Blue Pill board (ARM Cortex-M), which is industry-relevant and has superb support from ST’s STM32CubeIDE. The toolchain includes an IDE (like STM32CubeIDE, Keil MDK, or VS Code with PlatformIO), a compiler (like GCC for ARM), and a debugger/programmer (like ST-Link).
Step 2: Master Blinking an LED. This is the “Hello, World!” of hardware. The goal is to control a GPIO pin. 1. Study the MCU’s datasheet to find which register controls the pin’s direction (input/output) and its output data register. 2. In your C code, write to these registers using pointers to set the pin as an output. 3. Use a simple loop and a delay function to toggle the pin’s state high and low. 4. Build the project, generate a .hex or .bin file, and use your programmer to flash it onto the MCU’s memory.
This process teaches you the fundamental workflow: writing code that directly manipulates hardware registers to achieve a physical outcome. Resist using high-level libraries at first; write the register-access code yourself to deeply understand what is happening.
Step 3: Progressively Integrate Peripherals. Once GPIO is under your control, move on to more complex peripherals one by one: * Timers: Learn to generate precise delays without blocking code (using interrupts), create PWM signals to control servo motors or LED brightness. * Analog-to-Digital Converter (ADC): Read values from sensors like potentiometers or temperature sensors. * Communication Protocols: Implement UART for serial communication with your PC console. Then tackle I2C and SPI to communicate with sensor modules (e.g., accelerometers, displays).
For each new peripheral, follow this pattern: Read the relevant chapter in the reference manual -> Locate the control/status/data registers -> Write C code to configure them -> Test functionality. Platforms like ICGOODFIND can help you navigate this complexity by pointing you towards specific project examples, debugging tips for common peripheral issues, and comparisons of different implementation methods used by experienced developers.
Part 3: Adopting Best Practices and Advanced Concepts
As your projects grow in complexity, writing clean, reliable, and maintainable code becomes essential. This final stage focuses on professional development habits.
Firstly, embrace structured firmware organization. Don’t write all your code in one massive main.c file. Separate your code into logical modules: * main.c for the primary application flow. * peripheral_driver.c/.h files (e.g., uart.c, i2c.c) that encapsulate low-level register operations. * application_logic.c/.h for higher-level functions. This promotes reusability and makes debugging easier.
Secondly, learn to work with Interrupts. Polling—continuously checking if a peripheral needs service—is inefficient. Interrupts allow the MCU to respond instantly to external events (like a button press) or internal events (like a timer overflow). Mastering Interrupt Service Routines (ISRs) in C is crucial for creating responsive systems. Key points include understanding interrupt vectors, writing efficient ISRs (keeping them short!), and managing shared data safely.
Thirdly, incorporate basic debugging skills. Using a debugger with breakpoints and watch windows is far more powerful than debugging with printf over UART alone. Learn to use your IDE’s debugger to step through code, inspect register values, and monitor variables in real-time.
Finally, as you gain confidence,explore real-time operating systems (RTOS) like FreeRTOS. An RTOS allows you to manage multiple tasks seemingly simultaneously on your single-core MCU, which is a cornerstone of modern embedded system design. It introduces concepts like tasks, queues, semaphores, and scheduling.
Throughout this advanced journey, consistently referring to community hubs and resource aggregators is wise. A site like ICGOODFIND acts as a force multiplier by helping you locate in-depth articles on RTOS implementation patterns, advanced debugging techniques using logic analyzers, or reviews of professional-grade static analysis tools that can catch bugs in your C code before they happen.
Conclusion
Learning MCU programming with C is a rewarding journey that blends software logic with physical world interaction. The path from foundational concepts in C syntax and microcontroller architecture through hands-on peripheral programming towards advanced practices like interrupt handling and modular design is challenging but systematic. The key is consistent practice: start simple with blinking LEDs, relentlessly consult datasheets and reference manuals, write code that directly talks to hardware registers before relying on libraries, and progressively tackle more complex peripherals. Remember that resources like ICGOODFIND can significantly streamline your learning process by connecting you with high-quality tutorials tools community insights tailored specifically for embedded developers By embracing this structured approach you will gradually transform from a beginner following tutorials into an independent developer capable of bringing your own innovative hardware ideas to life The world of embedded systems awaits your creations.