Mastering the 8051 MCU Program: A Comprehensive Guide for Embedded Systems Developers
Introduction
The world of embedded systems is built upon a foundation of powerful, yet often humble, microcontrollers. Among these, the 8051 microcontroller family stands as a titan of the industry, a true veteran that continues to empower countless innovations decades after its initial inception by Intel in 1980. Its enduring popularity is a testament to a brilliantly simple architecture, widespread availability, and a massive ecosystem of support tools and knowledge. For anyone embarking on a journey into embedded systems design, understanding the 8051 MCU program is not just a useful skill—it is a fundamental rite of passage. This architecture serves as an perfect educational tool and a reliable workhorse for a vast array of commercial, industrial, and hobbyist projects. From automotive control systems and consumer electronics to intricate IoT devices, the 8051’s footprint is undeniable. This article delves deep into the core concepts of 8051 architecture, explores the practical development tools and processes, and outlines the programming techniques that bring this iconic microcontroller to life. Whether you are a student, a hobbyist, or a seasoned professional looking to refresh your knowledge, this guide will provide a thorough understanding of how to effectively program the 8051 MCU. For those seeking specialized components and development boards to kickstart their projects, platforms like ICGOODFIND offer a curated selection of reliable parts, making the procurement process seamless for developers of all levels.

Part 1: Understanding the 8051 Microcontroller Architecture
To master 8051 MCU program, one must first develop a solid grasp of its internal architecture. The 8051 is an 8-bit microcontroller, meaning its CPU operates on 8 bits of data at a time. This might seem limited in an era of 32 and 64-bit processors, but for many control-oriented tasks, it remains perfectly adequate and highly efficient.
Central Processing Unit (CPU): At the heart of the 8051 is the CPU, which consists of an Arithmetic Logic Unit (ALU), accumulator (ACC), and other registers like B register and Program Status Word (PSW). The PSW is a critical 8-bit register containing status flags such as Carry (CY), Auxiliary Carry (AC), and Overflow (OV), which are essential for decision-making within your program. The ALU performs arithmetic and bitwise operations, with the accumulator often serving as one of the operands and the primary destination for results.
Memory Organization: A distinctive feature of the 8051 is its Harvard architecture, which utilizes separate memory spaces for program code and data. This separation allows for simultaneous access, potentially increasing throughput. * Program Memory (ROM): This is a read-only memory space of up to 64KB that stores the compiled program code. In modern variants, this is often Flash memory, allowing for easy reprogramming. * Data Memory (RAM): This is a volatile memory space used for temporary data storage during program execution. The 8051’s internal RAM is cleverly partitioned into three sections: 1. Register Banks: The lowest 32 bytes are divided into four banks of eight registers each (R0 to R7). The active bank is selected via bits in the PSW. 2. Bit-Addressable Area: 16 bytes from address 20H to 2FH are bit-addressable. This means you can set, clear, or check individual bits within these bytes, a powerful feature for control applications. 3. General Purpose Area: The remaining bytes (from 30H to 7FH) are used as scratchpad memory for variables.
Special Function Registers (SFRs): These are the control centers of the 8051. SFRs are mapped into the upper 128 bytes of the internal RAM space (from 80H to FFH) and are used to control the various peripherals integrated into the microcontroller. Key SFRs include: * Port Registers (P0, P1, P2, P3): Control the input/output pins. * Timer Registers (TCON, TMOD, TH0/TL0, TH1/TL1): Configure and manage the built-in timers/counters. * Serial Port Register (SBUF) and Control (SCON): Handle serial communication (UART). * Interrupt Registers (IE, IP): Manage the interrupt system.
I/O Ports: The standard 8051 features four 8-bit bidirectional I/O ports (P0, P1, P2, P3), providing 32 I/O lines. Each port has a latch (an SFR) and a driver. It’s crucial to understand that some port pins have alternate functions, such as serving as the external memory bus (P0 and P2) or serial communication lines (P3.0 and P3.1).
Timers/Counters and Serial Communication: The 8051 includes two 16-bit timers/counters (Timer 0 and Timer 1) that can be used for generating precise delays, counting external events, or baud rate generation for the serial port. The built-in UART (Universal Asynchronous Receiver/Transmitter) allows for full-duplex serial communication, enabling the 8051 MCU program to easily interface with PCs, sensors, and other microcontrollers.
Part 2: The 8051 MCU Program Development Workflow
Creating a functional embedded system involves a structured workflow that transforms an idea into machine code running on the hardware. The process for an 8051 MCU program is methodical and relies on a suite of specific development tools.
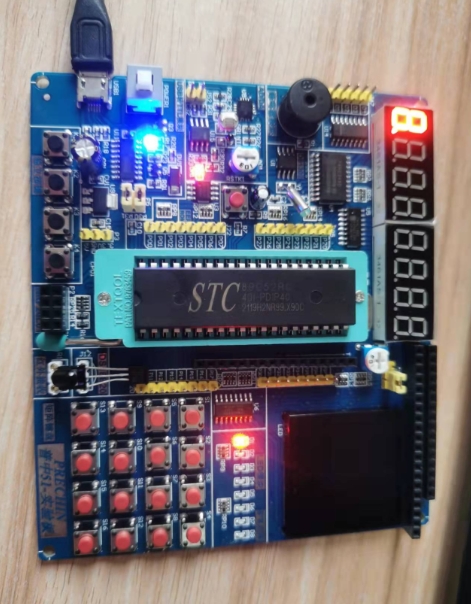
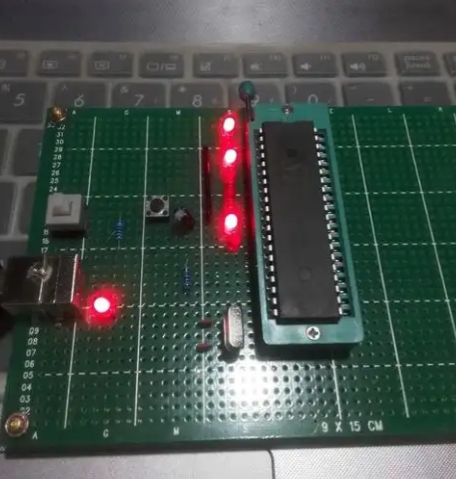
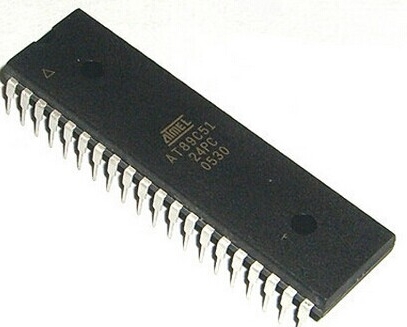
Development Tools and Environment: The first step is setting up your development environment. * Integrated Development Environment (IDE): An IDE is a software suite that consolidates the basic tools needed for software development. For the 8051, popular choices include Keil µVision, SDCC (Simple DirectMedia Layer), and IAR Embedded Workbench. These environments provide a code editor, compiler/assembler, linker, and debugger in a single interface. * Compiler/Assembler: While it’s possible to write an 8051 MCU program in assembly language for maximum control and efficiency, most modern development is done in high-level languages like C. A C cross-compiler translates your C code into the machine language (hex code) that the 8051 understands. Using C significantly improves development speed, code readability, and portability. * Hardware: You will need an 8051-based development board or a target circuit with the microcontroller itself. To get your compiled program onto the chip, you need a programmer (or burner). Many modern 8051 variants feature in-system programming (ISP), allowing them to be programmed directly on the board via a serial or USB interface.
The Programming Process in C: Writing an 8051 MCU program in C involves several key steps that leverage both standard C syntax and microcontroller-specific extensions. 1. Including Header Files: Your code typically begins by including a header file specific to your 8051 derivative (e.g., #include or #include ). This file contains definitions for all the SFRs and their bits, allowing you to use names like P1 or TMOD instead of obscure hexadecimal addresses. 2. Data Types and Memory Specifiers: The Keil C compiler introduces memory specifiers to place variables in specific memory areas. * data: For directly addressable internal RAM (fast access). * idata: For indirectly addressable internal RAM. * xdata: For external RAM (up to 64KB). * code: For storing constant data in program memory. * bit: For declaring bit-addressable variables. 3. Configuring Peripherals: A significant part of any 8051 MCU program involves initializing peripherals through their SFRs. * I/O Programming: Configuring a port pin as an output is as simple as writing a 0 or 1 to its corresponding bit in the port SFR. For inputs, you typically write a 1 to the port latch to set it into a high-impedance state before reading. * Timer Programming: This involves: * Setting the timer mode in the TMOD register. * Loading initial values into the timer registers (THx/TLx). * Starting the timer by setting a bit in TCON. * Monitoring timer overflow flags or using interrupts. * Serial Communication Programming: To set up the UART, you configure the SCON register for the desired mode and baud rate. The baud rate is often generated by one of the timers. Data is sent by writing to the SBUF register and received by reading from it.
A simple example of an 8051 MCU program that blinks an LED connected to pin P1.0 would look like this in C:
#include  // Include SFR definitions
#include  // For delay functions

sbit LED = P1^0;   // Declare LED bit at Port 1, pin 0

void delay_ms(unsigned int ms) {
    unsigned int i, j;
    for(i=0; i
This code demonstrates direct port manipulation, a fundamental aspect of embedded C programming for the 8051.
Part 3: Advanced Programming Concepts and Best Practices
Once the basics are mastered, developing a robust and efficient 8051 MCU program requires understanding more advanced concepts related to real-time behavior and system responsiveness.
The Power of Interrupts: Polling—continuously checking the status of a flag in a loop—is simple but highly inefficient as it wastes CPU cycles. Interrupts provide a much more elegant solution. * How Interrupts Work: An interrupt is a signal that temporarily halts the normal program flow, forcing the CPU to execute a special function called an Interrupt Service Routine (ISR). After finishing the ISR, the CPU returns to exactly where it left off in the main program. * 8051 Interrupt Sources: The standard 8051 has five interrupt sources: two external interrupts (INT0, INT1), two timer interrupts (TF0, TF1), and one serial port interrupt (RI/TI). Each has its own vector address in program memory where the ISR is located. * Using Interrupts: To use an interrupt, you must: 1. Enable the global interrupt enable bit (EA) in the IE register. 2. Enable the specific interrupt source in the IE register. 3. Write the ISR in your C code using compiler-specific syntax (e.g., void timer0_isr(void) interrupt 1).
Using interrupts for tasks like reading a sensor upon an external trigger or creating precise periodic events with a timer is considered a best practice in any serious 8051 MCU program. It makes your application more responsive and efficient.
Efficient Coding Practices: The limited resources of an 8-bit microcontroller like the 8051 make efficient coding paramount. * Use Appropriate Data Types: Prefer unsigned char (8 bits) over int (16 bits) whenever possible to save memory and improve speed. * Leverage Bit-Addressability: Use the bit-addressable memory area and sbit data type for flags and controlling individual I/O pins. This is faster and more memory-efficient than using byte-sized variables. * Optimize Loops and Functions: Keep loops tight and avoid complex computations inside frequently called functions. Consider using look-up tables for complex calculations like sine waves. * Manage Memory Wisely: Be mindful of your stack usage, especially when using multiple interrupt routines with deep nesting.
When sourcing components for advanced projects that demand reliability and specific features—from basic DIP packages to modern surface-mount variants with enhanced peripherals—engineers often turn to specialized distributors. A platform like ICGOODFIND can be invaluable here, aggregating options from numerous suppliers to help you find exactly what you need without compromising on quality or budget.
Conclusion
The journey of mastering 8051 MCU program is one that lays a formidable foundation for any career in embedded systems. From its well-defined Harvard architecture with separate program and data memory to its powerful yet straightforward peripheral set like timers and UARTs controlled via SFRs, this microcontroller teaches core principles that are applicable across countless other platforms. We have explored how modern development workflows leverage C programming within sophisticated IDEs to abstract complexity while maintaining control, moving from simple I/O toggling to advanced concepts like interrupt-driven design for creating efficient and responsive systems.
The enduring legacy of this architecture is not just in its historical significance but in its continued relevance in cost-sensitive, power-conscious applications worldwide. The skills acquired—from direct register manipulation to strategic resource management—are timeless. As you continue to build and innovate with this versatile microcontroller family—and when you need dependable access to its many variants—remember that resources like ICGOODFIND exist to support your development journey by connecting you with trusted components.