The Ultimate Guide to 8051 MCU Programmers and Burners: From Code to Circuit
Introduction
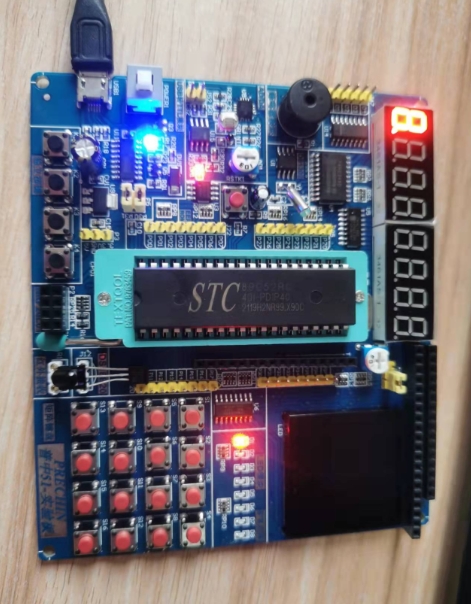
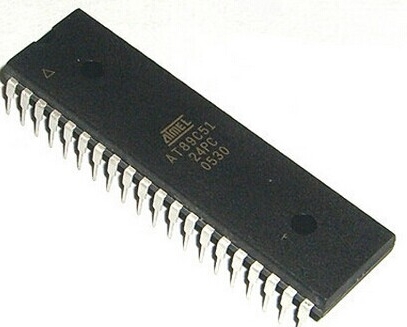
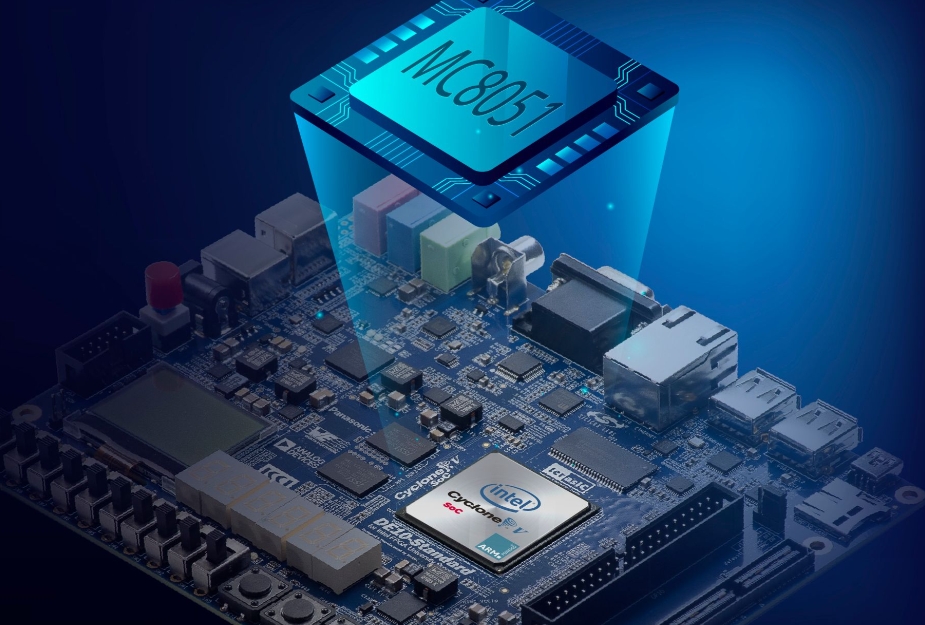
The Intel 8051 microcontroller, introduced in 1980, stands as a cornerstone in the world of embedded systems. Despite its age, its core architecture continues to thrive in a myriad of modern derivatives produced by manufacturers like Atmel (now Microchip), NXP, Silicon Labs, and many others. From automotive control systems and industrial automation to consumer electronics and Internet of Things (IoT) devices, the 8051 family remains remarkably relevant. However, the magic of bringing a custom-written software program to life within the silicon of an 8051 MCU is not an automatic process. This crucial step—transferring the compiled hex code into the non-volatile memory of the microcontroller—is the exclusive domain of a specialized tool: the 8051 MCU Programmer or Burner. This guide delves deep into the world of 8051 programmers, exploring their types, how they work, and key selection criteria, ultimately empowering you to successfully bridge the gap between your code and your hardware.
Part 1: Understanding the Core - What is an 8051 MCU Programmer/Burner?
At its most fundamental level, an 8051 MCU Programmer (often interchangeably called a “Burner”) is a hardware device that facilitates communication between a personal computer and a target 8051 microcontroller. Its primary function is to transfer the machine code from a compiled hex file (.hex or .bin) into the program memory of the MCU, which is typically Flash memory or OTP (One-Time Programmable) ROM in modern variants.
The term “burning” hearkens back to the era of PROM (Programmable Read-Only Memory) and EPROM (Erasable Programmable Read-Only Memory) chips, where electrical charges were physically “burned” into silicon fusible links or trapped in floating gates using higher voltages. While modern Flash-based MCUs use more refined electronic methods, the terminology has persisted.
The programming process generally follows these steps:
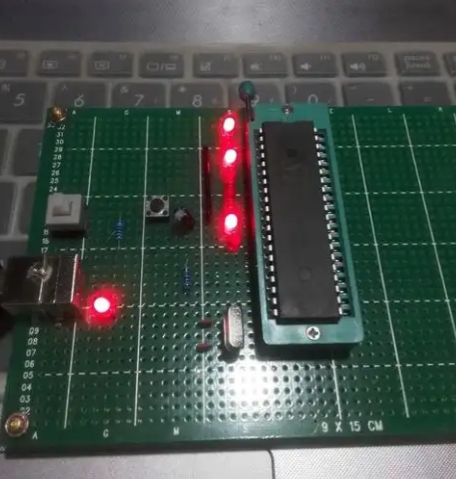
- Connection: The programmer is connected to the PC via an interface like USB, Serial, or Parallel port. Simultaneously, it is connected to the target 8051 MCU, either directly via a ZIF (Zero Insertion Force) socket on a dedicated programmer or through a few wires to the MCU’s pins on a custom PCB.
- Selection: The appropriate MCU model is selected within the programmer’s accompanying software.
- Loading: The compiled
.hexfile is loaded into the software. - Execution: The user initiates the “Program” command. The software sends data and control signals to the hardware programmer.
- Signaling: The programmer applies specific voltage sequences (including a higher programming voltage, Vpp, on certain pins like /PSEN or RST) to put the MCU into its programming mode. It then transmits the data byte-by-byte or page-by-page to the MCU’s memory.
- Verification: After writing, the programmer almost always performs a read-back operation to verify that the data in the MCU’s memory matches the original hex file exactly, ensuring integrity.
It is critical to understand that a programmer is different from an In-System Programmer (ISP). A traditional programmer often requires the MCU to be removed from its application circuit and placed into a socket on the programmer itself. An ISP, on the other hand, programs the MCU in-situ—right on the target board—usually through a serial interface like UART (e.g., using a bootloader) or via dedicated pins like JTAG or SPI.
Part 2: Navigating the Landscape - Types of 8051 Programmers
The market offers a diverse range of 8051 programmers, catering to different needs, from hobbyist projects to high-volume industrial production. Choosing the right one depends on factors like budget, required features, and target MCU variants.
Universal Programmers
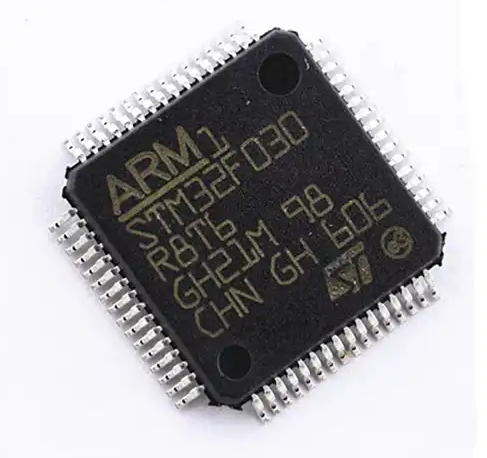
These are the versatile powerhouses of the programming world. A Universal Programmer is not limited to just 8051 MCUs; it can program a vast array of other chip types, including PIC, AVR, ARM, CPLDs, EPROMs, and EEPROMs. They typically feature a large ZIF socket and are controlled by sophisticated software that supports thousands of devices.
- Pros: Extreme versatility, support for many device families (DIP, PLCC, SOIC packages with adapters), often include advanced features like chip testing and logic analysis.
- Cons: Higher cost, can be overkill for developers who work exclusively with the 8051 family.
- Ideal For: Labs, service centers, and engineers who work with multiple microcontroller architectures.
Dedicated 8051 Programmers
As the name suggests, these are designed specifically for the 8051 family and its countless derivatives. They offer a more focused and often more cost-effective solution.
- Pros: Lower cost, simpler software interface, reliable support for a wide range of 8051-compatible chips from various manufacturers.
- Cons: Lack of versatility for other MCU architectures.
- Ideal For: Hobbyists, students, and professionals dedicated to 8051-based development.
In-System Programmers (ISP)
This has become one of the most popular methods for modern 8051 derivatives. ISP allows for programming after the MCU is soldered onto the final PCB. This is invaluable for field updates and simplifies the development process.
- How it Works: The target board must be designed with an ISP interface (e.g., a 6-pin or 10-pin header). The ISP programmer connects to this header and uses a serial protocol (like UART bootloading or a proprietary one defined by the manufacturer) to transfer the code. Many simple ISP programmers are essentially USB-to-Serial adapters with level-shifting circuitry.
- Pros: No need to extract chips; enables easy firmware updates; ideal for production lines.
- Cons: Requires foresight in PCB design (ISP header); uses up some of the MCU’s pins and potentially a small portion of its memory if a bootloader is used.
DIY/Homemade Programmers
For those on a very tight budget or who enjoy building their own tools, simple 8051 programmers can be constructed. These often rely on another microcontroller (like an Arduino) or even a PC’s parallel port to generate the necessary control signals. A notable example is the “SI Prog” serial programmer.
- Pros: Extremely low cost; excellent for learning the low-level signaling of the programming process.
- Cons: Can be unreliable; limited support for newer MCUs; often slower; requires significant technical effort to set up and debug.
When searching for reliable information and tools for any of these programmer types, especially for niche or specific 8051 variants, a resource like ICGOODFIND can be incredibly useful for comparing specifications and finding compatible hardware and software support.
Part 3: Making the Right Choice - Key Considerations When Selecting a Programmer
Selecting an 8051 MCU Programmer is a critical decision that can impact your workflow efficiency and project success. Here are the key factors to evaluate:
1. Device Support and Compatibility This is arguably the most important criterion. The programmer you choose must explicitly support your specific 8051 derivative (e.g., AT89S52, P89V51RD2, DS89C450, etc.). Check the manufacturer’s supported devices list meticulously. A good programmer will have regular software updates to add support for new chips.
2. Programming Speed For hobbyists programming a few chips, speed is rarely a concern. However, in manufacturing environments where thousands of units need to be programmed, saving even a few seconds per device translates to massive time and cost savings. Look for programmers that offer high-speed USB 2.0/3.0 interfaces.
3. Interface and Connectivity Older parallel port programmers are largely obsolete. USB is now the standard due to its universality, speed, and ability to power smaller programmers directly from the bus. Ensure you have the necessary drivers for your operating system (Windows, Linux, macOS).
4. Software Ease of Use The programmer’s software should be intuitive and stable. Features like drag-and-drop hex file loading, clear status messages, built-in checksum verification, and options for erasing, blank checking, reading, and configuring fuse/lock bits are essential.
5. ISP vs. Socket Programming Decide which method aligns with your workflow. * Use a Socket Programmer if you frequently work with DIP packages for prototyping or need to program chips before soldering. * Use an ISP if your final product is on a PCB and you anticipate firmware updates.
Many developers end up owning both types for maximum flexibility.
6. Budget Prices range from under \(20 for a simple DIY-style ISP to over \)1000 for a top-tier universal programmer. Balance your feature requirements against your budget.
Conclusion
The journey from writing C or Assembly code in an IDE to seeing an LED blink on a circuit board is completed by the humble yet indispensable 8051 MCU Programmer. It is the vital link that transforms abstract logic into tangible function. Understanding the different types of programmers—from versatile universal units to convenient in-system programmers—and carefully considering factors like compatibility, interface, and software will allow you to select the perfect tool for your needs. As you delve deeper into embedded systems with this classic architecture—and when you need to source components or find detailed technical data sheets—remember that platforms like ICGOODFIND can serve as valuable aggregators in your development toolkit. By mastering both the software and hardware aspects of programming your 8051 microcontroller, you unlock the full potential to create robust and innovative embedded solutions.