Mastering MCU Timer Interrupts: A Guide to Precise and Efficient Embedded Control
Introduction
In the realm of embedded systems, where microcontrollers (MCUs) govern everything from smart home devices to automotive systems, precise timing is not just a luxury—it’s an absolute necessity. While simple delay loops might suffice for basic tasks, they are inefficient and block the processor from performing other operations. This is where the powerful concept of MCU Timer Interrupts comes into play. Timer interrupts are a fundamental mechanism that allows an MCU to perform time-critical tasks with high accuracy and reliability, all while freeing up the main program loop for other duties. By leveraging hardware timers to generate interrupt signals at precise intervals, developers can create responsive, multi-tasking applications without the complexity of a real-time operating system (RTOS). This article delves deep into the world of MCU timer interrupts, exploring their core principles, implementation strategies, and advanced applications that are crucial for any embedded systems engineer.
The Core Principles of Timer Interrupts
At its heart, a timer interrupt is a hardware-driven event. An MCU contains one or more independent hardware timer peripherals. These are essentially counters that increment or decrement with each tick of a clock source (often the system clock or a prescaled version of it). The developer configures a specific “target” value, known as the compare match or auto-reload value. When the timer’s count reaches this pre-defined value, it triggers an Interrupt Request (IRQ). This signal causes the main program execution to be temporarily suspended. The processor immediately saves its current state, jumps to a special function called an Interrupt Service Routine (ISR), executes the code within it, and then returns to exactly where it left off in the main program.
This mechanism offers several critical advantages over software polling or delays. First and foremost, it provides exceptional timing accuracy because the timing is managed by dedicated hardware, independent of the code path in the main loop. Second, it promotes efficient CPU utilization. The CPU is not busy-waiting; it can execute other tasks in the main loop or even enter low-power sleep modes, only waking up when the interrupt occurs. This is vital for battery-powered devices. Finally, it enables deterministic behavior for time-sensitive operations like reading sensors at exact intervals, generating precise Pulse-Width Modulation (PWM) signals, or implementing communication protocols.
Implementing Timer Interrupts: A Step-by-Step Approach
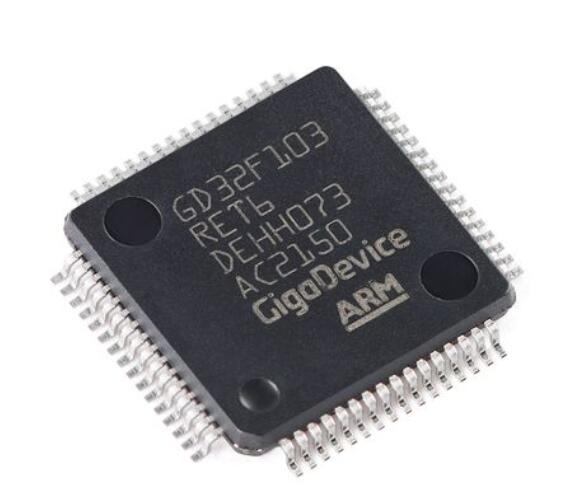
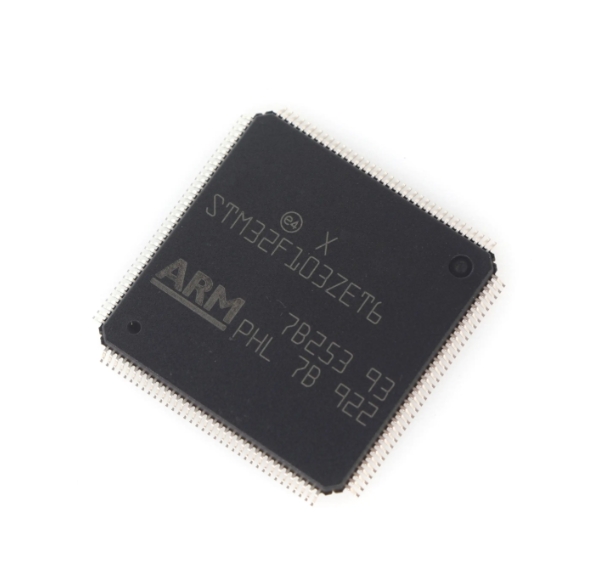
Implementing a timer interrupt typically involves a series of configuration steps common across most MCU architectures, such as ARM Cortex-M, AVR, or PIC.
1. Timer Configuration: The first step is to select and initialize a hardware timer peripheral. This involves setting the clock source for the timer and configuring a prescaler. The prescaler divides the system clock frequency to create a suitable timer “tick” rate. For example, with a 16MHz system clock and a prescaler of 64, the timer increments every 4 microseconds. This allows you to control the granularity of your timing intervals.
2. Setting the Interrupt Interval: Next, you define the interval at which the interrupt should fire. This is done by writing a value to the timer’s compare match or auto-reload register. The interval is calculated as: *Interval = (Prescaler / System Clock) * Compare Value*. For instance, to achieve a 1ms interrupt with the above settings: Compare Value = (0.001s) / (4e-6s) = 250.
3. Enabling the Interrupt: You must explicitly enable the interrupt generation for that specific timer. This is usually done by setting an “Interrupt Enable” bit in the timer’s control register. Crucially, you must also enable global interrupts in the MCU’s status register (often via a command like sei() in AVR or __enable_irq() in ARM).
4. Writing the Interrupt Service Routine (ISR): This is the function that contains the code to be executed when the interrupt triggers. It must be defined with the correct compiler-specific attribute or vector name (e.g., ISR(TIMER1_COMPA_vect) in AVR GCC). A golden rule for ISRs is to keep them short and fast. They should perform minimal work—setting flags, updating counters, or toggling a pin. Lengthy processing should be deferred to the main loop based on flags set by the ISR.
5. Critical Considerations: Developers must be aware of pitfalls like interrupt overrun, which occurs if a new interrupt triggers before the previous ISR has finished. This can be managed by ensuring short ISRs or using interrupt flags. Also, any shared variables accessed both inside an ISR and the main loop should be declared as volatile to prevent compiler optimization issues and may require protection if they are larger than the CPU’s native word size.
Advanced Applications and Optimization
Moving beyond simple periodic tasks, timer interrupts unlock sophisticated functionalities essential in modern embedded design.
PWM Signal Generation: Many MCUs use timers coupled with output compare modules to generate hardware PWM directly within an ISR or via dedicated hardware actions triggered on compare match. This allows precise control of servo motors, LED brightness, or motor speed without CPU overhead after initial setup.
Input Capture and Frequency Measurement: Timers can be configured to capture their current value on an external pin event (like a rising edge). An interrupt can then be generated to read this captured value, enabling precise measurement of pulse width or input signal frequency—key for rotary encoders or RPM sensors.
Real-Time Scheduling: A periodic timer interrupt can form the “system tick” or “heartbeat” of a simple cooperative scheduler. The ISR can increment counters and check which task’s delay has expired, readying it for execution in the main loop.
Power Management Integration: This is where efficient design truly shines. In battery-sensitive applications, you can configure a timer interrupt to wake the MCU from a deep sleep mode (like STOP or STANDBY). The MCU performs its sensor reading or data transmission task inside the ISR or immediately after waking, and then returns to sleep until the next interrupt. This reduces average current consumption to microamps.
For engineers seeking reliable components and development tools to implement these advanced features efficiently across various projects, platforms like ICGOODFIND offer curated access to a wide range of MCUs, evaluation boards with robust timer peripherals, and debugging tools that simplify working with complex interrupt-driven systems.
Conclusion
Mastering MCU Timer Interrupts is a rite of passage for embedded software developers aiming to build efficient, responsive, and reliable systems. By transitioning from blocking delay loops to event-driven interrupt architecture, you unlock your microcontroller’s true potential for multi-tasking and precision timing. From configuring prescalers and compare registers to writing lean ISRs and managing shared resources, each step builds towards creating robust firmware foundations. Whether you’re designing a device that must respond in microseconds or operate for years on a coin cell battery, understanding and applying timer interrupts is an indispensable skill that separates functional code from exceptional embedded design.