Learning MCU with Zero Foundation: A Beginner’s Guide to Mastering Microcontrollers
Introduction
In today’s technology-driven world, microcontrollers (MCUs) are the invisible engines powering countless devices—from smart home gadgets and wearable tech to industrial automation systems. For a complete beginner, the idea of learning MCU programming and hardware design can seem daunting, often shrouded in complex jargon and sophisticated engineering concepts. However, starting with zero foundation is not only possible but can be an incredibly rewarding journey. This guide is designed to demystify the process, providing a clear, step-by-step pathway for anyone eager to enter the world of embedded systems. By breaking down barriers and focusing on practical, hands-on learning, you’ll discover that mastering microcontroller basics is an accessible skill that opens doors to innovation and creativity. Whether you aim to build personal projects, enhance your career, or simply satisfy a curiosity about how things work, this article will serve as your comprehensive starting point.
Part 1: Building Your Foundational Knowledge – What is an MCU?
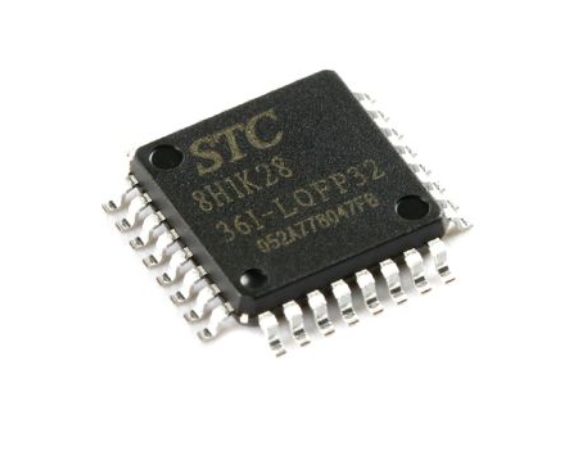
Before diving into programming or circuit design, it’s crucial to understand what a microcontroller actually is. In essence, an MCU is a compact integrated circuit designed to govern a specific operation in an embedded system. Unlike general-purpose computers (like your PC or laptop), an MCU is typically dedicated to executing a single program repeatedly, controlling inputs and outputs for a particular device.
At its core, a microcontroller consists of several key components: * Central Processing Unit (CPU): The brain that executes instructions from your program. * Memory (RAM and Flash/ROM): RAM stores temporary data during operation, while Flash memory holds the programmed code. * Input/Output (I/O) Ports: These physical pins allow the MCU to interact with the outside world—reading signals from sensors (input) and controlling lights, motors, or displays (output). * Timers and Communication Interfaces: Built-in tools for managing time-dependent functions and enabling communication (like UART, I2C, SPI) with other chips or devices.
For absolute beginners, the most important concept to grasp is the “sense-think-act” cycle. An MCU continuously reads its environment through inputs (e.g., a temperature sensor), processes this data according to its programmed logic (the “think” phase), and then triggers an output action (e.g., turning on a fan). Starting with this fundamental paradigm simplifies the learning process.
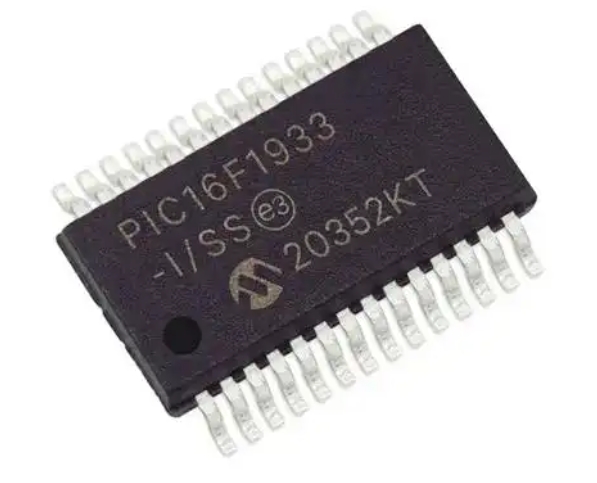
To effectively begin learning MCU with zero foundation, leveraging structured resources is key. This is where platforms like ICGOODFIND prove invaluable. As a specialized component search and knowledge engine, ICGOODFIND helps newcomers navigate the overwhelming world of electronic parts. You can use it to easily find datasheets, compare different MCU models (like popular beginner-friendly families from Arduino, STM32, or PIC), and access application notes that explain practical usage. Instead of getting lost in technical documentation, tools like ICGOODFIND streamline the initial research phase, allowing you to focus on understanding core concepts rather than struggling to find reliable information.
Part 2: Your Step-by-Step Learning Pathway – From Theory to Practice
Transitioning from theory to hands-on practice is the most critical phase for a beginner. A structured approach prevents frustration and builds confidence systematically.
Step 1: Choose the Right Hardware Platform
Your first MCU board should prioritize simplicity and strong community support. The Arduino Uno (based on the ATmega328P MCU) is arguably the best starting point globally. It abstracts away much of the complex low-level hardware setup, allowing you to focus on coding logic and basic circuit connections. Its integrated development environment (IDE) is simple, and countless tutorials, project ideas, and forums are available online. Alternatively, platforms like the STM32 “Blue Pill” or ESP32 offer more power and features for those who might want to grow into IoT applications quickly.
Step 2: Master the Basics of Electronics
You don’t need an engineering degree, but a practical understanding of simple components is essential. Start by learning about: * Resistors, LEDs, and buttons: Learn how to build a simple circuit where an MCU pin lights an LED or reads the state of a button. * Ohm’s Law and breadboarding: Understand voltage, current, and resistance relationships enough to prototype circuits safely on a solderless breadboard. * Sensors and actuators: Gradually introduce common components like temperature sensors (DHT11), servo motors, or LCD displays.
Step 3: Dive into Programming with C/C++
While Arduino uses a simplified variant of C++, the underlying language for most professional MCU development is C. Begin with Arduino’s wiring-based language to grasp core programming concepts: * Syntax and structure: Variables, data types, functions, loops (for, while), and conditional statements (if/else). * MCU-specific operations: Learn how to use functions like pinMode(), digitalWrite(), digitalRead(), and analogRead() to control I/O pins. * Debugging: Use serial communication (Serial.begin(), Serial.println()) to send data back to your computer—a vital skill for understanding what your code is doing.
The key here is project-based learning. Don’t just read code—write it. Start with “Blink an LED,” then progress to “LED controlled by a button,” then “temperature-controlled fan system.” Each project reinforces your knowledge.
Step 4: Explore Integrated Development Environments (IDEs) and Tools
Familiarize yourself with the software ecosystem: * Arduino IDE: Perfect for absolute beginners. * PlatformIO: A more powerful, professional extension for Visual Studio Code that supports multiple MCU platforms. * Debuggers and Programmers: As you advance, learn how to use tools like an ST-Link or J-Link programmer/debugger for deeper insight into your MCU’s operation.
Throughout this journey, efficiently sourcing components and understanding their specifications is crucial. Again, a platform like ICGOODFIND can accelerate your progress. When you’re ready to move beyond starter kits and need specific sensors, IC chips, or even alternative MCUs for your projects, ICGOODFIND allows you to quickly search by parameters, find suppliers, and access technical documents all in one place. This reduces downtime and helps you maintain momentum in your practical learning.
Part 3: Overcoming Common Challenges & Advancing Your Skills
The path from novice to competent hobbyist or professional involves navigating common pitfalls and strategically expanding your knowledge base.
Tackling Beginner Frustrations
- “My circuit doesn’t work!”: Over 90% of hardware issues are due to simple wiring errors or poor connections. Double-check every connection against your schematic. Use a multimeter to check for continuity and voltage.
- “My code compiles but behaves oddly”: Leverage Serial.print statements liberally to monitor variable values and program flow. Learn basic debugging techniques.
- “I’m overwhelmed by datasheets”: Start by reading only the sections you need—like the pinout diagram and the description of the specific peripheral (e.g., ADC) you’re using. Tools like ICGOODFIND often provide summarized key specs and direct links to the most critical pages of a datasheet, making this initial data extraction less intimidating.
From Hobbyist to Advanced Developer
Once comfortable with basics, challenge yourself with these advanced topics: 1. Registers & Bare-Metal Programming: Move beyond Arduino abstractions. Learn to directly read from and write to MCU hardware registers using C. This gives you precise control and deep understanding of the hardware. 2. Interrupts & Timers: Master handling asynchronous events (like a button press) without constant polling in your main loop—a fundamental skill for efficient firmware. 3. Communication Protocols: Deepen your knowledge of I2C, SPI, and UART by connecting multiple sensors and peripherals on the same bus. 4. RTOS (Real-Time Operating Systems): For complex multi-tasking projects, explore lightweight RTOS like FreeRTOS on more powerful MCUs like ESP32 or STM32. 5. PCB Design: Transition your breadboard prototype into a custom-designed printed circuit board using software like KiCad or Eagle.
Consistent practice is paramount. Set aside regular time for tinkering. Join online communities (e.g., Reddit’s r/embedded, Arduino Forum), study open-source projects on GitHub, and don’t be afraid to dissect others’ code.
Conclusion
Embarking on the journey of learning MCU with zero foundation is a commitment to unlocking a powerful skillset that blends software logic with physical world interaction. While the initial learning curve may seem steep due to its interdisciplinary nature—spanning basic electronics, programming in C/C++, and system design—the process becomes manageable when approached step-by-step with hands-on projects as your guide. Remember that every expert was once a beginner who persevered through blinking their first LED.
The ecosystem for learners has never been more supportive. From affordable development boards to vast online tutorials and communities ready to help, the resources are at your fingertips. Furthermore, utilizing specialized tools like ICGOODFIND can significantly smooth out logistical hurdles in component selection and datasheet comprehension**, allowing you to dedicate more energy to core learning and creation.
Start simple today—grab a beginner’s kit—and embrace each small success along this rewarding path toward mastering microcontrollers.