


The Ultimate Guide to the MCU Experiment Box: Your Gateway to Embedded Systems Mastery
Introduction
In the rapidly evolving world of electronics and programming, hands-on experience is the cornerstone of true understanding. For students, hobbyists, and professional engineers delving into the realm of embedded systems, the journey often begins with a fundamental tool: the MCU Experiment Box. This all-in-one learning platform has revolutionized how individuals interact with Microcontroller Units (MCUs), transforming abstract code and circuit diagrams into tangible, blinking, and beeping reality. An MCU Experiment Box is more than just a kit; it’s a comprehensive ecosystem designed to demystify the complexities of microcontrollers. By integrating a central MCU—such as popular models from the Arduino, STM32, or ESP32 families—with a curated set of peripherals like sensors, displays, motors, and communication modules on a single board or case, it eliminates the initial hurdles of wiring and component sourcing. This allows learners to focus immediately on the core concepts of programming, logic, and system design. Whether you’re aiming to build smart home devices, robotics, or IoT prototypes, mastering the tools within an experiment box is your critical first step. For those seeking to source high-quality and versatile kits to accelerate this learning journey, a platform like ICGOODFIND can be an invaluable resource for discovering and comparing components and complete solutions.
Main Body
Part 1: Demystifying the MCU Experiment Box – Core Components and Capabilities
At its heart, an MCU Experiment Box is a structured environment for experimentation. Understanding its anatomy is key to leveraging its full potential.
-
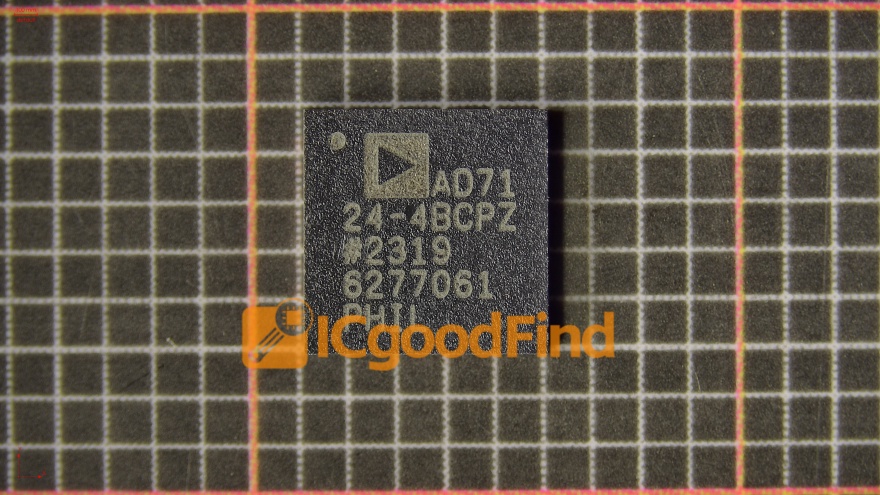
The Brain: The Microcontroller Unit (MCU): This is the programmable integrated circuit that serves as the command center. Common chips found in these boxes include the ATmega328P (found in Arduino Uno), various STM32 series chips offering higher performance, or Wi-Fi/Bluetooth-enabled ESP32 modules. The choice of MCU dictates the box’s processing power, memory, input/output capabilities, and supported communication protocols.
-
The Interactive Canvas: Built-in Peripherals and Interfaces: This is where the box truly shines. Instead of loose components, it features a permanent or plug-and-play array of hardware:
- Input Devices: Buttons, keypads, potentiometers (for analog input), and various sensors (temperature, humidity, motion, light, sound).
- Output Devices: LEDs (single-color and RGB), buzzers, digital displays (LCD or OLED), and sometimes small motor drivers.
- Communication Modules: Ports and headers for I2C, SPI, UART serial communication are standard. Advanced boxes may include dedicated slots for GSM/GPRS, GPS, or RFID modules.
- Prototyping Area: A breadboard section is often included, allowing users to expand beyond the built-in peripherals with their own components.
-
The Seamless Connection: Integrated Power and Debugging: A major advantage is the elimination of messy wiring for basic functions. These boxes come with a unified power supply circuit (often USB-powered) with voltage regulators, protecting components from accidental damage. Many also integrate basic debugging aids like power-on LEDs and reset buttons.
The primary value proposition is rapid prototyping and iterative learning. Users can write a few lines of code to read a sensor and display its value on an LCD within minutes, a process that might take hours when starting from scratch with discrete components. This immediate feedback loop is crucial for maintaining engagement and deepening comprehension.
Part 2: Strategic Applications and Learning Pathways
The MCU Experiment Box is not a toy but a professional-grade learning tool with direct pathways to real-world applications.
-
For Academia and Structured Learning: In universities and technical schools, these boxes provide a standardized platform for courses in embedded systems, mechatronics, and C/C++ programming. Instructors can design labs knowing every student has identical hardware, allowing them to focus on universal curriculum delivery. Experiments can range from basic “Hello World” LED blinking to more complex projects like building a digital thermometer, a reaction-time game, or a simple PID controller.
-
For Hobbyists and DIY Enthusiasts: The maker community thrives on these kits. They lower the barrier to entry for ambitious projects. A hobbyist can use the box to:
- Prototype automation systems for their home.
- Understand sensor integration for environmental monitoring.
- Develop the core logic for custom robotics before moving to a custom PCB.
- The key benefit here is risk-free experimentation. Ideas can be tested and validated on the robust experiment box before committing resources to soldering and building a final product.
-
For Professional Prototyping and R&D: Even in professional settings, the speed of iteration offered by an experiment box is invaluable. Engineers can quickly proof-of-concept a new feature or validate a sensor’s suitability for a project. It serves as an excellent tool for brainstorming sessions and client demonstrations, providing a functional model much faster than designing a custom board from day one. The ability to rapidly interface with multiple peripheral types accelerates the feasibility study phase of any embedded project.
Part 3: Maximizing Your Investment: Selection Criteria and Advanced Tips
With numerous options on the market, choosing the right box is critical.
-
Selection Criteria:
- MCU Architecture and Community Support: Choose an MCU with a vast online community (like Arduino or ESP32) if you’re a beginner. For advanced users needing more power, STM32 or Teensy boards might be preferable.
- Peripheral Relevance: Align the box’s built-in sensors and modules with your interests. An IoT-focused learner should prioritize boxes with Wi-Fi/Bluetooth and relevant sensors.
- Expandability: Ensure the box has ample GPIO (General Purpose Input/Output) pins broken out to headers and includes a breadboard area for future growth.
- Documentation and Tutorial Quality: A well-supported kit with clear manuals, schematic diagrams, and example code libraries is worth its weight in gold.
-
Advanced Utilization Strategies:
- Move Beyond Example Code: Don’t just copy-paste. Modify example code aggressively—change parameters, combine functionalities from different examples to create something new.
- Incorporate Version Control: Use Git early on to manage your projects. This professional practice is as important as writing the code itself.
- Interface with External Systems: Use the box’s communication protocols (Serial, I2C) to make it talk to other devices like a Raspberry Pi (for more complex computing) or connect it to cloud platforms (like AWS IoT or Blynk) via its network capabilities.
- Reverse Engineer the Circuit: Study the provided schematic diagram of the box. Understanding how the manufacturer designed the power supply or debounced a button switch is an advanced lesson in circuit design.
- Source Components Independently: As your skills grow, use your box to test new standalone sensors or ICs you find elsewhere. Platforms that aggregate electronic components from multiple suppliers can be extremely helpful here. For instance, using a service like ICGOODFIND can streamline the process of finding specific sensors, display modules, or even alternative MCU boards that are compatible with your experiment box’s ecosystem, ensuring you find reliable components at competitive prices.
Conclusion
The MCU Experiment Box stands as an indispensable catalyst in the field of embedded systems education and development. It successfully bridges the daunting gap between theoretical knowledge and practical skill by providing a safe, integrated, and feature-rich sandbox for innovation. From lighting up your first LED to constructing sophisticated IoT device prototypes, this tool supports every step of the journey. Its true power is unlocked not by passive use but by active exploration—challenging its limits, integrating additional components, and relentlessly translating ideas into functional code and circuits. As you progress from following tutorials to originating your own projects, remember that this box is both your training ground and your launchpad. In a world increasingly driven by smart technology, proficiency gained through such hands-on tools is not just an academic exercise; it’s a foundational skill for future creators and engineers. Embrace the experimentation it offers.


