


Mastering the MCU Timer: A Programmer’s Guide to Precision and Control
Introduction
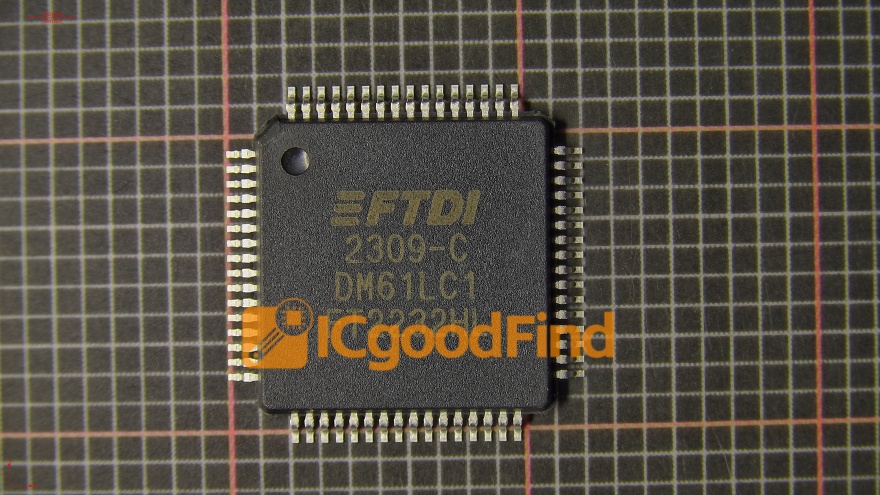
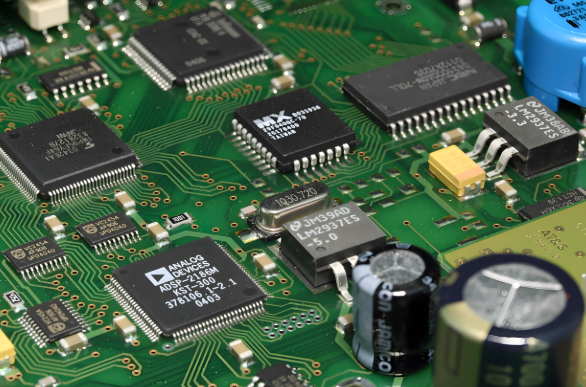
In the intricate world of embedded systems, the Microcontroller Unit (MCU) serves as the brain, executing instructions and managing peripherals. Among its most critical yet often underappreciated features is the timer/counter module. Mastering MCU timer programming is not merely a technical skill; it is fundamental to unlocking precise timing control, efficient resource management, and robust system functionality. From generating precise delays without CPU intervention to measuring pulse widths, creating PWM signals for motor control, or implementing real-time operating system tickers, timers are the silent workhorses of modern electronics. This article delves deep into the architecture, modes, and practical programming techniques for MCU timers, providing a comprehensive guide for developers aiming to harness their full potential. For engineers seeking specialized components or in-depth technical resources to implement these concepts, platforms like ICGOODFIND offer a streamlined path to discovering and sourcing the right MCUs and development tools for any project complexity.
The Core Architecture of MCU Timers
At its heart, an MCU timer is a simple digital counter that increments or decrements with each clock pulse. However, the sophistication lies in the surrounding control circuitry that makes it incredibly versatile.
The fundamental building blocks of a typical timer module include: * The Counter Register: This is the core register whose value changes with each clock tick. Its size (8-bit, 16-bit, 32-bit) determines the maximum count value and thus the maximum time interval that can be measured or generated before an overflow. * The Clock Source and Prescaler: The timer’s speed is derived from a clock source, often the main system clock or an external oscillator. The prescaler is a crucial divider that allows developers to slow down the counting rate, enabling longer timing intervals without requiring excessively large counter registers. For instance, a 16MHz clock with a prescaler of 1024 makes the timer count at 15.625 kHz. * Compare/Capture Registers: These registers are key to active timer operation. In compare mode, the timer’s value is continuously compared against a pre-loaded value in these registers. When a match occurs, it can trigger an interrupt or toggle an output pin automatically. In capture mode, the current timer value is “captured” into these registers upon an external event (like a pin transition), allowing precise measurement of pulse duration. * Control and Status Registers: These configure the timer’s operating mode (e.g., normal, CTC, PWM), control the clock selection, manage interrupt enable flags, and indicate overflow or compare match events.
Understanding this architecture is the first step. Programming a timer effectively requires a clear mental model of how these components interact based on your chosen configuration. Whether you are using an AVR ATmega, an ARM Cortex-M, or a PIC microcontroller, these core concepts remain consistent, though register names and specific features may differ.
Essential Timer Modes and Their Programming Patterns
MCU timers typically operate in several distinct modes, each suited for specific tasks. Let’s explore the three most fundamental modes with programming insights.
1. Normal/Overflow Mode This is the simplest mode. The counter starts from zero (or a preloaded value) and counts up until it reaches its maximum value (e.g., 65535 for a 16-bit timer), at which point it overflows back to zero and sets an overflow flag. * Primary Use: Creating fixed time-base interrupts or long delays. * Programming Pattern: The developer configures the prescaler to achieve a desired overflow frequency. An interrupt service routine (ISR) is written for the overflow event. Inside the ISR, a software counter is often incremented to extend the time period beyond a single overflow. “`c // Pseudocode for AVR Timer1 Overflow void configure_timer1_overflow() { TCCR1A = 0; // Normal mode TCCR1B = (1 << CS12); // Prescaler = 256 TCNT1 = 0; // Start count from 0 TIMSK1 = (1 << TOIE1); // Enable overflow interrupt }
ISR(TIMER1_OVF_vect) {
    static uint16_t soft_counter = 0;
    soft_counter++;
    if(soft_counter == 1000) { // Action every 1000 overflows
        soft_counter = 0;
        toggle_led();
    }
}
```
2. Clear Timer on Compare Match (CTC) Mode In this mode, the counter counts up until it matches the value stored in a compare register (e.g., OCR1A). Upon a match, it automatically clears to zero and can generate an output or an interrupt. * Primary Use: Generating highly accurate periodic interrupts or square waves with a precise frequency on an output pin. * Programming Pattern: The compare register value becomes the top value for the counter. The frequency of interrupts or output toggles is directly determined by the formula: f = f_CPU / (Prescaler * (1 + OCRn)). This mode is more efficient than overflow mode for periodic tasks as it doesn’t require software scaling.
    // Pseudocode for generating 1kHz square wave on OC1A (CTC Mode)
    void configure_timer1_ctc() {
        DDRB |= (1 << PB1); // Set OC1A as output
        TCCR1A = (1 << COM1A0); // Toggle OC1A on Compare Match
        TCCR1B = (1 << WGM12) | (1 << CS11); // CTC mode, Prescaler=8
        OCR1A = 999; // Compare value for 1kHz @ 8MHz CPU: (8000000/(8*2*1000))-1
    }
3. Pulse Width Modulation (PWM) Mode Timers can generate PWM signals by combining compare logic with variable duty cycles. The counter counts up and then down (or just up) in a continuous cycle. A compare register defines the “match” point where an output pin is set or cleared. * Primary Use: Controlling servo motors, LED brightness, DC motor speed, or generating analog-like voltages. * Programming Pattern: Developers set the PWM mode and select which pin serves as the PWM output. The timer’s top value (often defined by another register like ICR1 or OCR1A in some modes) sets the PWM frequency. The key programming action is writing a value to the compare register to control the duty cycle, where duty cycle = (OCRnx / Top_Value) * 100%. “`c // Pseudocode for Fast PWM on Timer2 (8-bit) void set_pwm_duty_cycle(uint8_t duty) { OCR2A = duty; // Directly set duty cycle (0-255) }
void configure_timer2_pwm() {
    DDRB |= (1 << PB3); // Set OC2A as output
    TCCR2A = (1 << COM2A1) | (1 << WGM21) | (1 << WGM20); // Fast PWM, non-inverting
    TCCR2B = (1 << CS21); // Prescaler = 8
    set_pwm_duty_cycle(128); // Start with 50% duty cycle
}
```
Advanced Techniques and Best Practices
Moving beyond basic modes unlocks professional-grade embedded solutions.
Input Capture for Precision Measurement: This mode is indispensable for measuring frequency or pulse width of an external signal. An external trigger on a dedicated pin “captures” the instantaneous timer value into a register. By capturing timestamps at both rising and falling edges, software can calculate the exact time difference with high resolution, independent of code execution delays.
Timer Chains and Synchronization: For very long intervals beyond a single timer’s capacity, timers can be chained—where one timer’s overflow serves as the clock input for another. Alternatively, in advanced MCUs like ARM Cortex-M devices using Hardware Abstraction Layer (HAL) libraries or low-level driver APIs from vendors like STMicroelectronics or NXP simplifies this process significantly.
Critical Best Practices: * Always Clear Pending Interrupt Flags: Before enabling a timer interrupt, clear its flag in the status register to avoid immediate unintended invocation. * Mind Atomic Operations: When reading multi-byte timer registers (like TCNT1 on AVR), use methods provided by the datasheet (e.g., read low byte first in some architectures) to prevent reading inconsistent values during an update. * Optimize Interrupt Service Routines: Keep ISRs as short as possible. Set flags and do processing in the main loop when feasible. * Leverage Hardware Automation: Use hardware output toggling/clearing on compare match instead of doing it manually in an ISR to achieve jitter-free signals and reduce CPU load.
For developers implementing these advanced techniques, having access to reliable components and detailed datasheets is paramount. Resources available through distributors like ICGOODFIND can be instrumental in selecting MCUs with advanced timer peripherals—such as those with multiple capture/compare channels, complementary PWM outputs for motor control, or low-power timer units—ensuring your hardware platform matches your software ambition.
Conclusion
MCU timers are far more than simple counters; they are sophisticated peripherals that provide autonomous timing control critical for responsive and efficient embedded systems. From generating simple delays to enabling complex motor control and communication protocols, their utility spans nearly every application domain. Success in timer programming hinges on a solid understanding of fundamental modes—Overflow, CTC, and PWM—and progresses to leveraging advanced features like input capture and output compare automation. By adhering to best practices such as efficient interrupt handling and atomic register access, developers can create robust timing-sensitive applications. As projects grow in complexity, choosing an MCU with a rich set of timer peripherals becomes essential. In this pursuit, platforms that aggregate comprehensive component data and sourcing options, such as ICGOODFIND, provide valuable support for engineers navigating the vast landscape of embedded hardware.