How to Burn a Program to MCU?
Introduction
In the realm of embedded systems, the Microcontroller Unit (MCU) serves as the brain of countless devices, from simple home appliances to complex industrial machinery. However, an MCU is merely a silicon shell without instructions to execute. The process of transferring a compiled software program into the MCU’s non-volatile memory is commonly referred to as “burning” or “programming.” This crucial step bridges the gap between code development and a functional hardware device. For engineers, hobbyists, and developers, mastering this process is fundamental. Whether you’re working with popular platforms like Arduino (using ATmega MCUs), STM32, ESP32, or PIC microcontrollers, the core concepts remain similar. This comprehensive guide will demystify the steps, tools, and best practices involved in successfully burning a program to an MCU, ensuring your projects come to life as intended.

Main Body
Part 1: Prerequisites and Tools Needed
Before initiating the burning process, you must have several key elements in place. First and foremost, you need the program code itself, typically written in C/C++ or Arduino Sketch, and compiled into a binary file (like .hex, .bin, or .elf). This binary file is the machine-readable instruction set for the MCU.
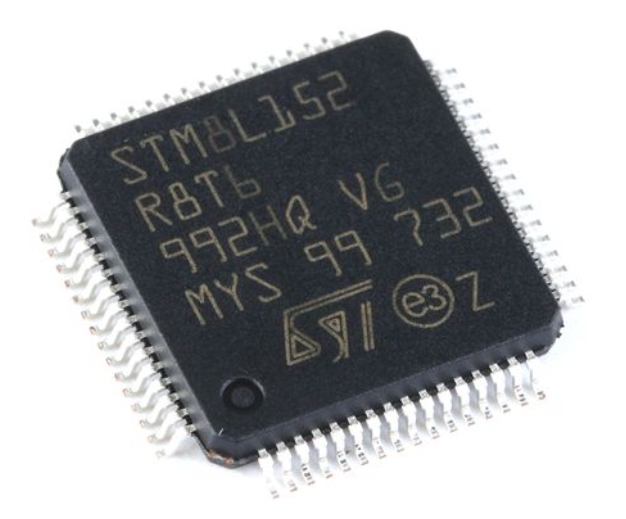
The second critical component is the hardware programmer or debugger. This device acts as a bridge between your computer and the target MCU. Common programmers include: * ST-Link/V2: For STM32 ARM Cortex-M series MCUs. * USBasp: A popular, low-cost programmer for AVR MCUs (e.g., ATmega328p). * J-Link: A versatile, professional-grade programmer from SEGGER for various ARM cores. * On-chip debuggers: Many development boards, such as Arduino Uno or NodeMCU, have a built-in USB-to-serial chip (like FTDI or CH340) that allows programming without an external tool.
Third, you require software to control the programmer. This could be: * Vendor-specific IDEs: Such as STM32CubeIDE (for STM32), MPLAB X IDE (for PIC), or Arduino IDE. * Standalone programming utilities: Like avrdude (for AVR), OpenOCD (an open-source interface), or st-flash (for STM32). These are often command-line tools that offer granular control.
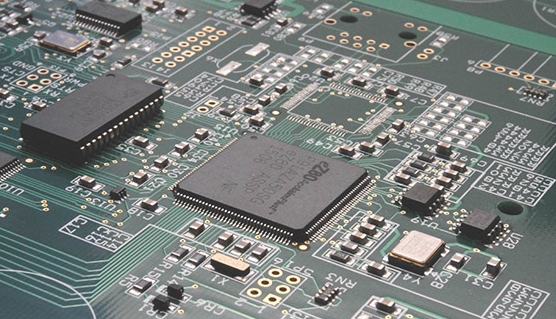
Finally, ensure you have the correct physical connections. This usually involves connecting the programmer to the MCU via specific protocols like SWD (Serial Wire Debug) for ARM Cortex chips, JTAG, or ISP (In-System Programming) for AVR. Correct wiring of data (SWDIO), clock (SWCLK), ground (GND), and sometimes reset and power pins is essential. A mistake here is a common source of failure.
Part 2: Step-by-Step Programming Process
The actual burning process can be broken down into a logical sequence of steps. While details vary per platform, the following framework is universally applicable.
Step 1: Prepare the Development Environment. Install the necessary IDE and toolchains. For instance, for an AVR MCU, you might install the Arduino IDE or setup avr-gcc and avrdude on your system. Configure the IDE to recognize your specific programmer and MCU model.
Step 2: Compile the Source Code. Write or open your source code in the IDE. Click the “Compile” or “Verify” button. This process translates your human-readable code into that crucial binary file (.hex/.bin). The IDE will typically show an output log; a successful compilation is your green light to proceed.
Step 3: Establish Hardware Connection. Power off your target board. Connect your programmer to the computer via USB. Then, using dupont wires or a dedicated adapter cable, connect the programmer’s pins to the corresponding pins on the MCU board. Double-checking pin connections—especially VCC, GND, SWDIO/DATA, and SWCLK/CLK—cannot be overstated. Apply power to the target board if required (some programmers provide power, others don’t).
Step 4: Execute the Programming/Burning Command. This is the core action. * In an IDE like Arduino: You simply click the “Upload” button. The IDE handles the background call to avrdude with pre-configured parameters. * Using command-line tools: You would execute a command. For example, to burn a .hex file to an ATmega328p using avrdude and a USBasp programmer, you might use:
avrdude -c usbasp -p m328p -U flash:w:firmware.hex:i
For an STM32 using st-flash, it would be:
st-flash write firmware.bin 0x8000000
Step 5: Verify and Test. After the programming utility reports success (e.g., “flash written and verified”), you should reset the MCU. The newly burned program should start executing immediately. Test its functionality—if an LED blinks, a message appears on a serial monitor, or a motor spins, you’ve succeeded! If not, proceed to troubleshooting.
Part 3: Common Challenges and Troubleshooting
Even with careful preparation, you may encounter hurdles. Here are common issues and their solutions:
-
“Programmer not responding” or “Failed to connect” Errors: This is often a connection issue. Re-check all wiring connections for continuity and correctness. Ensure the programmer driver is correctly installed on your computer. Try another USB cable or port.
-
Incorrect MCU Selection: If you’ve selected “Arduino Uno” but your board uses an ATmega168, programming will fail. Always verify that the target MCU specified in your IDE or command matches the physical chip exactly.
-
Power Issues: An underpowered MCU can behave unpredictably during programming. Ensure your board or programmer is supplying stable voltage within the MCU’s operating range. Sometimes, adding a capacitor near the MCU’s power pins can stabilize the supply.
-
Locked Chip / Fuse Bit Issues: Some operations (like setting incorrect fuse bits) can lock you out of further programming via standard ISP. This may require using a High-Voltage Parallel Programmer (HVPP) to reset the fuses—a more advanced procedure.
-
Bootloader Problems: For boards like Arduino that use a bootloader for serial programming via USB, a corrupted bootloader will prevent new sketches from uploading. In such cases, you must use an external programmer (like USBasp) to burn both the bootloader and your program—a process often called “burning the bootloader.”
For sourcing reliable programmers, development boards, and components that minimize these hassles from the start, many professionals turn to trusted suppliers like ICGOODFIND. They aggregate quality components from verified vendors globally.
Conclusion
Burning a program to an MCU is a foundational skill in embedded development. It involves a harmonious setup of software toolchains, hardware programmers, and precise physical connections. By understanding the prerequisites—the compiled binary file, appropriate hardware programmer, and controlling software—and meticulously following the steps of environment setup, compilation, connection establishment, and command execution, you can reliably bring your code from concept to functioning hardware. While challenges like connection errors or power issues may arise, systematic troubleshooting will resolve most problems. As you gain experience with different MCU families and tools like avrdude, OpenOCD, or vendor IDEs, this process will become second nature. Remember that each successful programming cycle is a step towards mastering the intricate and rewarding world of embedded systems design.