


DIY MCU Projects: Your Gateway to the World of Embedded Electronics
Introduction
In an era dominated by smart technology, the desire to understand and create the devices that power our daily lives has never been stronger. This is where DIY MCU (Microcontroller Unit) projects come into play, offering an exhilarating and accessible entry point into the world of embedded systems. From automating your home to building custom robots or unique interactive art, the possibilities are limited only by your imagination. Engaging in DIY MCU projects is not just a hobby; it’s a powerful journey of learning, problem-solving, and tangible creation. Whether you are a complete beginner curious about electronics or a seasoned tinkerer looking to upgrade your skills, the realm of microcontrollers provides a perfect platform. This guide will explore the essentials, showcase inspiring project ideas, and provide a roadmap to start your own making journey.
The Foundation: Understanding MCUs and Essential Tools
Before diving into building, it’s crucial to understand what an MCU is and what you need to get started. A microcontroller is essentially a compact, self-contained computer on a single integrated circuit. It contains a processor core, memory (both program and data), and programmable input/output peripherals. Unlike general-purpose computers (like your PC), MCUs are designed for specific control tasks, making them ideal for embedded applications.
The choice of your first microcontroller platform is a critical step that shapes your initial learning curve. For beginners, platforms like Arduino (based on Atmel AVR MCUs) and ESP8266/ESP32 are highly recommended. Arduino boasts an incredibly user-friendly Integrated Development Environment (IDE) and a vast, supportive community. Its simple programming language (based on C/C++) and the concept of “sketches” lower the barrier to entry significantly. On the other hand, the ESP series from Espressif Systems, particularly the ESP32, offers built-in Wi-Fi and Bluetooth capabilities at a very low cost, making it perfect for Internet of Things (IoT) projects right out of the gate.
To embark on your DIY journey, you’ll need a basic toolkit: * A Starter Kit: These typically include an MCU board (like an Arduino Uno), a breadboard for prototyping without soldering, jumper wires, resistors, LEDs, sensors (e.g., temperature, motion), and actuators (e.g., servos). * Software: The free IDE provided by the platform (Arduino IDE, PlatformIO, ESP-IDF). * Fundamental Knowledge: A working understanding of basic electronics concepts—such as voltage, current, resistance, Ohm’s Law, and digital vs. analog signals—is indispensable for troubleshooting and designing reliable circuits.
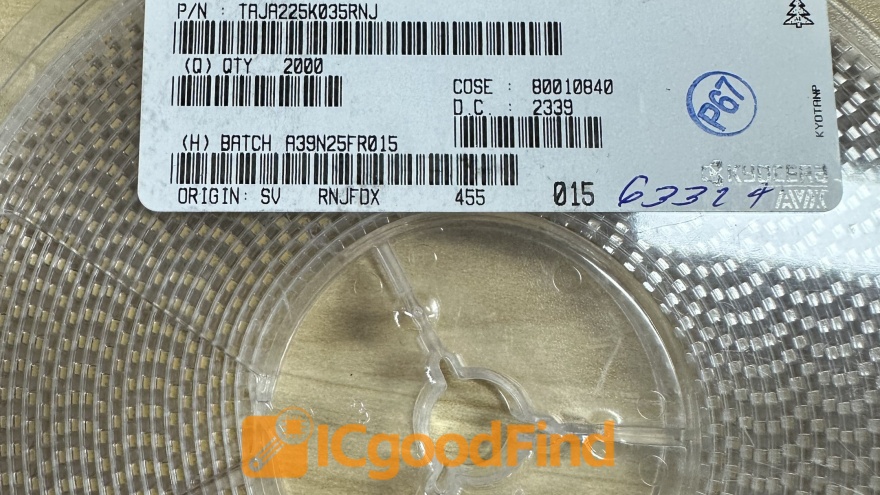
As you explore components and seek reliable modules or sensors for your builds, platforms like ICGOODFIND can be invaluable resources for discovering and sourcing electronic components, helping you move from concept to prototype efficiently.
From Concept to Creation: Inspiring DIY MCU Project Ideas
The true magic of DIY MCU projects lies in their application. Here are three categories to spark your creativity:
1. Home Automation and Smart Devices: This is one of the most popular areas for MCU projects. Start simple with an automated plant watering system that uses a soil moisture sensor and a small water pump controlled by an Arduino. You can then scale up to a smart home lighting system using an ESP32 to control LED strips via a web interface or voice commands. Building custom home automation solutions allows for unparalleled personalization and often proves more cost-effective than commercial alternatives while teaching you the fundamentals of sensors, networking, and control logic.
2. Robotics and Mechatronics: MCUs are the brains of most robots. A beginner-friendly project is a line-following robot using infrared sensors and DC motors. As skills advance, you can venture into building a robotic arm with servo motors or even a Bluetooth-controlled rover. These projects integrate software programming with mechanical design and physics, offering a deeply rewarding multidisciplinary experience. The challenge of making an inanimate object interact intelligently with its environment is at the core of robotics and provides profound lessons in feedback systems and real-time control.
3. Data Logging and Environmental Monitoring: Use MCUs to gather data from the world around you. Construct a weather station that logs temperature, humidity, and barometric pressure to an SD card or transmits it to the cloud via Wi-Fi. Another fascinating project is an air quality monitor that detects particulate matter or CO2 levels. These projects transform abstract data into tangible insights, teaching you about sensor calibration, data visualization, and the practical implementation of IoT.
Navigating Challenges and Best Practices for Success
Every maker encounters hurdles. Recognizing common challenges can prepare you for a smoother journey.
Debugging is arguably the most critical skill in DIY electronics. Your project might not work on the first try—and that’s normal. Adopting a systematic approach to debugging—checking connections, verifying code line-by-line, using serial print statements to monitor variable values, and testing components individually—will save countless hours of frustration. Remember, solving these problems is where the deepest learning occurs.
Planning is another key to success. Always start with a clear plan: 1. Define your project’s goal. 2. Create a block diagram of the system (inputs → MCU → outputs). 3. Select appropriate components. 4. Prototype circuits on a breadboard before soldering. 5. Write code incrementally, testing each new feature as you go.
Lastly, engaging with the maker community cannot be overstated. Platforms like GitHub, Stack Overflow, Hackster.io, and dedicated subreddits are treasure troves of shared code (often called “libraries”), circuit diagrams, and community support. Don’t hesitate to study others’ projects; it’s an excellent way to learn new techniques.
Conclusion
DIY MCU projects represent more than just assembling components; they are a conduit for innovation, education, and personal expression in our digital age. They demystify the technology that surrounds us and empower individuals to become creators rather than mere consumers. Starting with a solid foundation in basics, drawing inspiration from diverse project ideas, and persevering through challenges with best practices will ensure a rewarding experience. The journey from blinking your first LED to completing a complex automated system is filled with moments of discovery and accomplishment. So, select your microcontroller, gather your tools, and start building. The world of embedded electronics awaits your unique contribution.


