How to Learn MCU? A Comprehensive Guide for Beginners
Introduction
In today’s rapidly evolving technological landscape, Microcontroller Units (MCUs) are the silent powerhouses behind countless innovations. From smart home devices and wearable gadgets to industrial automation and automotive systems, MCUs serve as the essential brains that bring intelligence to everyday objects. Learning how to program and utilize these tiny computers is not just a niche skill for electrical engineers; it has become a valuable asset for hobbyists, students, and professionals across various fields. However, the journey from a complete beginner to a proficient MCU developer can seem daunting, filled with unfamiliar acronyms, complex datasheets, and a seemingly endless array of tools. This guide is designed to demystify that process. We will provide a structured, step-by-step roadmap to help you build a solid foundation in MCU development, turning confusion into confidence and theory into practical, hands-on skill. Whether your goal is to build a personal project, advance your career, or simply understand the technology shaping our world, mastering the MCU is an empowering and highly rewarding endeavor.

The Foundation: Understanding Core Concepts and Choosing Your Path
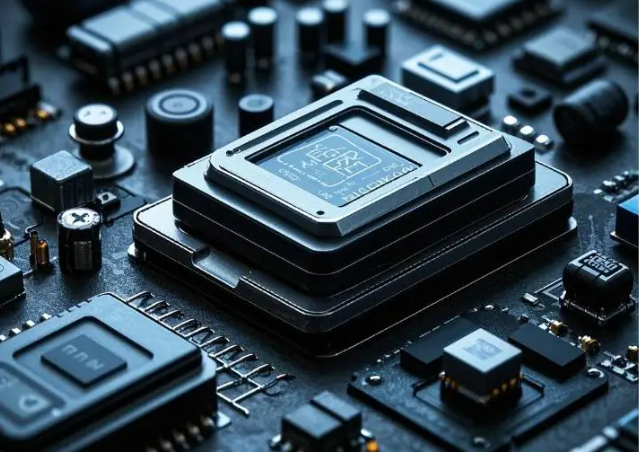
Before you write your first line of code or connect your first wire, it’s crucial to build a strong conceptual foundation. An MCU is essentially a compact computer on a single integrated circuit, containing a processor core, memory (both program and data), and programmable input/output peripherals. Unlike general-purpose computers (like your PC or smartphone), MCUs are dedicated to specific tasks, offering real-time control with low power consumption.
Start by familiarizing yourself with these fundamental concepts: * Digital vs. Analog: Understand how microcontrollers interact with the digital world (ON/OFF signals) and how they use Analog-to-Digital Converters (ADCs) to interpret real-world analog signals like temperature or light. * Binary and Hexadecimal Number Systems: MCUs operate at the binary level. A working knowledge of binary and its shorthand, hexadecimal, is essential for programming and debugging. * General-Purpose Input/Output (GPIO): These are the pins on an MCU that you control to read sensors (input) or drive LEDs, motors, and displays (output). Mastering GPIO is your first practical step into hands-on MCU control. * Key Peripherals: Learn what common built-in modules do, such as Timers/Counters (for precise timing), Serial Communication interfaces (UART, I2C, SPI for talking to other chips), and Pulse-Width Modulation (PWM for controlling motor speed or LED brightness).

Choosing your first hardware platform is equally important. For absolute beginners, development boards are indispensable. They break out the MCU’s pins for easy access and include essential components like power regulators and USB interfaces.
- Arduino (e.g., Uno, Nano): The most recommended starting point for total beginners. Its strength lies in a simplified software environment and a vast, supportive community. It abstracts away much of the low-level complexity, allowing you to focus on logic and basic interfacing. It’s perfect for learning concepts quickly and achieving tangible results.
- ARM Cortex-M based Boards (e.g., STM32 “Blue Pill,” Teensy): These offer more power and features. Starting here is feasible but involves steeper learning curves with more complex IDEs and closer-to-hardware programming.
- Platform Selection Advice: Do not get paralyzed by choice. Start with an affordable Arduino Uno clone or an official board. The core principles you learn are transferable to any other platform later.
For curated resources, tutorials, and reliable component kits that perfectly match this beginner stage, a platform like ICGOODFIND can be an excellent tool to cut through the noise and find high-quality learning materials and hardware.
The Practice: From First Blink to Integrated Projects
Theory alone won’t make you proficient. This stage is all about hands-on learning through progressively challenging projects.
1. Setting Up Your Environment: Install the Arduino IDE (Integrated Development Environment). Its simplicity allows you to focus on coding rather than tool configuration. Connect your board via USB, install necessary drivers, and select the correct board and port from the tools menu.
2. The “Hello World” of Hardware: Blinking an LED. This timeless first project teaches you about GPIO output, basic program structure (setup/loop), and uploading code. The moment you make an LED blink under your command is transformative—it bridges the gap between abstract code and physical reality.
3. Level Up Your Skills with Sensors and Actuators: Move from output to input. * Input: Connect a push button to learn digital input with digitalRead(). Then, interface a simple analog sensor like a potentiometer or an LM35 temperature sensor using analogRead(). * Output & Communication: Learn serial communication (Serial.begin(), Serial.println()) to send debug data back to your computer screen. This is your most vital debugging tool. * Integration: Combine concepts. Create a thermostat that reads temperature and turns on an LED or fan when a threshold is exceeded.
4. Embrace Structured Learning and Debugging: * Follow Tutorials Systematically: Don’t just copy code. Type it out yourself, experiment with changing parameters, and break it to understand why it fails. * Debug Relentlessly: 90% of development is debugging. Use Serial.print statements liberally to check variable values and program flow. Learn to read error messages. * Study Code Examples: The Arduino IDE comes with numerous examples (File > Examples). Deconstruct them line by line.
Mastering the Craft: Beyond the Basics and Building Expertise
Once you’re comfortable with basic sketches, it’s time to deepen your knowledge and professionalize your approach.
1. Dive Deeper into C/C++: Arduino uses a simplified version of C++. To advance, you must learn the underlying language. * Study Memory Management: Understand the different data types (int, float, byte), variable scope (global vs. local), and arrays. * Master Functions and Code Organization: Write modular code by creating your own functions. This makes code readable, reusable, and easier to debug. * Explore Pointers and Memory Addresses: While initially challenging, this is key for efficient coding and using advanced libraries.
2. Explore Different Development Paradigms: * Bare-Metal/Register-Level Programming: Move beyond Arduino abstractions. Learn to directly manipulate the MCU’s registers using datasheets. This gives you ultimate control and optimization, often necessary for professional work. Platforms like STM32CubeIDE with HAL libraries offer a middle ground. * Real-Time Operating Systems (RTOS): For complex projects requiring multitasking (e.g., reading sensors while logging data and controlling motors simultaneously), explore lightweight RTOS like FreeRTOS.
3. Learn Essential Tools and Best Practices: * Version Control (Git): Start using Git with platforms like GitHub early on to manage your code versions. * Schematic & PCB Design: Transition from breadboards to designing your own printed circuit boards using tools like KiCad or Eagle. This is crucial for creating robust, final products. * Datasheet Literacy: The ability to read a microcontroller datasheet is the hallmark of a competent engineer. Start with simpler component datasheets (like for a sensor) before tackling the main MCU reference manual.
4. Join Communities and Work on Complex Projects: Engage with forums like Stack Overflow, Reddit’s r/embedded, or dedicated manufacturer communities. Finally, integrate all your skills into a capstone project—a small robot, a home automation node, or a custom data logger. Document this process thoroughly; it becomes invaluable for your portfolio.
Conclusion
Learning how to master MCUs is a journey of incremental steps rather than a single leap. It begins with conquering the initial intimidation by grasping core concepts and achieving that first successful LED blink on a beginner-friendly platform like Arduino. The path then progresses through deliberate practice—interfacing sensors, debugging relentlessly, and integrating components into functional systems—where true understanding crystallizes through hands-on experimentation. Ultimately, mastery involves peeling back the layers of abstraction to engage directly with hardware through register-level programming, adopting professional tools like Git and PCB designers, and developing the critical skill of datasheet literacy.
This journey transforms you from a passive user of technology into an active creator capable of giving intelligent functionality to inert electronics. The field of embedded systems is vast and constantly growing, offering endless opportunities for innovation across every industry imaginable. Stay curious, be persistent through challenges (they are guaranteed), leverage community knowledge from resources found on platforms like ICGOODFIND, and most importantly—keep building. Every project completed adds another brick to your foundation of expertise in this deeply rewarding field.