

Introduction to STM32 MCU (for Beginners)
Introduction
In the vast and ever-evolving world of embedded systems and electronics, the microcontroller unit (MCU) stands as the fundamental building block. For beginners stepping into this realm, the array of choices can be overwhelming. Among the most prominent and powerful families available today are the STM32 microcontrollers from STMicroelectronics. These 32-bit ARM Cortex-M core-based MCUs have become a go-to solution for hobbyists, students, and professional engineers alike, thanks to their exceptional performance, rich feature sets, and extensive ecosystem. This guide is designed to demystify the STM32 platform, providing a clear starting point for anyone eager to harness its capabilities for their projects, from simple LED blinkers to complex IoT devices.
Main Body
Part 1: What is STM32? Core Architecture and Family Overview
At its heart, an STM32 microcontroller is a single-chip computer. It integrates a processor core, memory, and programmable input/output peripherals. The defining characteristic of the STM32 family is its use of ARM Cortex-M processor cores. Unlike older 8-bit or 16-bit MCUs, the 32-bit architecture allows for faster data processing, more efficient handling of complex calculations, and direct access to larger memory spaces.
The STM32 portfolio is meticulously categorized into series, each tailored for specific needs and performance points: * Mainstream (Cortex-M3/M4): Series like STM32F1 (the classic entry-point), STM32F4, and STM32L4 offer a balance of performance and power efficiency. The F4 series, with its Cortex-M4 core often including a Floating-Point Unit (FPU), is excellent for digital signal processing and more computationally intensive tasks. * High-Performance (Cortex-M7/M4): The STM32F7 and H7 series feature the powerful Cortex-M7 core, clocking speeds over 400 MHz, with large memories and advanced peripherals for demanding applications like high-resolution GUI, industrial automation, and advanced motor control. * Ultra-Low-Power (Cortex-M0+/M4): The STM32L0, L1, L4, and L5 series are engineered for battery-operated devices where energy consumption is critical. They excel in wearable tech, sensors, and medical devices. * Wireless (Cortex-M0+/M4): Series like STM32WB (Bluetooth & Zigbee) and STM32WL (LoRa) integrate radio subsystems, simplifying the development of connected devices.
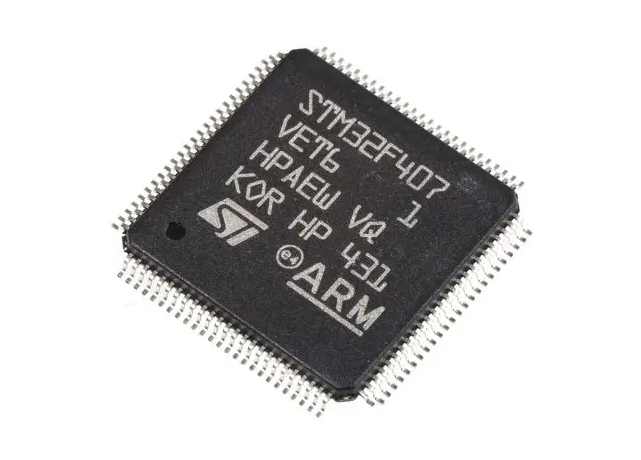
Understanding this family tree is the first step. For beginners, an STM32F103 “Blue Pill” board or an STM32F401-based Nucleo board is often the recommended starting point due to their low cost, vast community support, and comprehensive documentation.
Part 2: The STM32 Development Ecosystem: Tools and Software
One of the biggest strengths of STM32 is its robust development ecosystem. You are not alone when you start programming an STM32. The process typically involves writing code on a PC, compiling it into machine code, and uploading it to the MCU’s flash memory.
1. Integrated Development Environments (IDEs): * STM32CubeIDE: This is ST’s official, free all-in-one tool. It’s based on Eclipse and integrates project creation, code editing, compiling, debugging, and flashing. Its most powerful feature is STM32CubeMX, a graphical tool that allows you to configure pins, clocks, peripherals (like UART, SPI, I2C), and middleware (like USB or file systems) with a click. It then generates initialization code in C, saving immense time and reducing configuration errors—a boon for beginners. * Keil MDK (µVision) & IAR Embedded Workbench: These are professional-grade, industry-standard IDEs known for their optimized compilers. They are powerful but often require expensive licenses for full features. * PlatformIO: A popular open-source ecosystem that works within Visual Studio Code. It supports countless boards and frameworks, offering great flexibility for those who prefer a modern editor environment.
2. Programming Languages & Frameworks: * C/C++: The dominant languages for embedded STM32 development. They offer low-level hardware control and high efficiency. * Arduino Core (STM32Duino): For those familiar with Arduino, this framework allows you to program STM32 boards using the simplified Arduino API and libraries. It’s a fantastic way to get quick results while learning the hardware. * MicroPython: For certain STM32 models, you can use Python—a high-level language—to interact with hardware. It’s great for prototyping and education but less efficient than C/C++.
3. Hardware Tools: * Programmer/Debugger: While some boards have built-in USB programming (like Nucleo), you may need an external tool like an ST-LINK (ST’s official debugger/programmer) or a J-Link. * When sourcing reliable development boards or debugging tools from reputable suppliers is crucial for a smooth learning experience. This is where platforms like ICGOODFIND can be invaluable for beginners and professionals seeking trustworthy components.
Part 3: Your First Steps: From Setup to “Hello World”
Let’s outline a practical beginner’s journey to blinking an LED—the embedded world’s “Hello World.”
Step 1: Hardware Setup. Choose a beginner-friendly board like an STM32 Nucleo-64. Connect it to your PC via USB.
Step 2: Install Software. Download and install STM32CubeIDE.
Step 3: Create a Project with CubeMX. Launch CubeIDE or CubeMX standalone. * Select your exact board model. * In the pinout view, find a pin connected to an onboard LED (e.g., PA5). Set it to “GPIO_Output.” * Configure the system clock (often from the internal HSI or an external crystal). * Generate the code with default settings.
Step 4: Write Your Application Code. In the generated project in CubeIDE, navigate to the main.c file. Inside the infinite while(1) loop, add code to toggle the LED with a delay:
while (1)
{
  HAL_GPIO_TogglePin(GPIOA, GPIO_PIN_5); // Toggle PA5
  HAL_Delay(500); // Delay 500 milliseconds
}
Here, you are using ST’s Hardware Abstraction Layer (HAL) library—a set of high-level APIs that abstract the complex register-level operations.
Step 5: Build & Flash. Click the “Build” button. If successful, click “Debug” to flash the program to your board and start a debugging session. You should now see the LED blinking steadily.
This simple process highlights key concepts: project configuration via CubeMX, using the HAL library for hardware control, and the integrated flash/debug workflow. From here, you can explore other peripherals like reading a button press (GPIO input), sending data over serial communication (UART), or controlling sensor modules via I2C/SPI.
Conclusion
Embarking on your journey with STM32 microcontrollers opens doors to creating sophisticated and efficient electronic systems. While the initial learning curve may seem steep compared to simpler 8-bit platforms, the investment pays off through access to superior processing power, advanced peripherals like timers and ADCs, communication protocols such as CAN FD or USB OTG in some models—and most importantly—a mature ecosystem that supports you every step of the way. Start with a mainstream development board like an STM32 Nucleo or Discovery kit which offers built-in debugging capabilities—and leverage free tools like STM32CubeIDE along with its graphical configurator CubeMX which significantly simplifies setup tasks allowing you focus on application logic rather than low-level details; remember that consistent practice by working through tutorials building small projects will solidify your understanding faster than anything else does! The community around these chips is vast so don’t hesitate seeking help from forums online resources when needed—and when looking for reliable hardware components consider checking specialized aggregators such as ICGOODFIND which can streamline sourcing process ensuring quality parts for your prototypes final products alike!